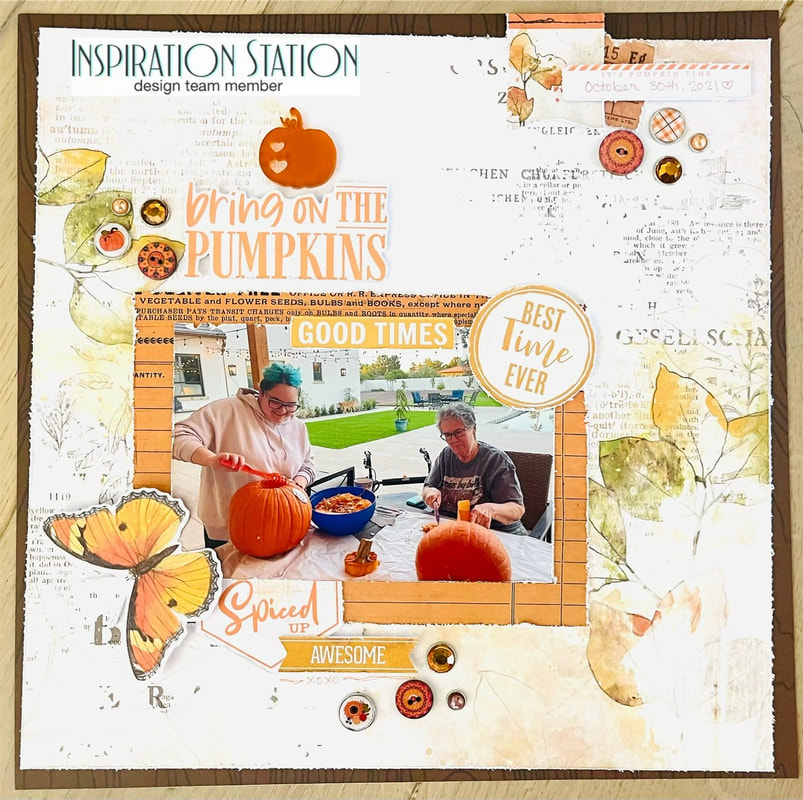
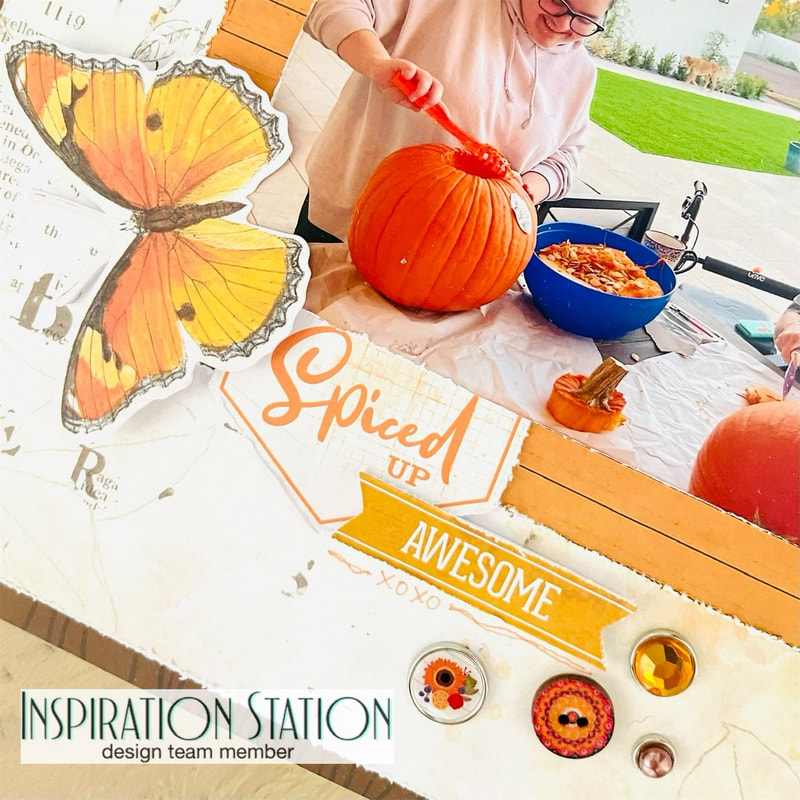
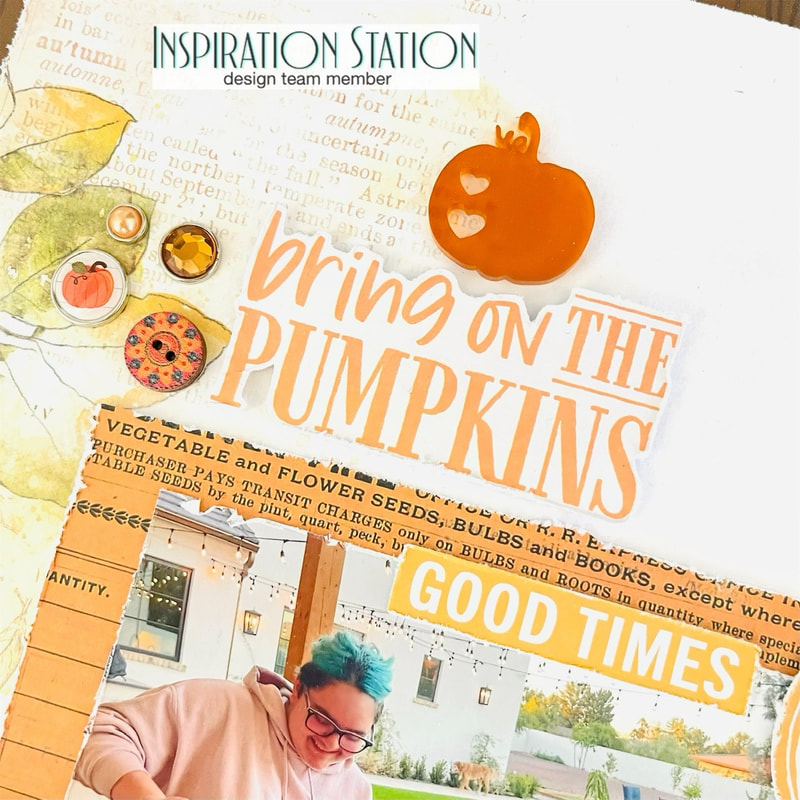
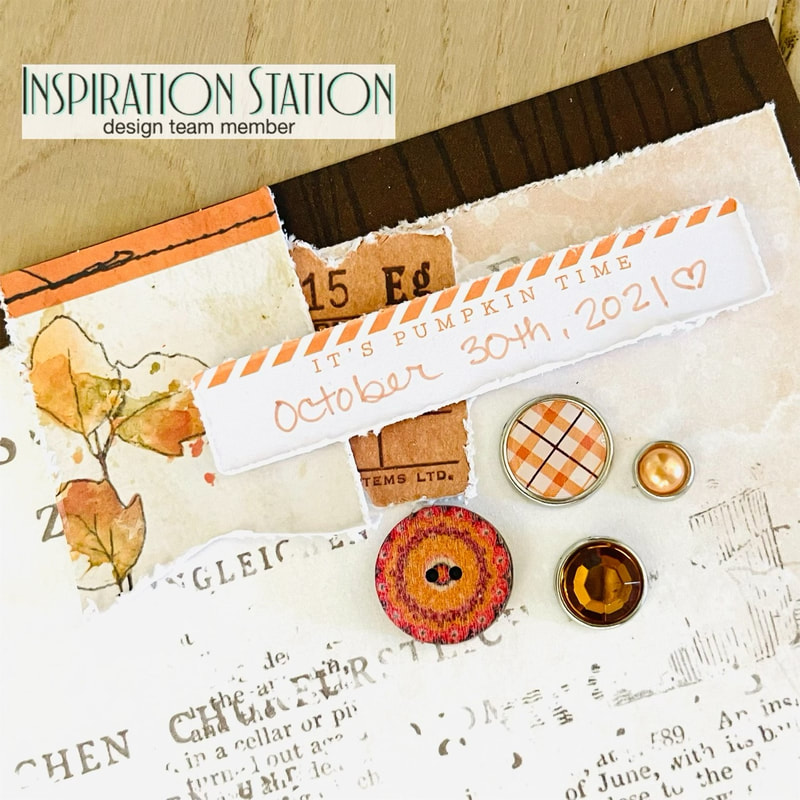
 It's time for another project for Inspiration Station Challenge Blog!!! If you didn't know, Inspiration Station is a blog that challenges you to make a project based on a photo posted. You can then enter your project for a chance to win a prize. Here is this sessions photo: 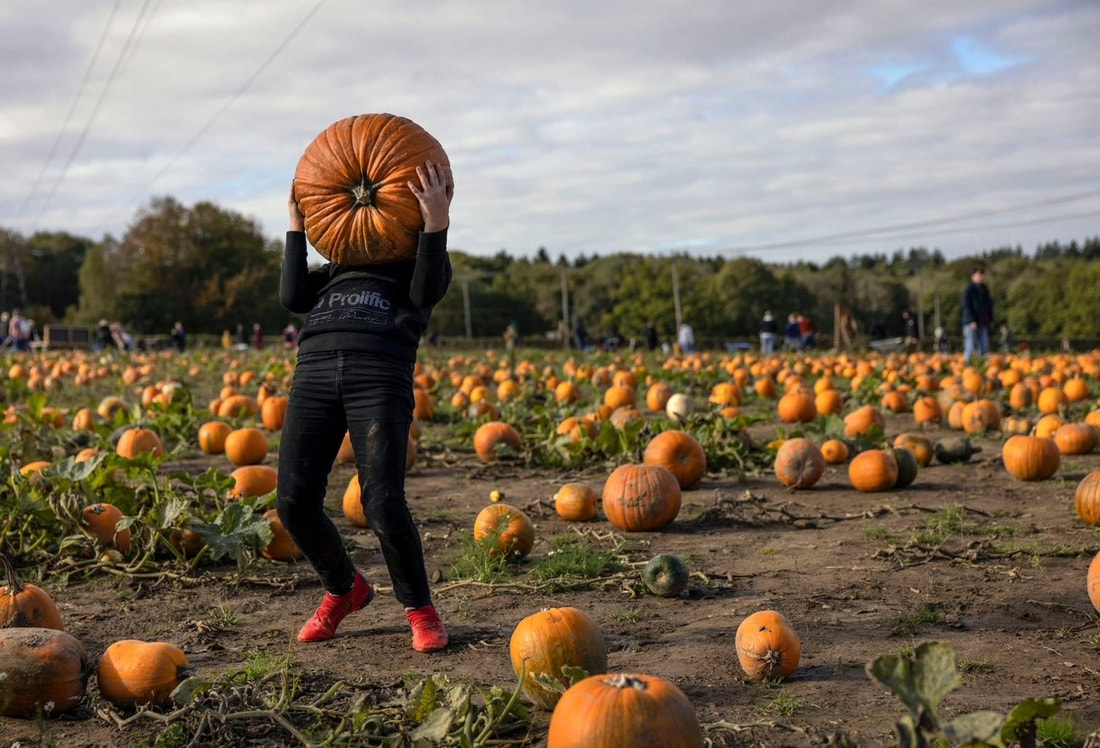 I made a scrapbook layout based off the pic documenting some of our pumpkin carving fun from last year. I am using the gorgeous "Auburn Autumn Days" Page Kit from {Not} Just for Boys Kit Club to make my page as well! Here are some close ups: Thanks so much for popping on to read about my project. Don't forget to make your own project and post it to the Inspiration Station Challenge Blog for your chance to win a prize.
Until next month, Nicole
2 Comments
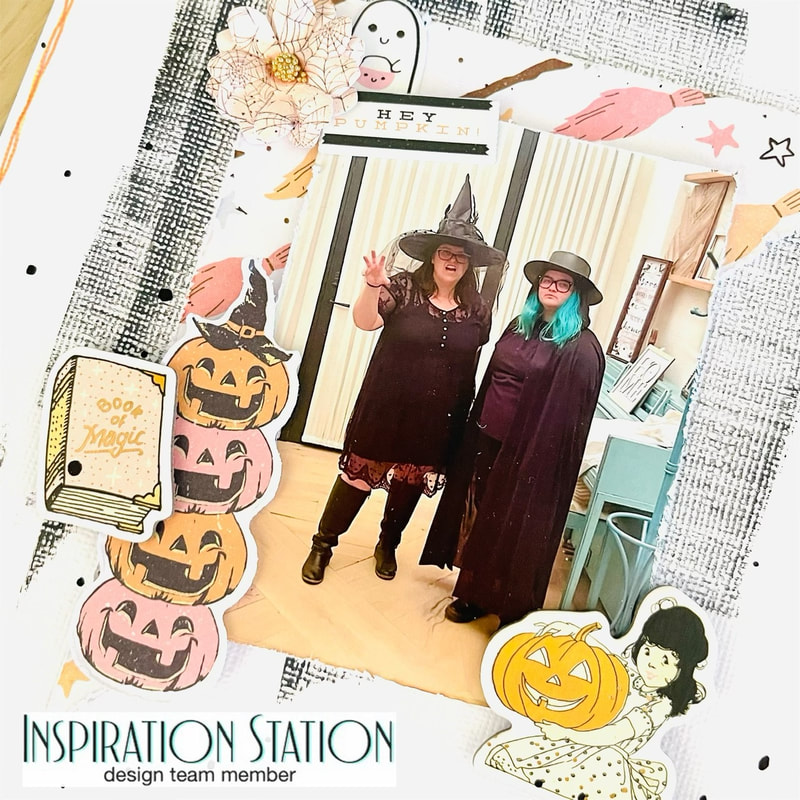
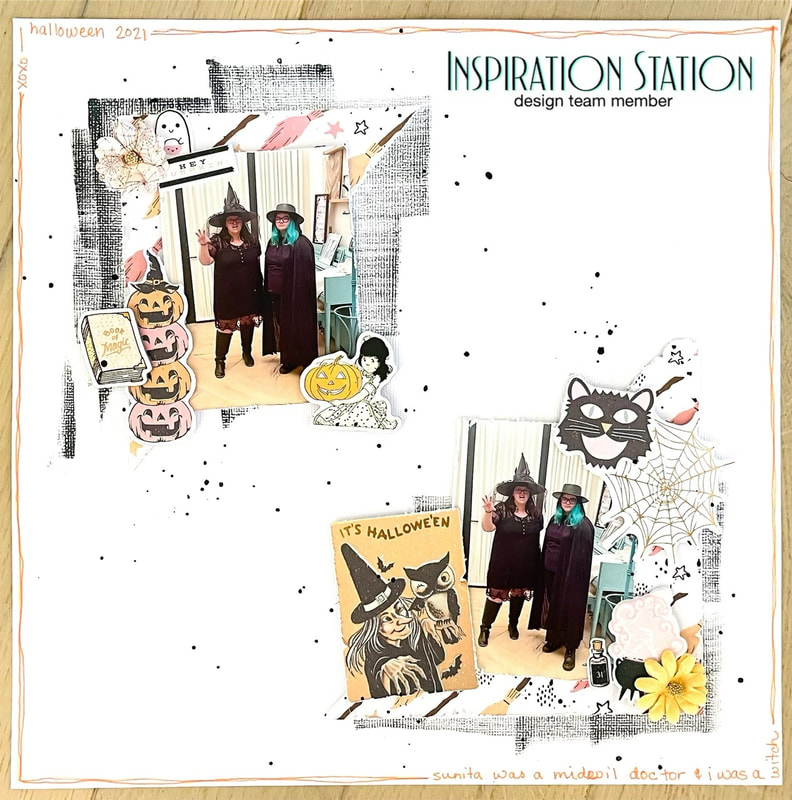 Hello all, today I'm bringing you a layout I made for the Inspiration Station Challenge Blog. It is based on the following picture: 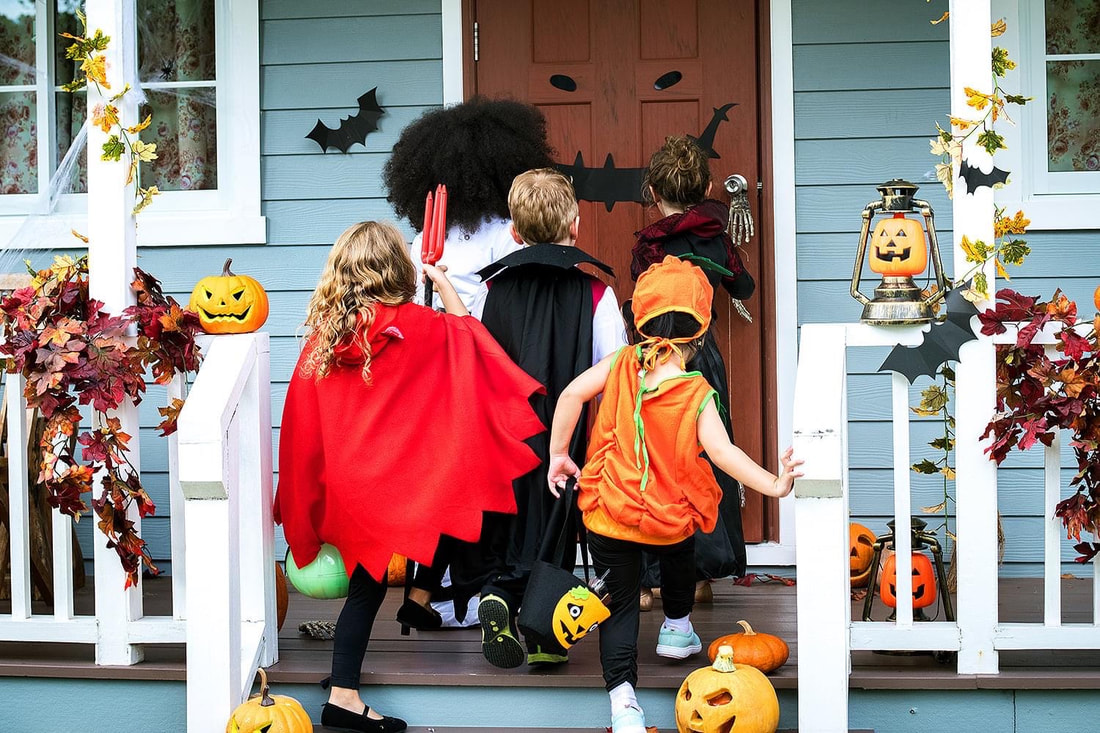 The Inspiration Station Challenge Blog challenges you to create projects based off an everyday pic. You can create your project and then enter it on the blog for a chance to win a prize.  For this project I took the idea in the picture that it was Halloween and decided to scrap some pics from last Halloween. The first thing that I did was to create two focal areas with black ink just slid across my page. I then added some black splatters and my papers and photos. To finish my layout I added some embellishments around my photos, lines around the outside of my page, and journaling.
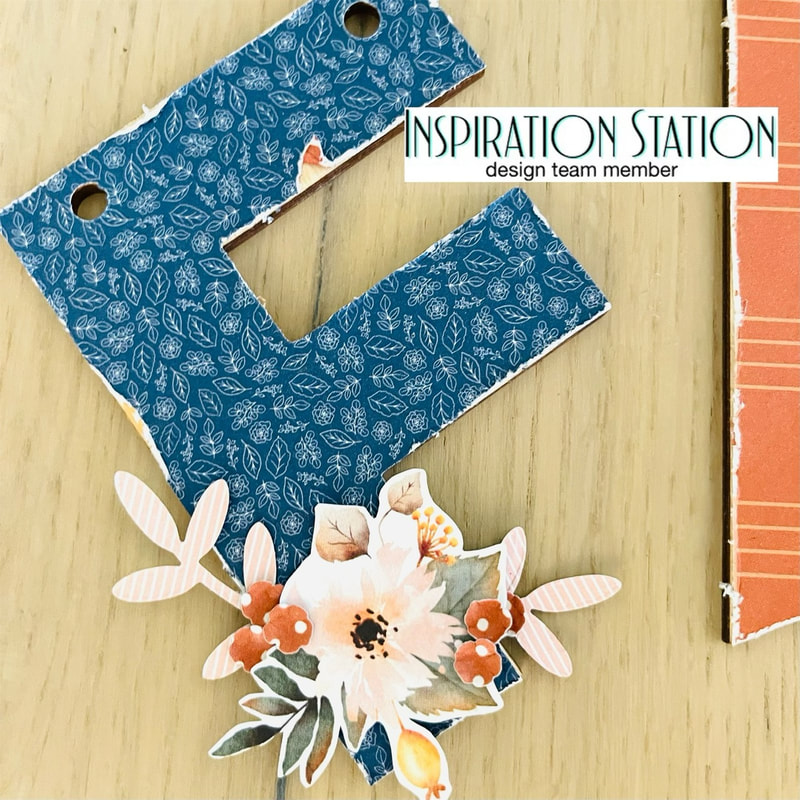
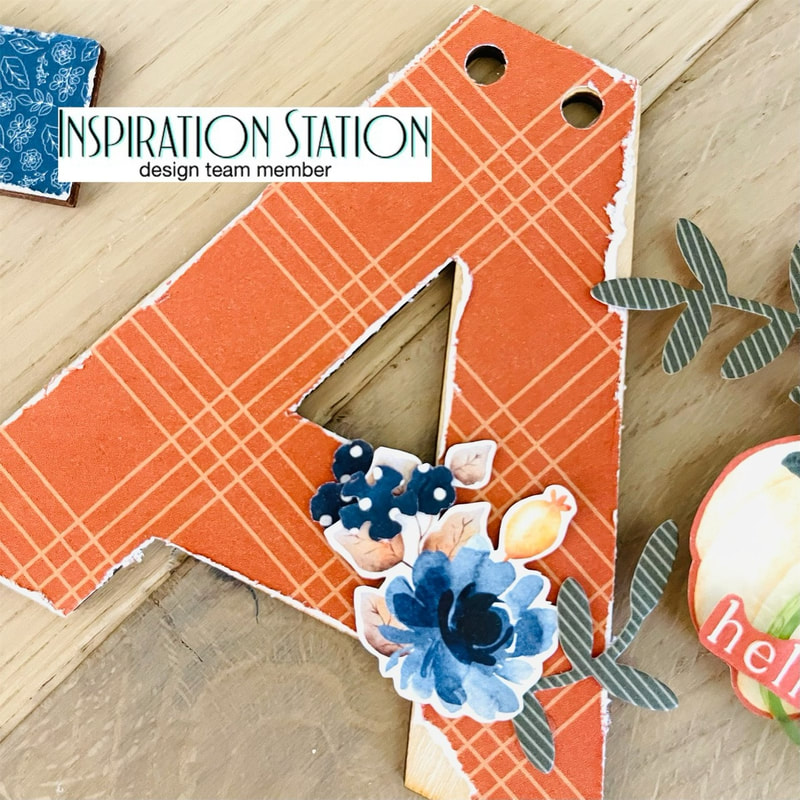
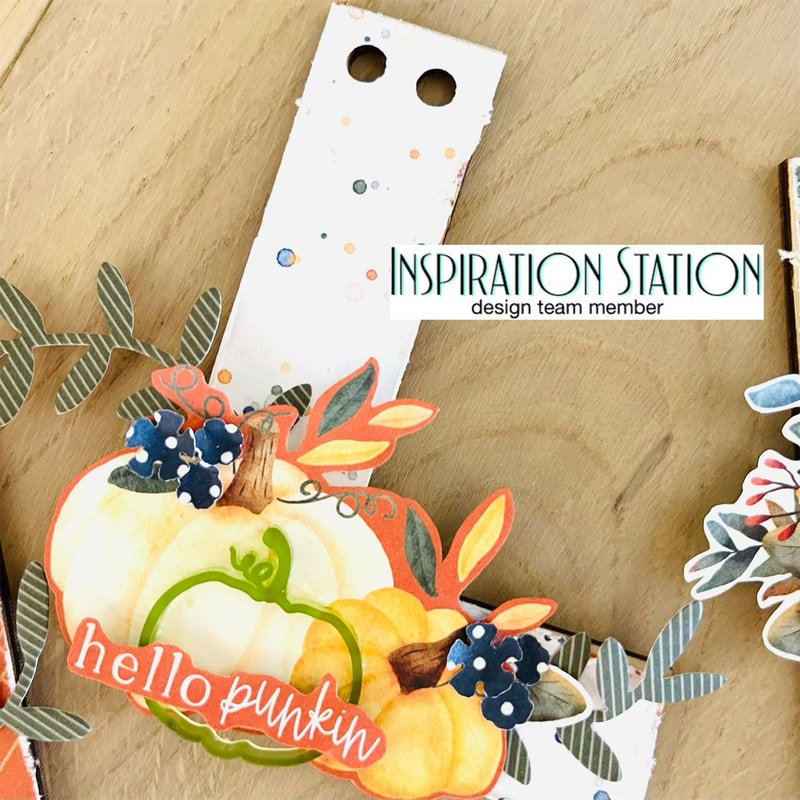
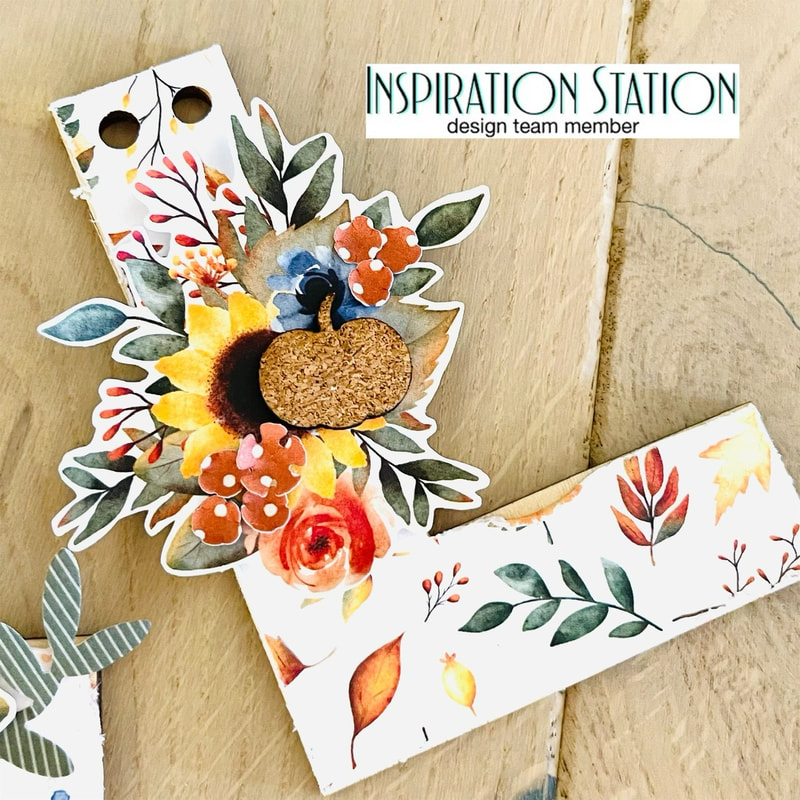
Thanks so much for stopping it today. Don't forget to check out the Inspiration Station Challenge Blog for your chance to win a prize. Until next time, Nicole 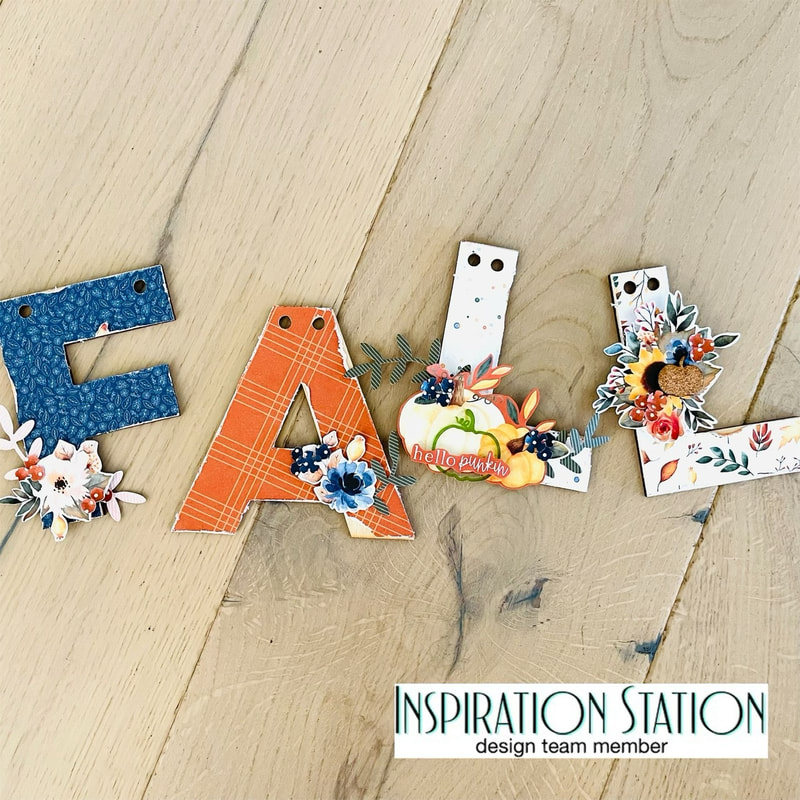 Hey all! Today I'm back with this FALL project based on the photo posted over on the Inspiration Station Challenge Blog... 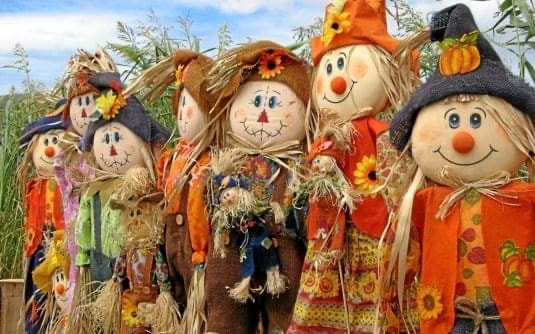 I took the idea of all these scarecrows and translated it into fall. I just got some of these banner letters in from Close to My Heart along with the Crisp Air paper pack and decided to use the "FALL" to create something fall themed for this challenge. To give each letter something special I created a cluster on each one. On one of the "L"s I used a green acrylic pumpkin from {Not} Just for Boys Kit Club and on the other "L" I used a cork pumpkin from Shadnee's Etsy Shop.
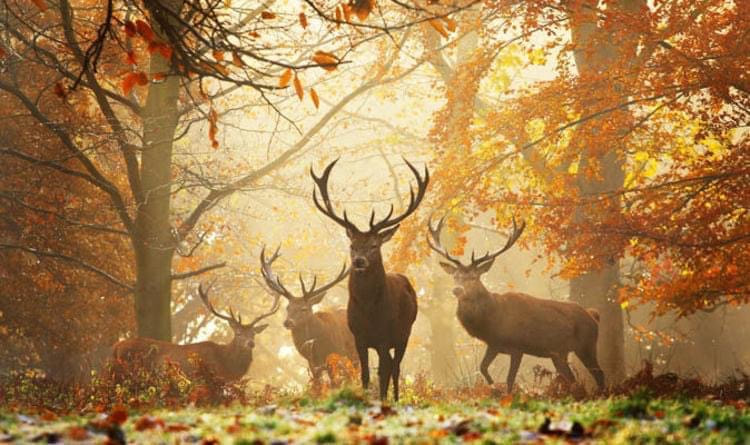
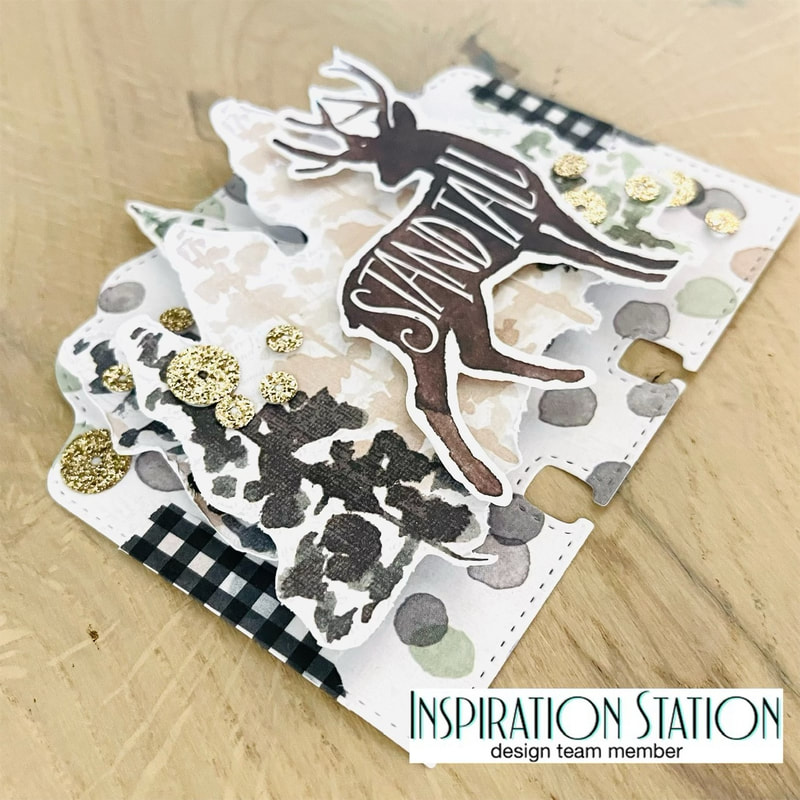
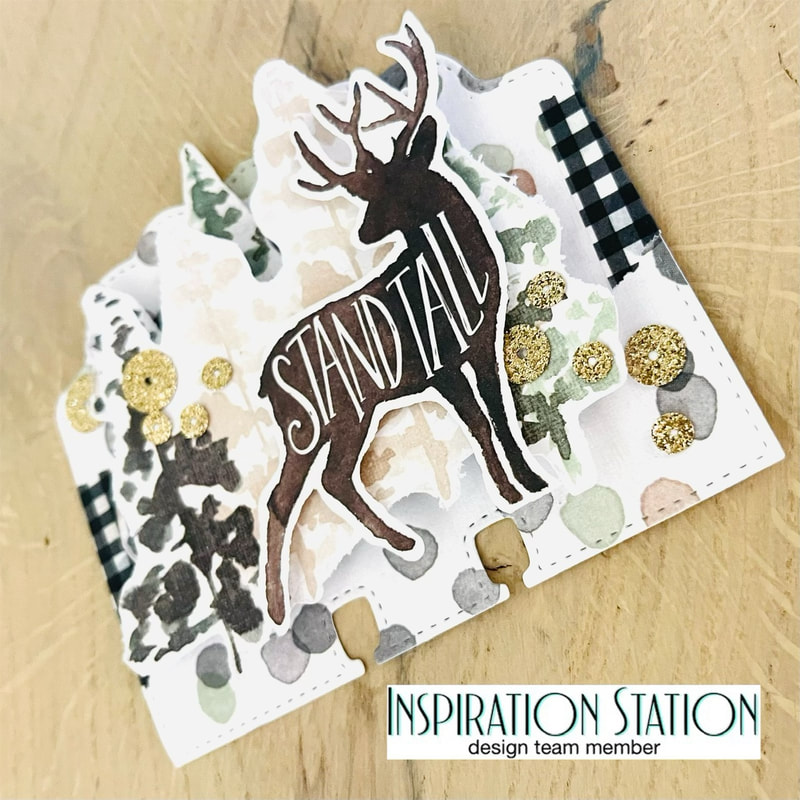
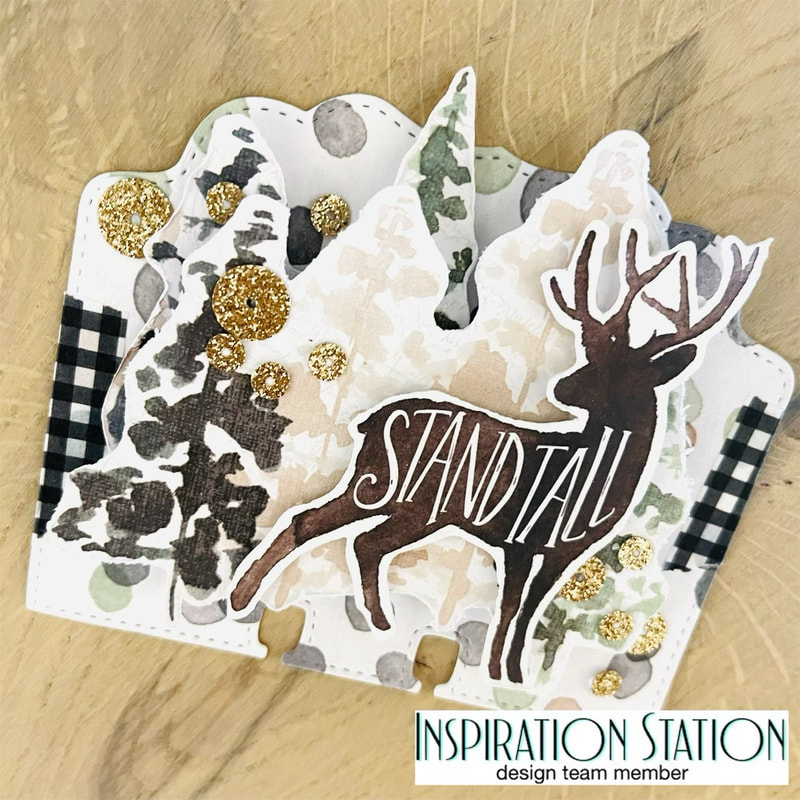
Thanks for stopping in to read more about my project for Inspiration Station Challenge Blog. If you don't know Inspiration Station, it is a blog that is posted on the 1st and 3rd Monday of the month. There is an inspiration photo that you use to make a project. You can then post your project to the blog to be entered for a chance to win a prize! Until next time, Nicole Hey all, I'm back with a new project for the Inspiration Station Challenge Blog! The Inspiration Station is where we take an everyday type pic (the deer or elk above) and create a project (my memory index card). You can then enter your project on the blog for a chance to win a prize. For my project this week I created a little memory index card. For me this type of project is all about making something pretty! I used an older Heidi Swapp collection that featured lots of outdoorsy elements and used the deer ephemera piece as the main element. I then added some sequins to bring in a golden element into the card!
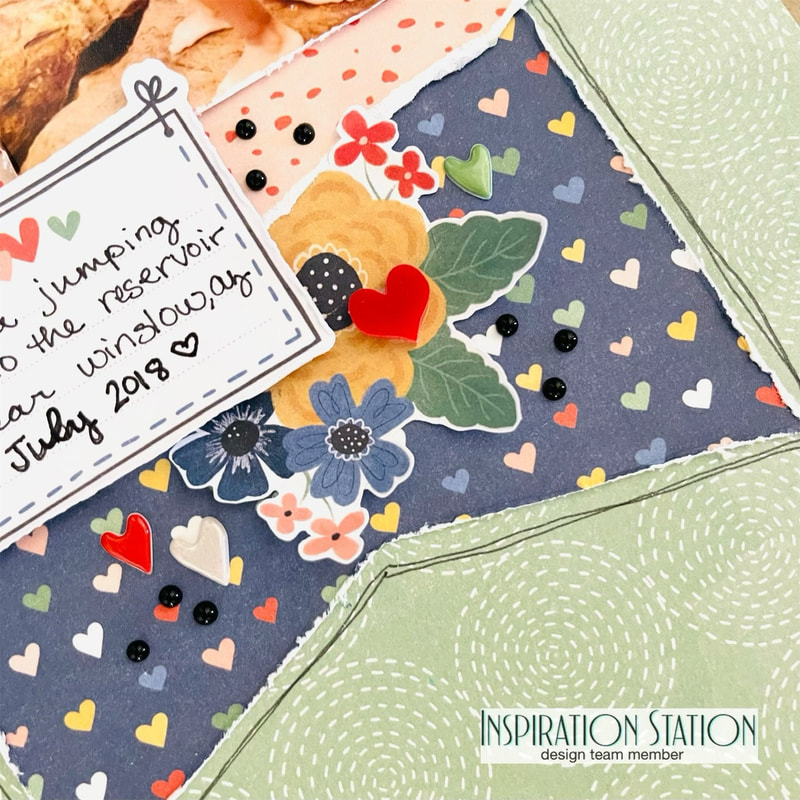
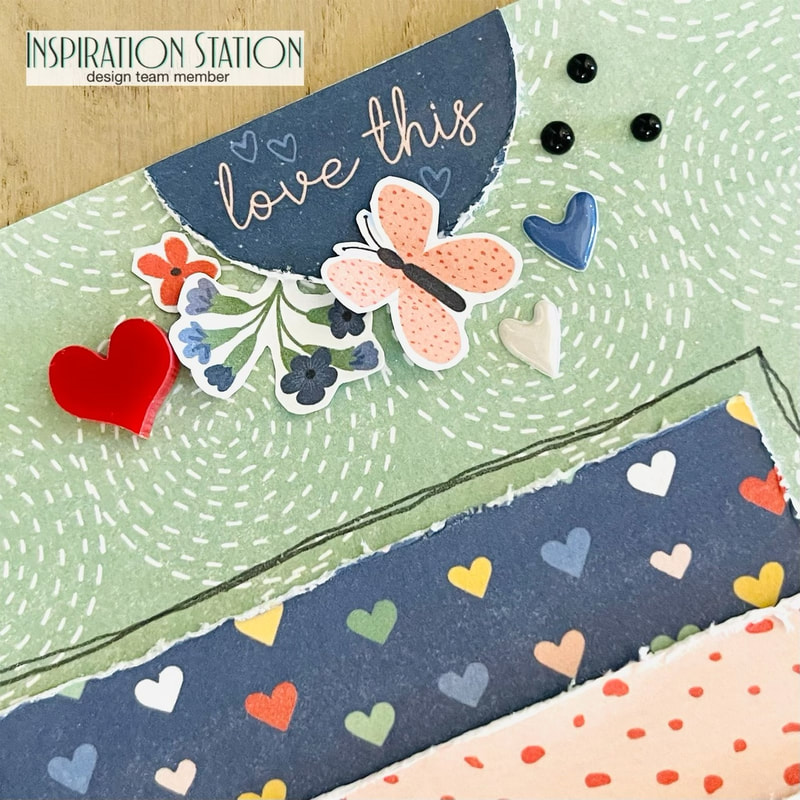
Thanks for stopping by to read about my index card! Don't forget to make your own project using the image above for the Inspiration Station Challenge Blog and enter for your chance to win! Nicole 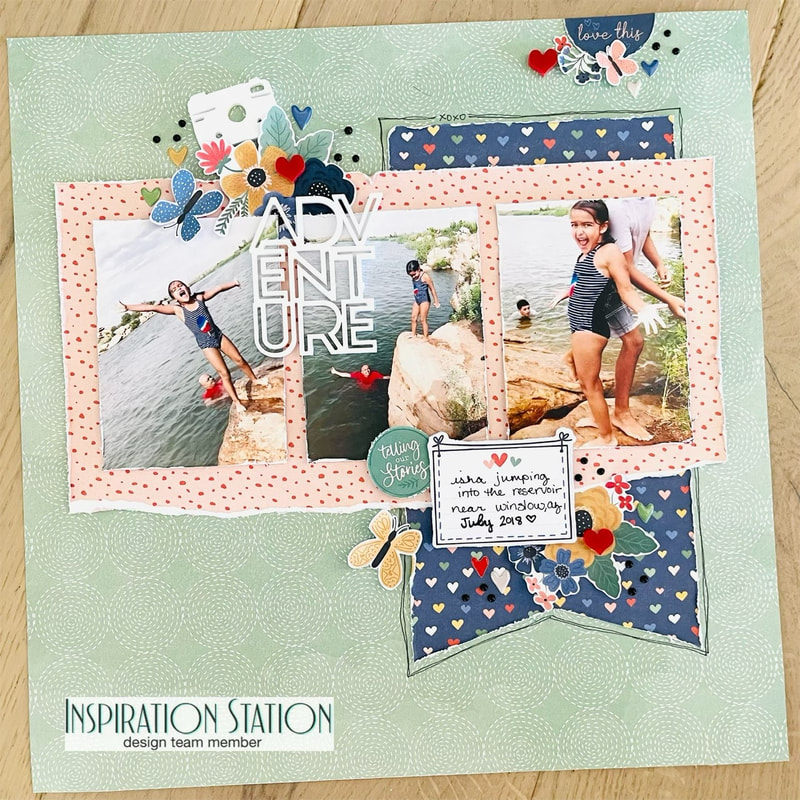 Hello all, today I am sharing my second project of the month for the Inspiration Station Blog. Inspiration Station is a blog that inspires you to create with an everyday picture as the inspiration. You can then upload your project for a chance to win a prize. This is the picture for this sessions post: 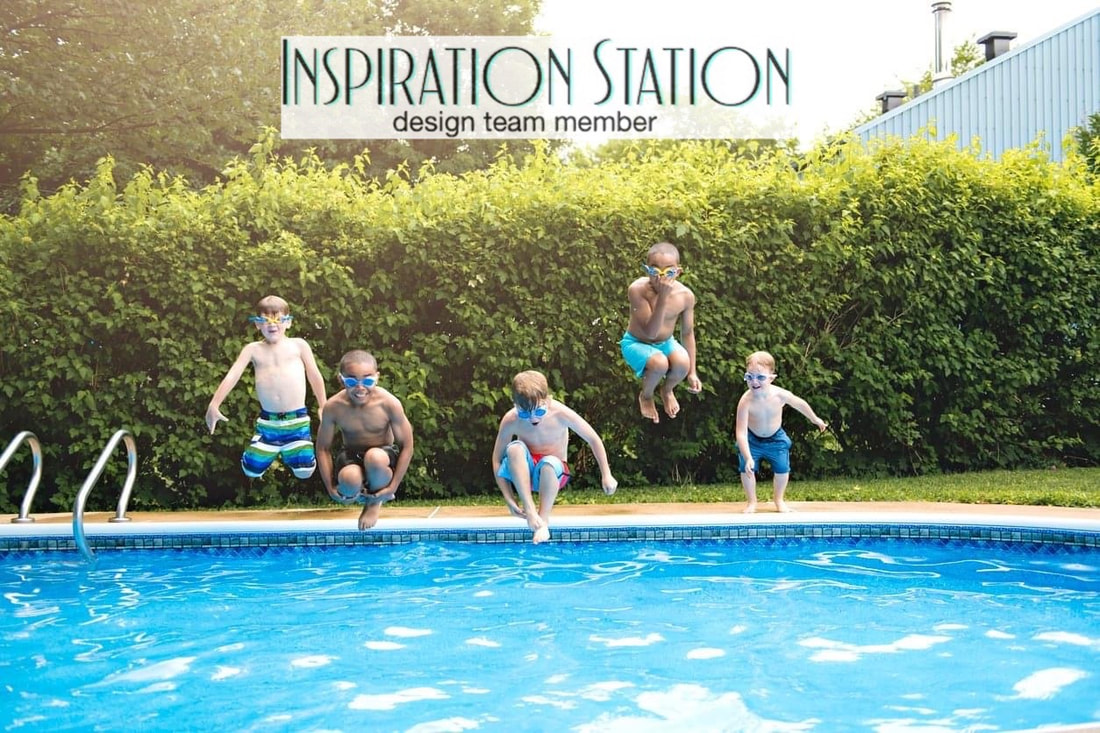 The first thing I did for this project was my paper piecing. I decided to go with the gorgeous Storyteller collection from Cocoa Vanilla Studio to make my page, trying to stick with blue's and greens like the inspiration photo. I also went with a swimming memory to go with the theme of the inspiration photo as well. I also knew that I wanted to use the little acrylic piece that says "ADVENTURE" from Bramble Fox so I made sure to add it while paper piecing. 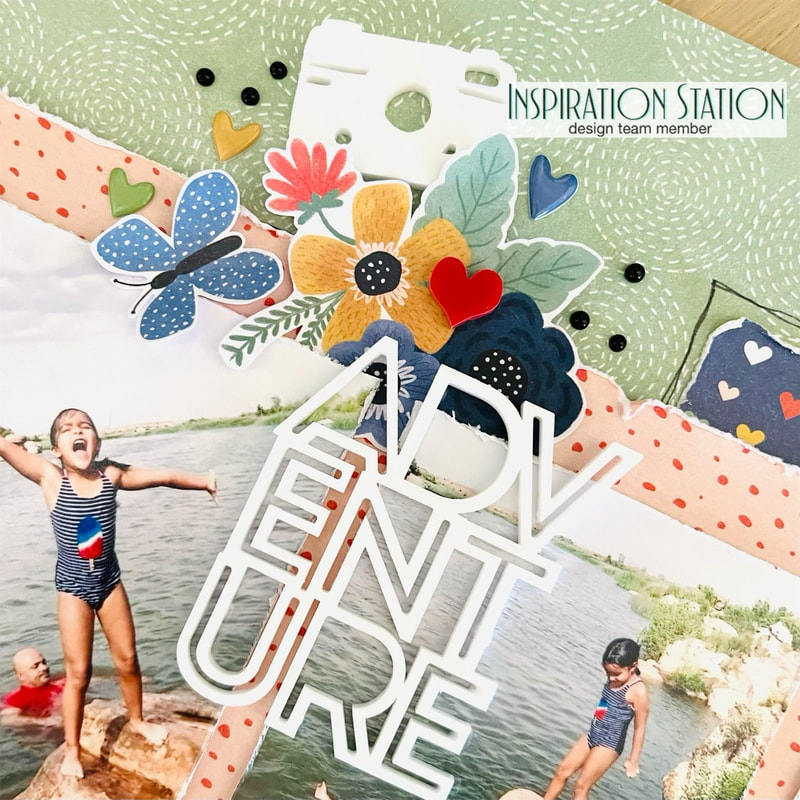 After I had everything where I wanted it to go I started to build my clusters in a set of 3 on my page making sure to used florals and a red heart from Bramble Fox in all of them. I'm so glad that you stopped by to read about my layout today! Be sure to jump on over to the Inspiration Station and get your project entered for a chance to win a prize!
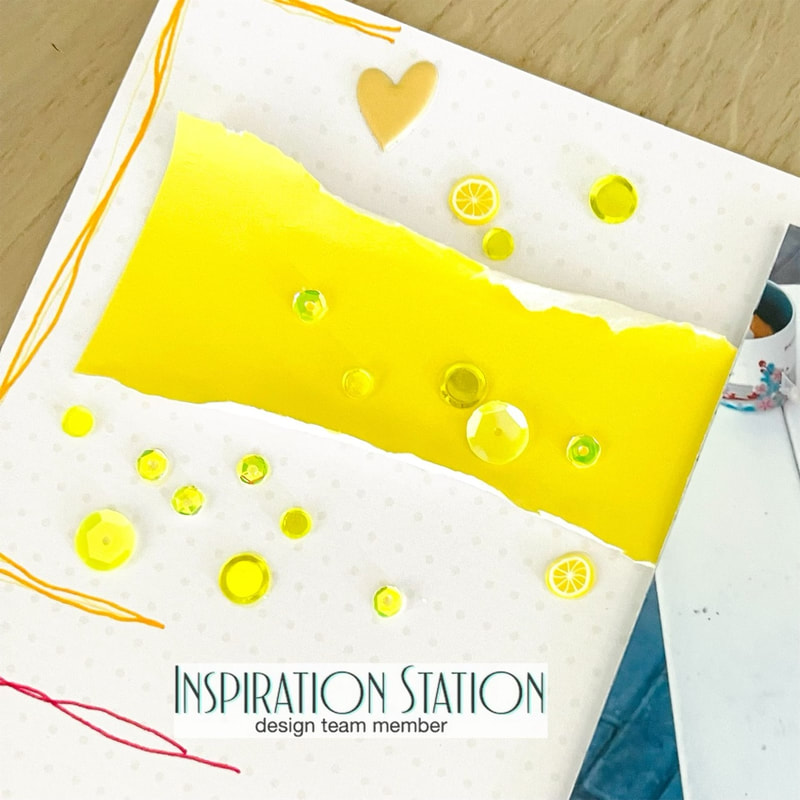
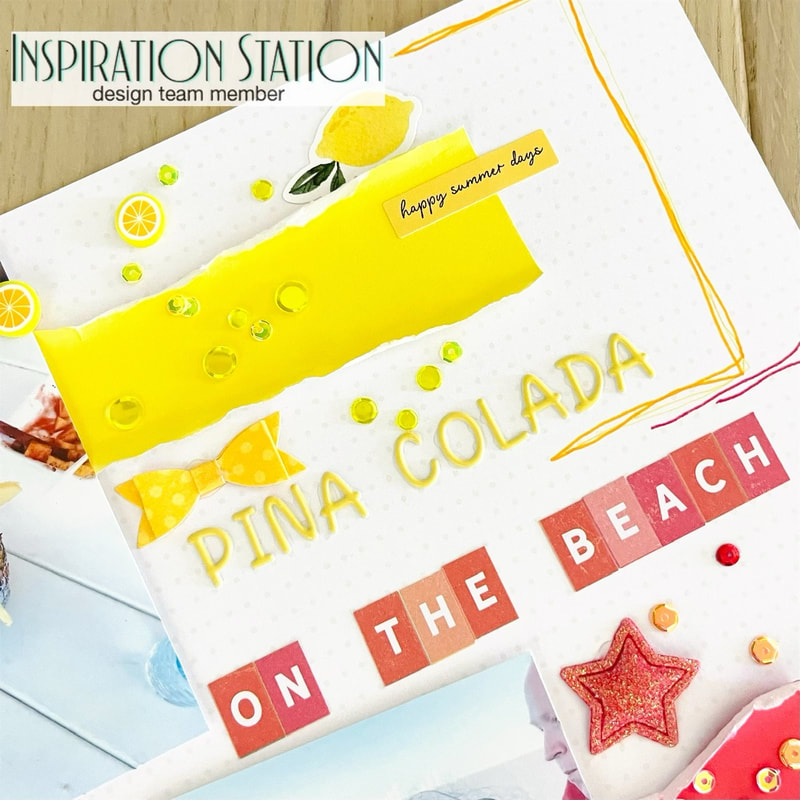
Until next time, Nicole 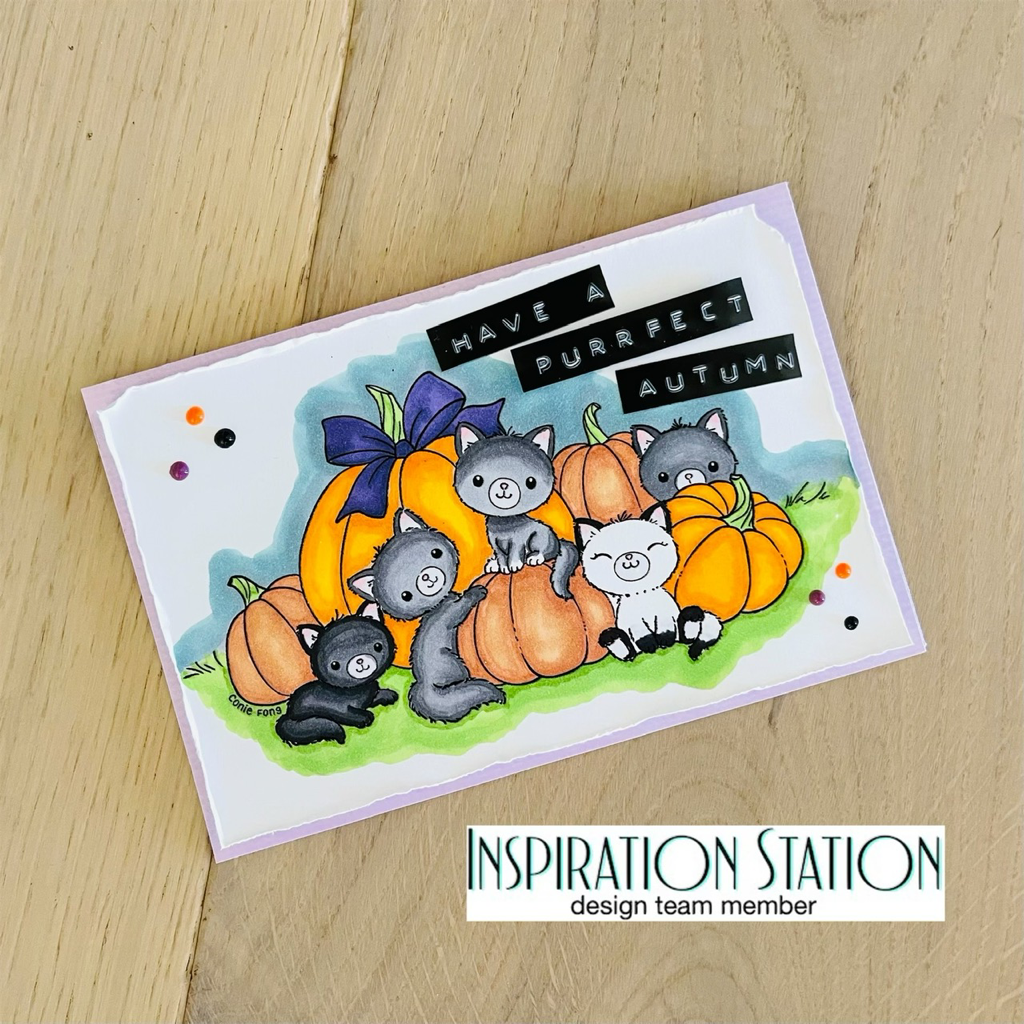 Hello all, today I’m sharing a cute card I made for the Inspiration Station Challenge Blog! The Inspiration Station is a blog that challenges you to create a project based on a picture. You can see this weeks picture below! We have also teamed up with Conie Fong Art https://www.etsy.com/shop/ConieFongArt who makes this adorable printable art above and many others! She is offering 25% off for the Inspiration Station, just use code INSPIRATIONSTATION25 For my card I choose this cute kitty art and colored with copics. I’m not a pro at coloring with copics and I do t have many but I’m liking the way it turned out. I choose the kitties to go with the inspiration pictures animals. And then I tried to color based on the colors in the photo as well. I then added some Nuvo drops in purple, orange, and black! Please make sure to stop by the Inspiration Station to submit your project for a chance to win a prize here: https://inspirationstationchallenge.blogspot.com/?m=1 Thanks for stopping by, Nicole 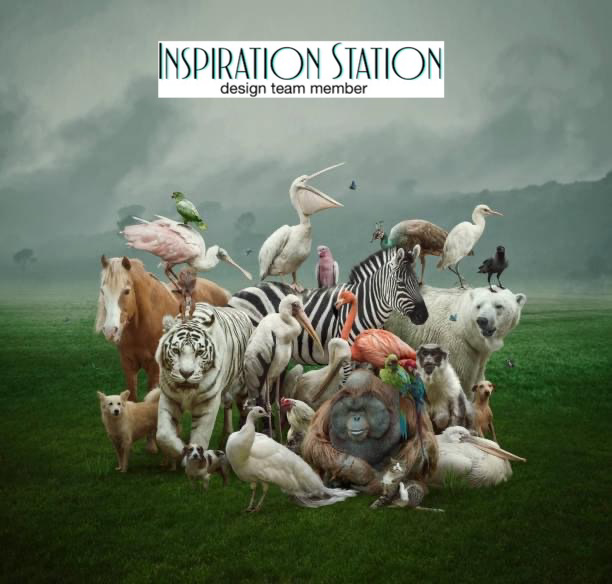 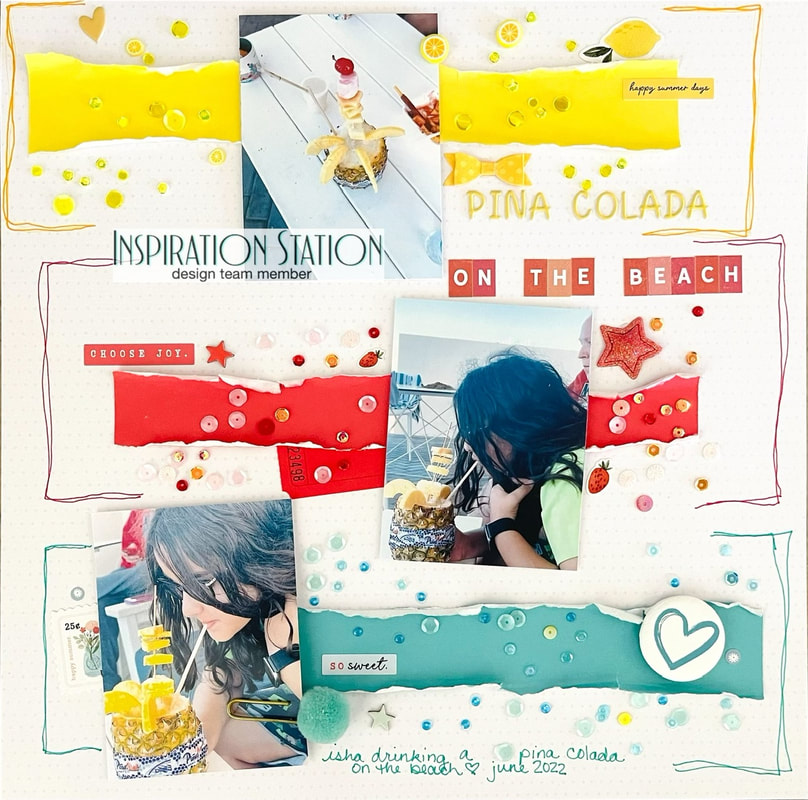 Hey all welcome back to my blog. I am here with this fun and colorful scrapbook layout for the Inspiration Station Challenge Blog! The Inspiration Station Challenge Blog is a blog to challenge us to get creating. There is an everyday picture posted every 1st and 3rd week of the month then you can create a project based on the inspiration, and enter it back on the blog for the chance to win a prize. Here is this weeks inspiration photo: 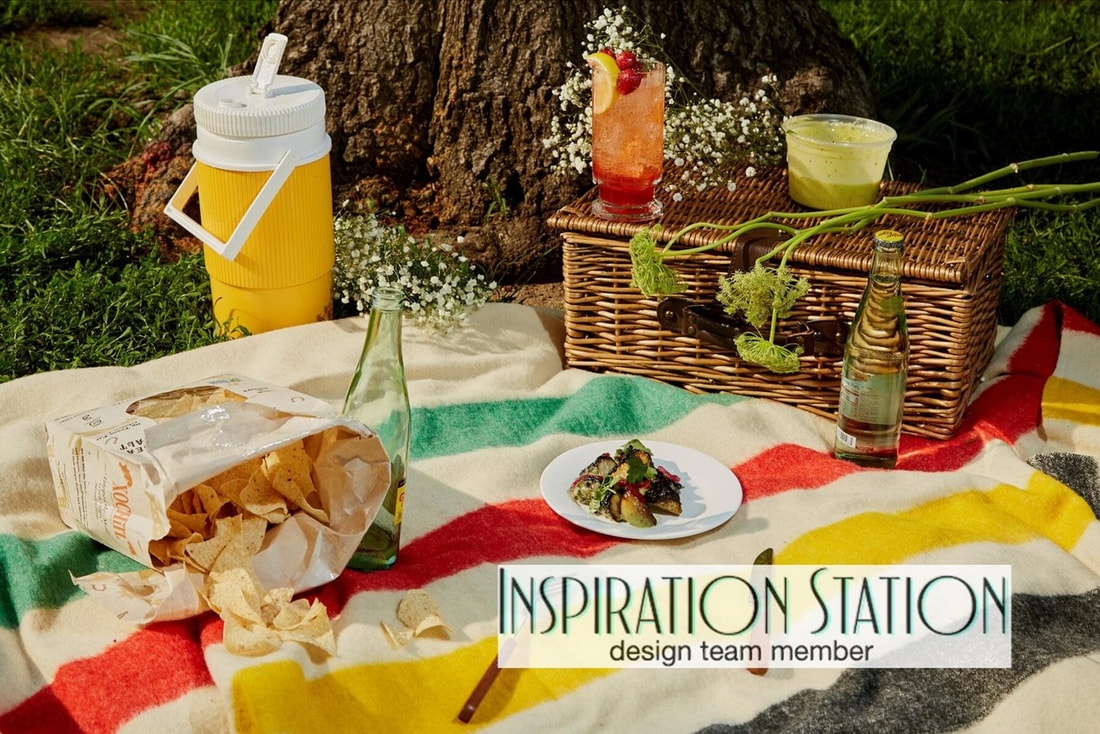 From this photo I took the food inspiration as well as the three stripes on the blanket to create my project. 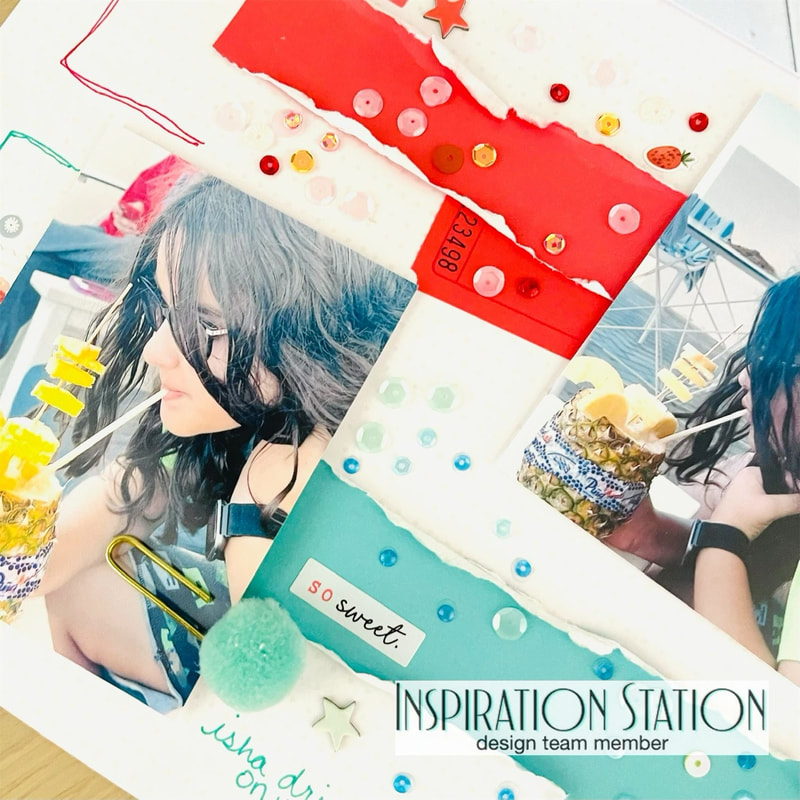 The first thing that I wanted to do was create the 3 stripes like the blanket. I chose to use yellow, red, and blue for the three stripes and tore them to add interest. I also cut them down since I didn't want them to run the whole width of the paper. After I was done with the paper piecing and the photo placement, I worded on embellishing. I grabbed lots of stuff just lying on my desk or from random kits to go with the same tone. After that I used tone on tone for my title and journaling.
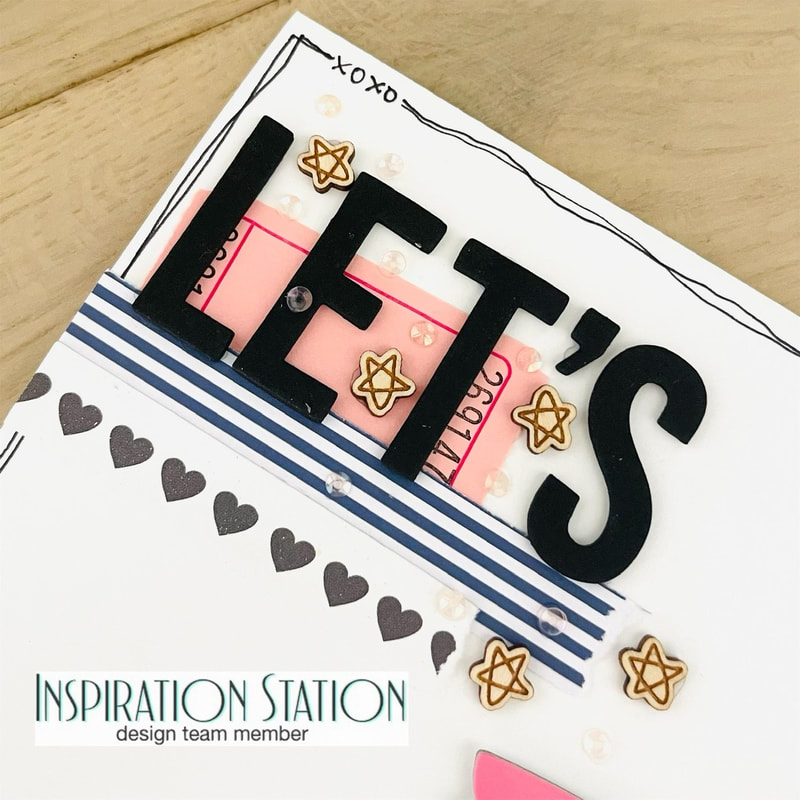
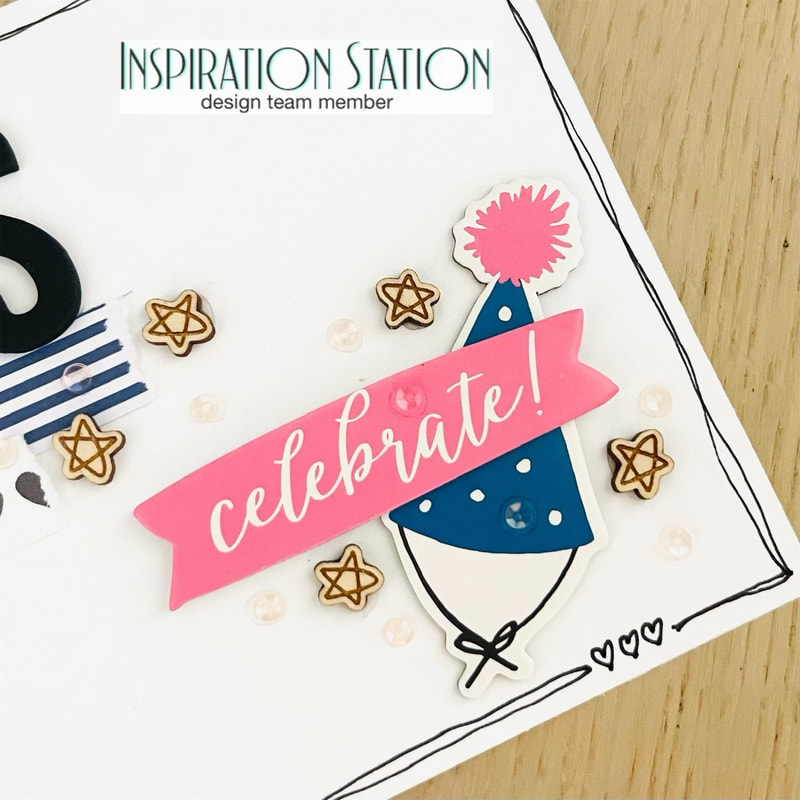
Thanks so much for stopping by to read about my project and don't forget to pop on over to the Inspiration Station Challenge Blog to see all the other projects and to enter your own for the chance to win a prize! Until next time, Nicole 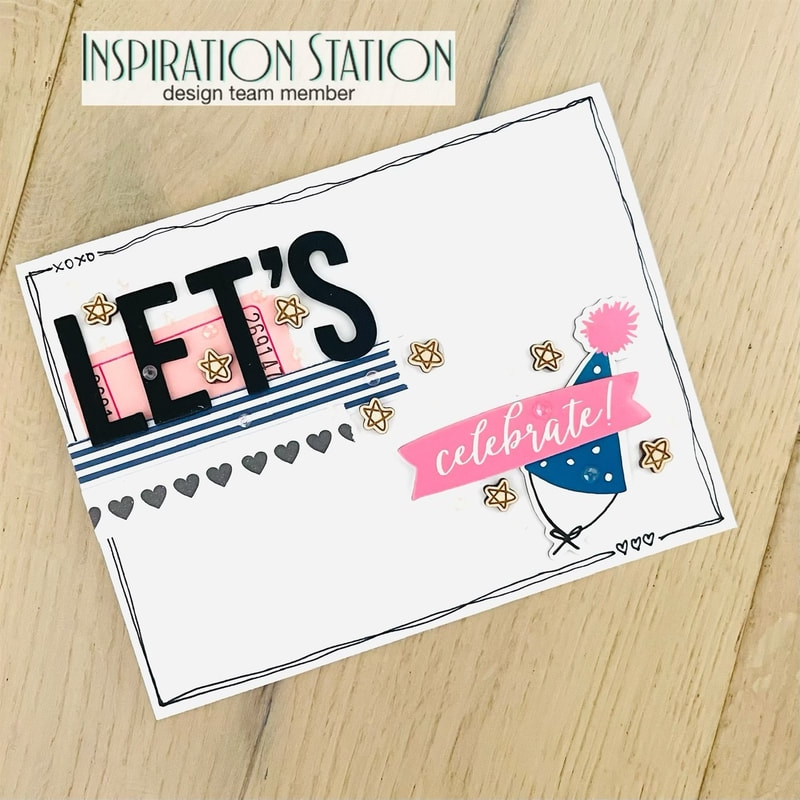 Hello all! Today I'm posting for the Inspiration Station Challenge Blog. The inspiration photo is here:  I took my que this week from the party atmosphere going on in the inspiration to make a card that can be used for any celebratory purpose. I really used a lot of little goodies that were just on my desk at the time. After I made my two little clusters with my sentiments I decided to add some fun little goodies like these stars from Shadnee's Etsy Shop and some little sequins in the Scrappin Happy sequin mix from Spiegelmom Scraps.
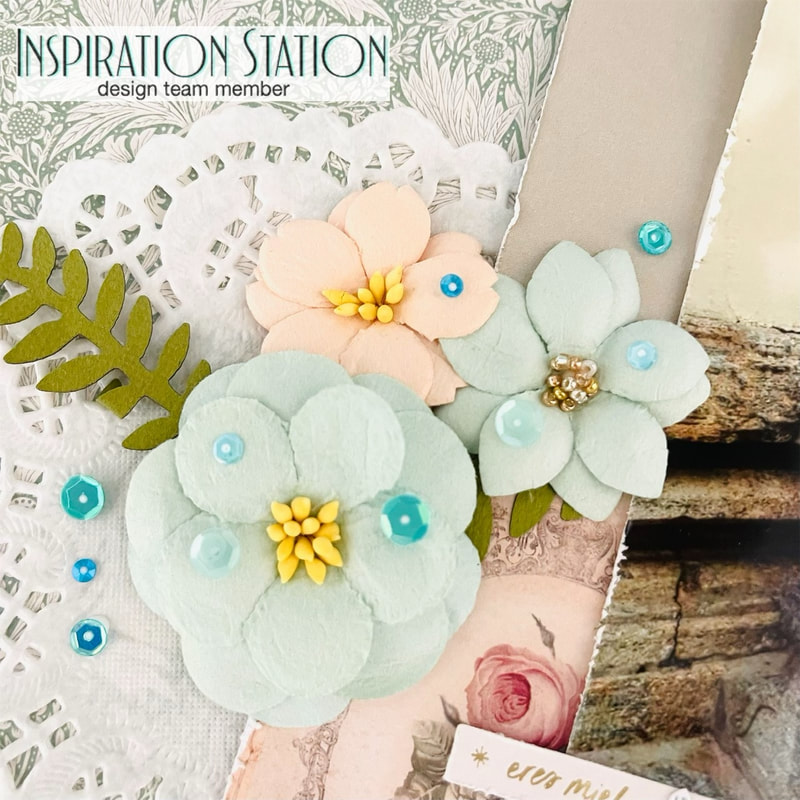
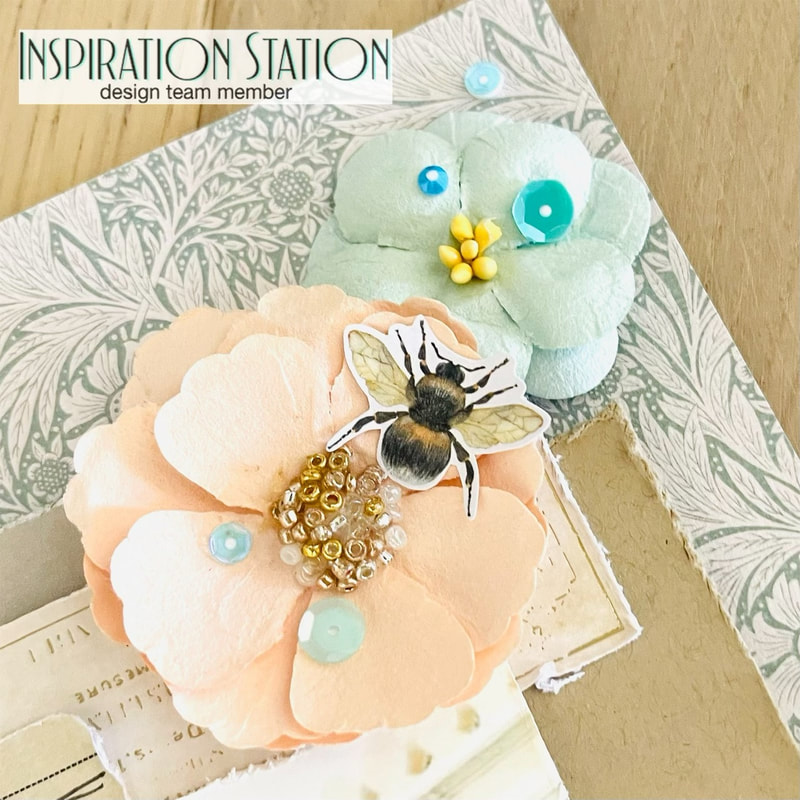
If you are unfamiliar with Inspiration Station Challenge Blog it is where you create a project based on an everyday picture, then you can enter it on the website for a chance to win a prize. So don't forget to enter yours today! Thanks for popping on, until next time, Nicole 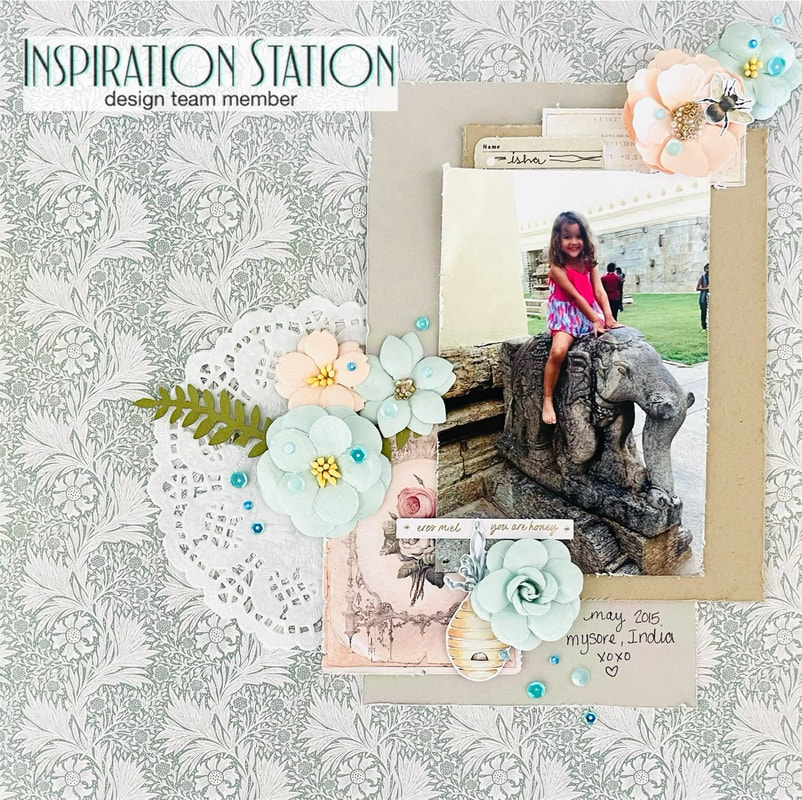 Hello all and welcome back to my blog! Today I have this layout that I made for the Inspiration Station Challenge Blog using the following picture for inspiration: 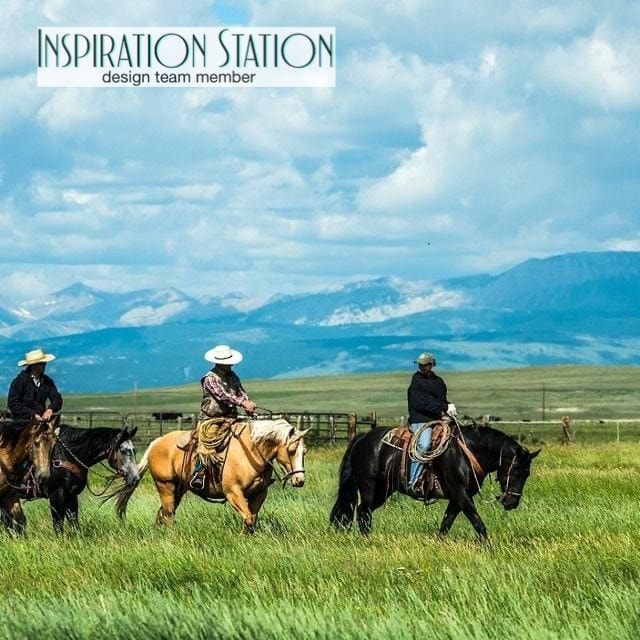 If you're not familiar with the Inspiration Station Challenge Blog, it is a blog that inspires us to use an everyday photo to create a project. If you create a project based on the picture you can upload it to the blog for a chance to win a prize! Now on to my process for this layout! I have this amazing picture of my youngest riding on an elephant statue while we were in India a while back and decided I would use this picture because of the men riding horses. I wanted to try to use as much green and blue in this layout as possible since the inspiration pic had green grass and blue skies, so I chose this green floral paper as my background. I'm using my June Limited Edition kit from My Creative Scrapbook. For the blue I brought in the blue flowers from my kit and some blue sequins from the Easter Hunt sequin collection from Spiegelmom Scraps! My layout is also based on a sketch that came with my kit as well.
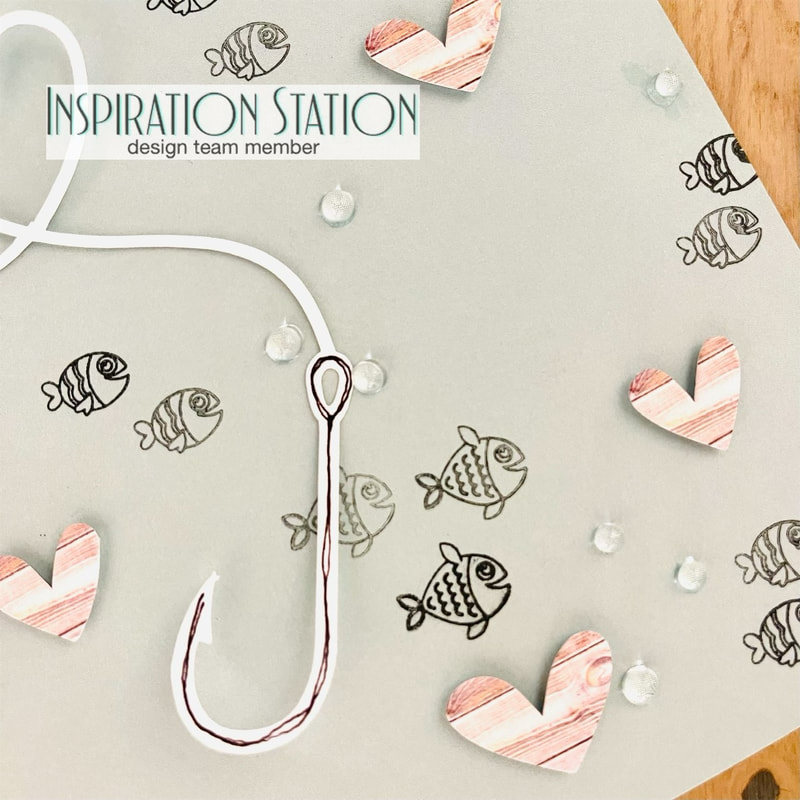
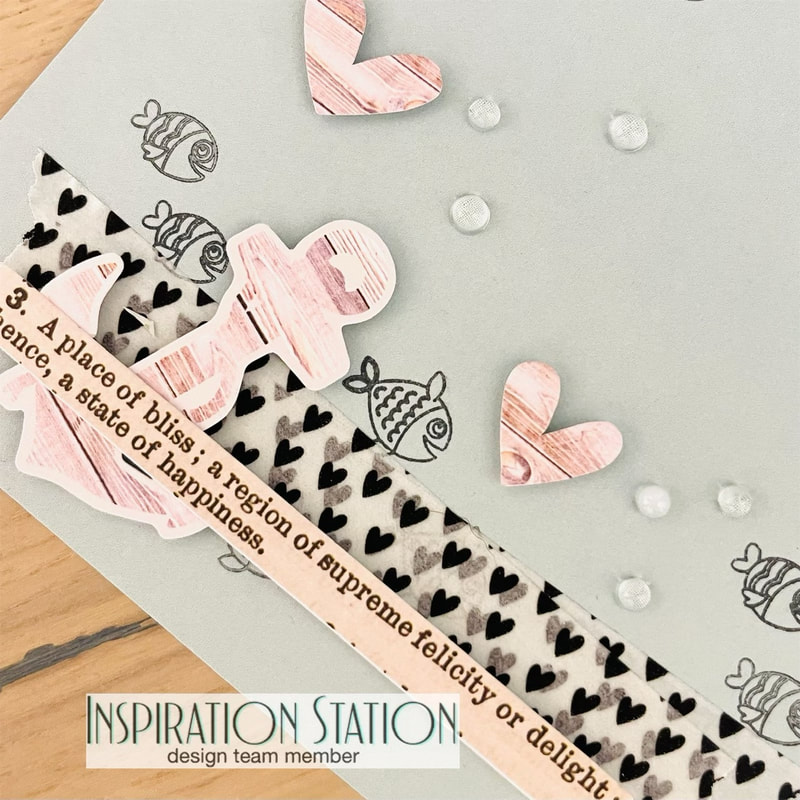
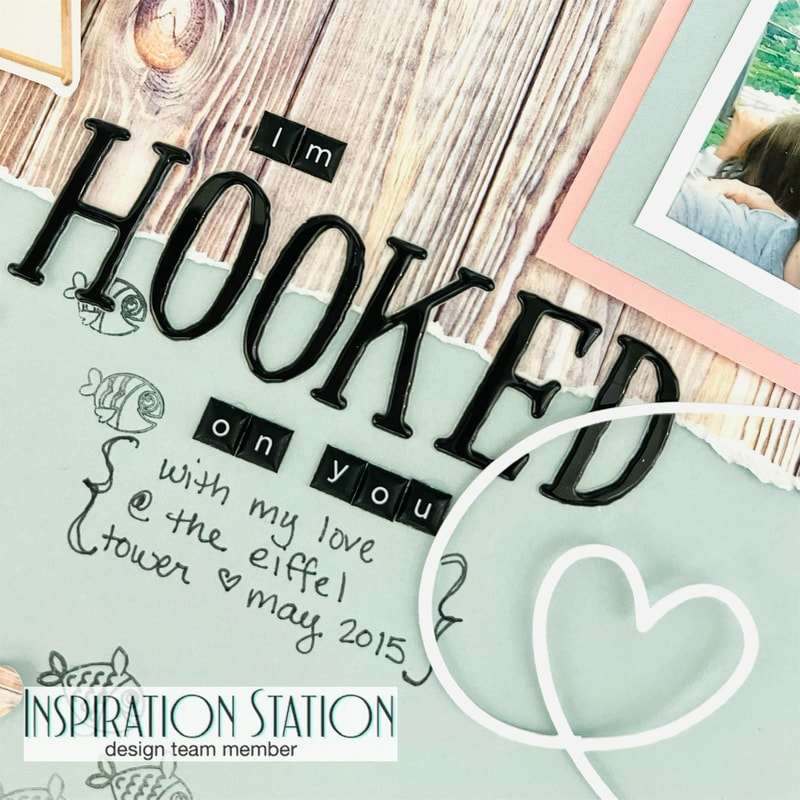
Thanks so much for stopping by and reading all about my layout for the Inspiration Station! Make sure you go to that blog to check out all the other projects that the design team came up with and to enter your own project based on the pic. Until next month, Nicole 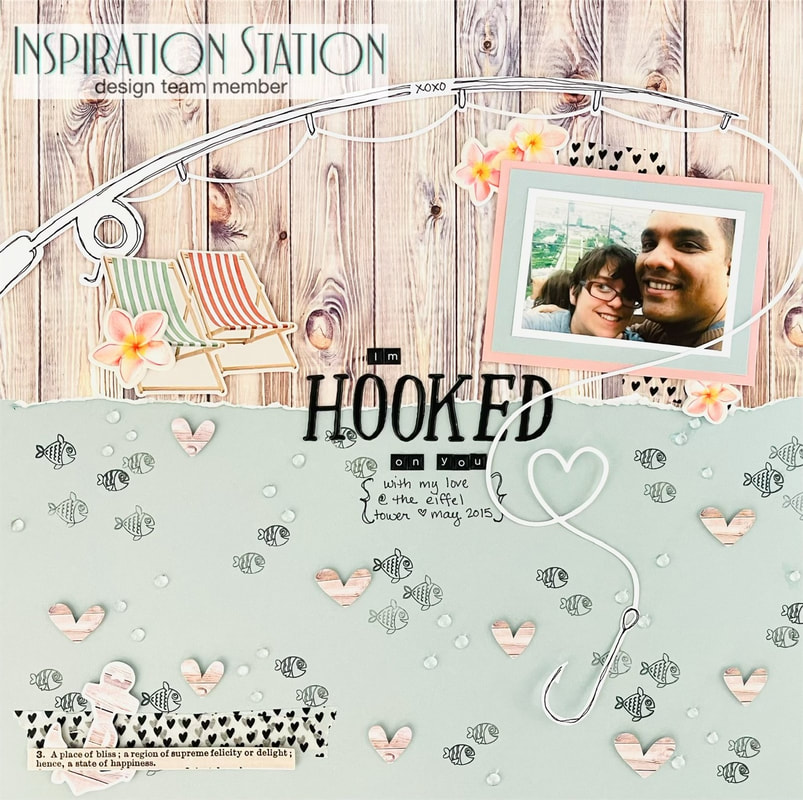 Hello all, welcome back to my blog! Today I'm creating for the Inspiration Station Challenge Blog. If you are unfamiliar with the Inspiration Station it is a blog that challenges you to create a project based on the inspiration photo provided. You can then enter your project on the blog for a chance to win a prize! This is the inspiration for this post: 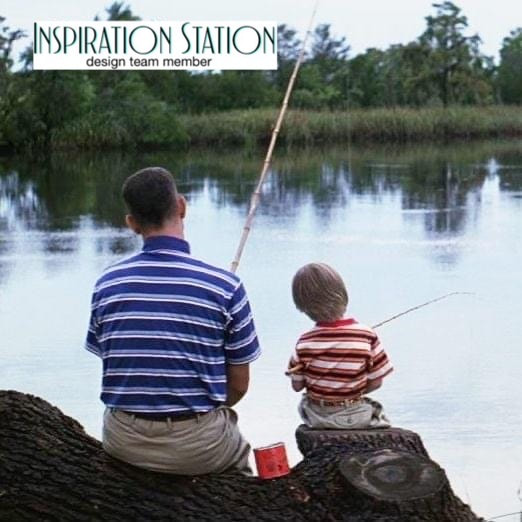 Since this is a fishing page, I decided to use the saying "I'm hooked on you" for my title and built my 12x12 scrapbook page around that. I used the new "Seashore" Page Kit from {Not} Just for Boys Kit Club to build my layout as well as a fishing pole cut file that I found on Etsy. To make my page I used the new "It's Summertime" stamp available at {Not} Just for Boys Kit Club to stamp some little fishies down in the lake or ocean, then I used the wood paper to act as my dock. I used some Simple Stories bits from the "Seashore" kit, specifically the hearts, anchor, dictionary piece, and the little chairs to add some interest. I also used the little clear half pearls to add bubbles to the page. I used some of the foam flower stickers by my photo as well as some heart washi from off my desk. I finished with my title and some journaling.
Don't forget to check out the Inspiration Station to get all the rules to submit your own project for a chance to win a prize. Thanks for stopping by to read about my scrapbook layout. Can't wait to see you back in a couple weeks. Nicole |

Shaker ElementHello all! I am currently working on a mini album of a snow play trip we took in January. I wanted to put all kinds of different elements into it so I thought it would be a perfect time to add a shaker box. So first off I decided to use a snowflake cut file from The Cut Shoppe for this element and the first thing I did was cut some of the inside elements out to make the visible area bigger. Then I glued a piece of scrap page cover to the snowflake. I glued a bigger piece and once it was dry I then cut it down to just my shaker area. I then cut my foam dots in half to box it in.
So my snowflake is ready for my dodads! First I placed my snowflake on top of where I wanted it and took a mental note of where the shaker part would be. Then I placed a little pile of sequins and confetti where it will go.
I then pulled all those little backings off my foam dots and placed my snowflake where is supposed to go and viola, I had a beautiful little shaker snowflake! I hope you enjoyed this tutorial, please let me know in the comments if there is something you would like to learn for scrapbooking!
Archives
April 2023
Categories
All
|


 RSS Feed
