I Was Created To Create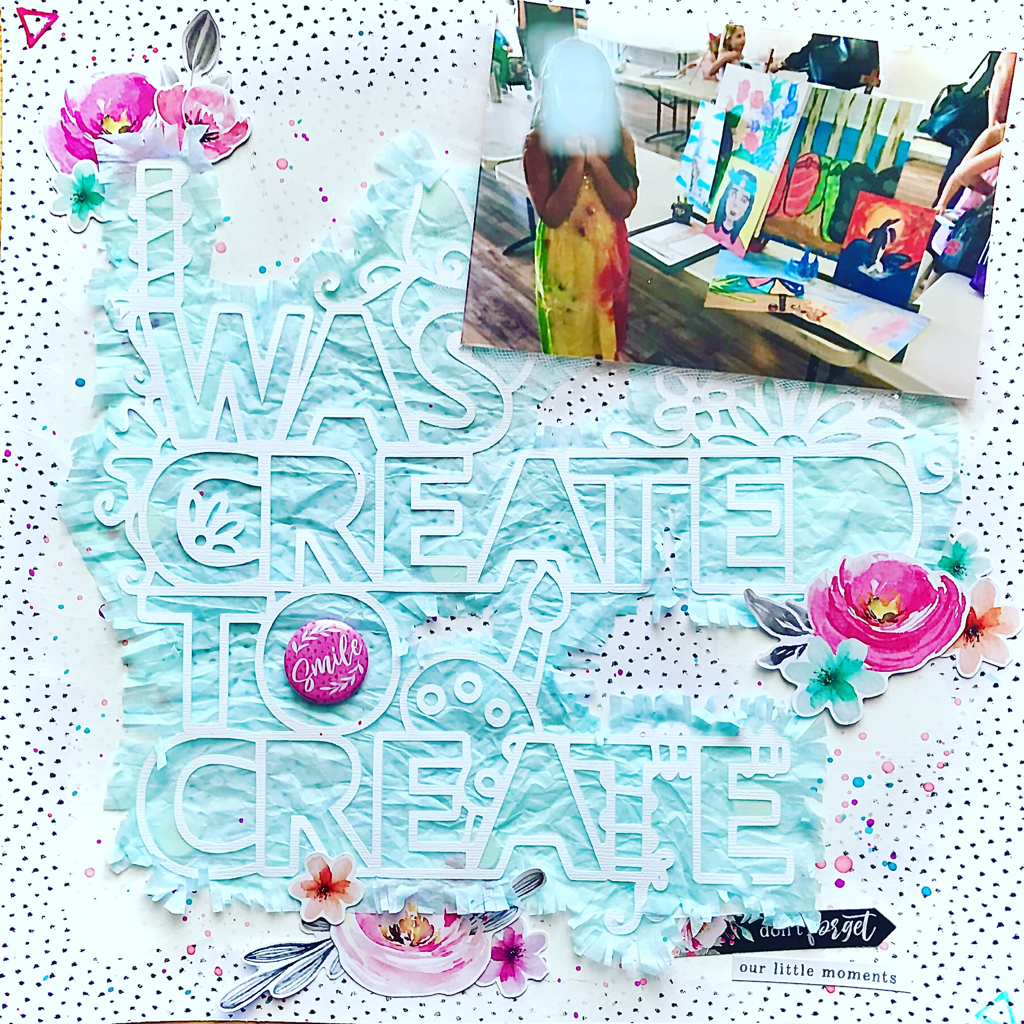 I recently decided to apply for the Confessions Of A Paper Addict design team. One of the requirements was to use a cut file and make a brand new page specifically for this call. I decided to use one of Virginia’s cut designs along with a photo of my daughter from her art summer camp. So after I cut my title, I decided that instead of backing with different papers I would do something softer and back it with tissue paper. I crumpled up the tissue paper and used my glue pen from Close To My Heart to back my title. After it was backed I trimmed the tissue to about 1/2 inch from the edge and then I used my scissors to fringe it all around. 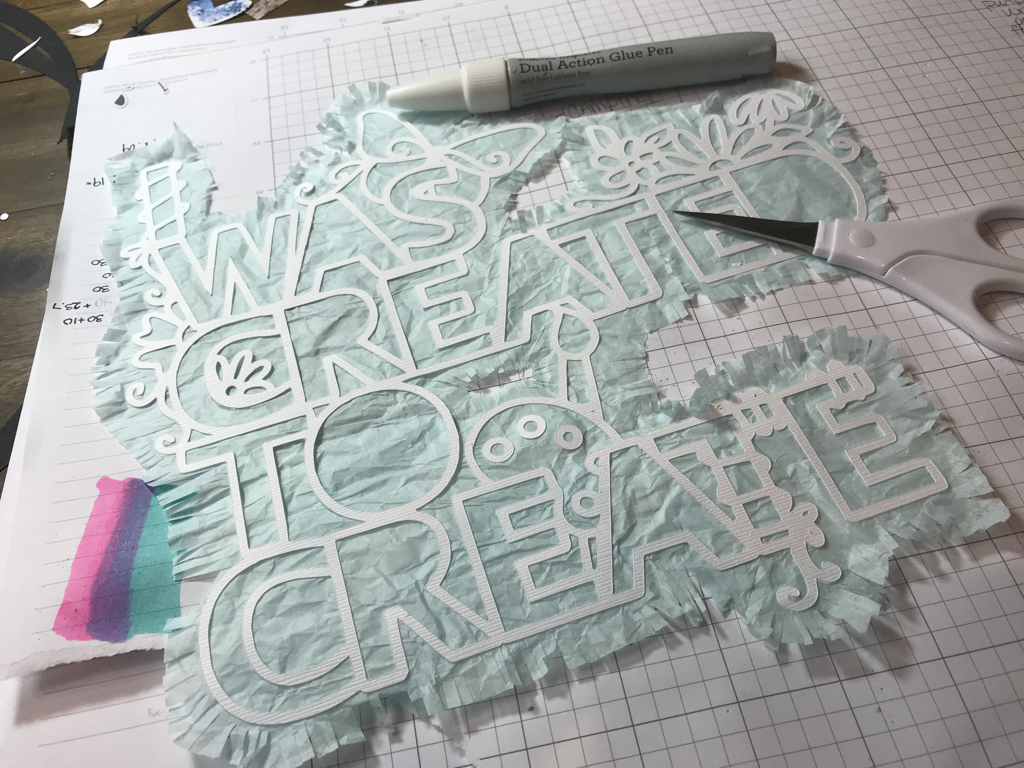 I just got my new Cocoa Vanilla Studio Unforgettable collection in from My Little Scrapbook Store and I couldn’t wait to use it! I choose the Story Teller paper because it wasn’t going to take away from the title, picture, or the embellishments I planned to use. I painted it where it would just be around the edges of the title, then splattered with some pink and teal watercolor, and allowed to dry. 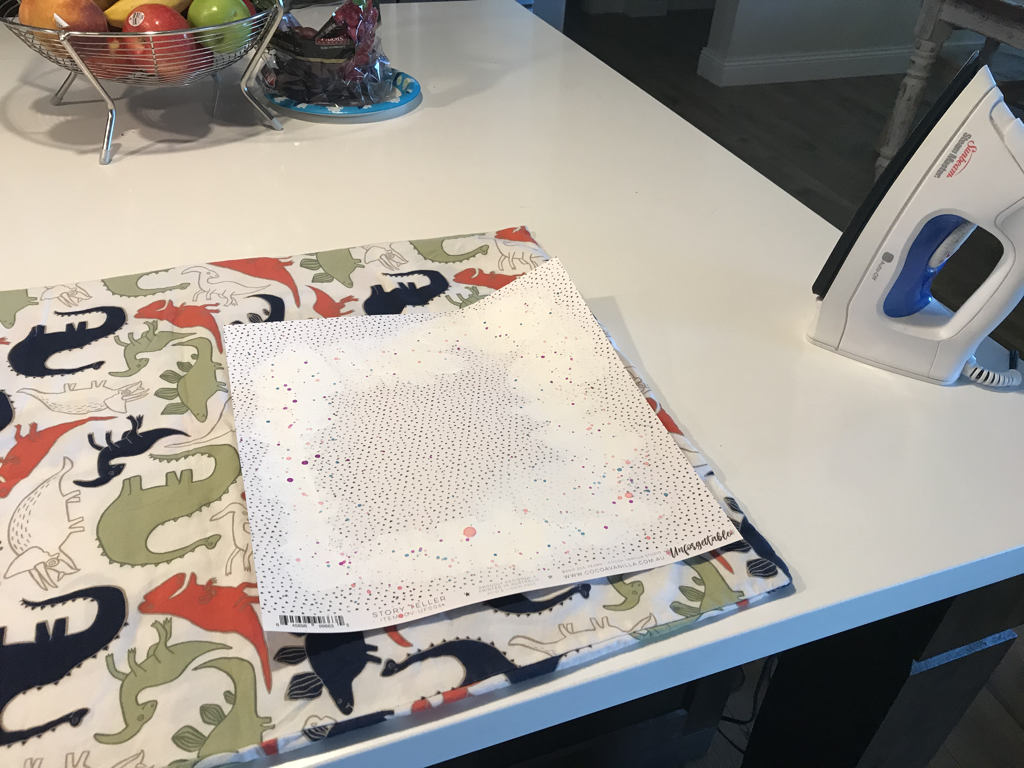 Since painting my papers usually results in crinkling and warping, I wanted to try and iron it out. I used a pillow case to put under and over my page and used a high heat setting to iron (I don’t think it was the smartest to iron it this way on my kitchen counter, next time I will do it on an ironing board).  Next up was the fun stuff...embellishments! 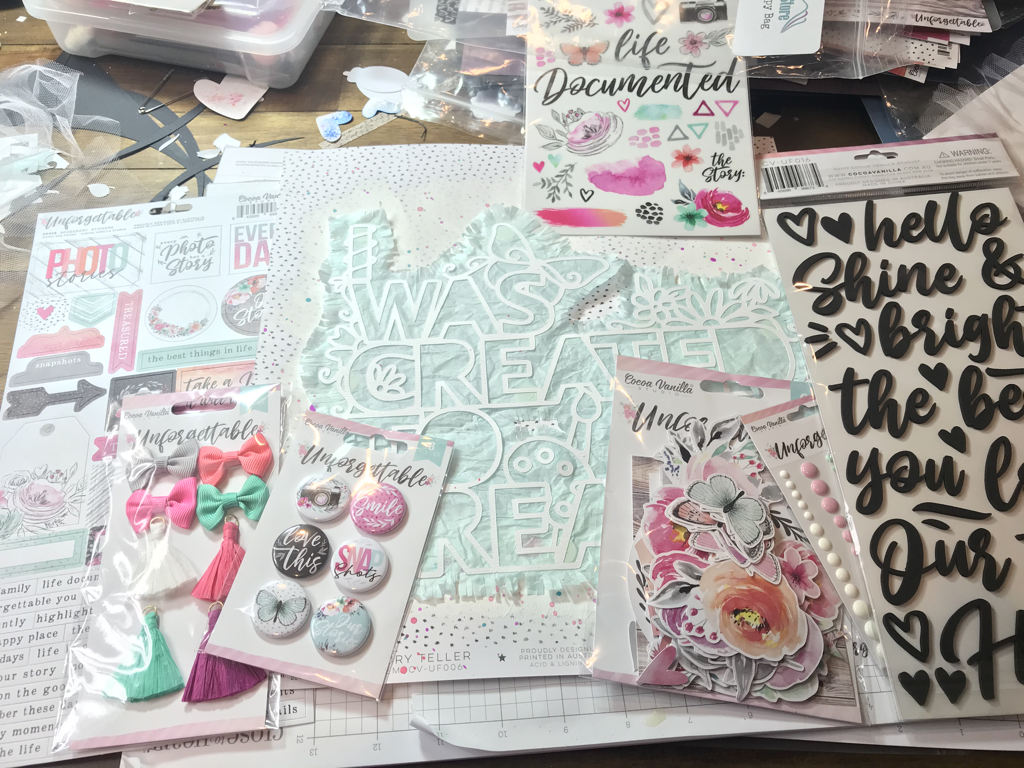 And here is the final product.  Thank you so much for reading and if you have any questions, comments, or suggestions for an upcoming blog post please let me know. Also, we have a newsletter, so please sign up here:
0 Comments
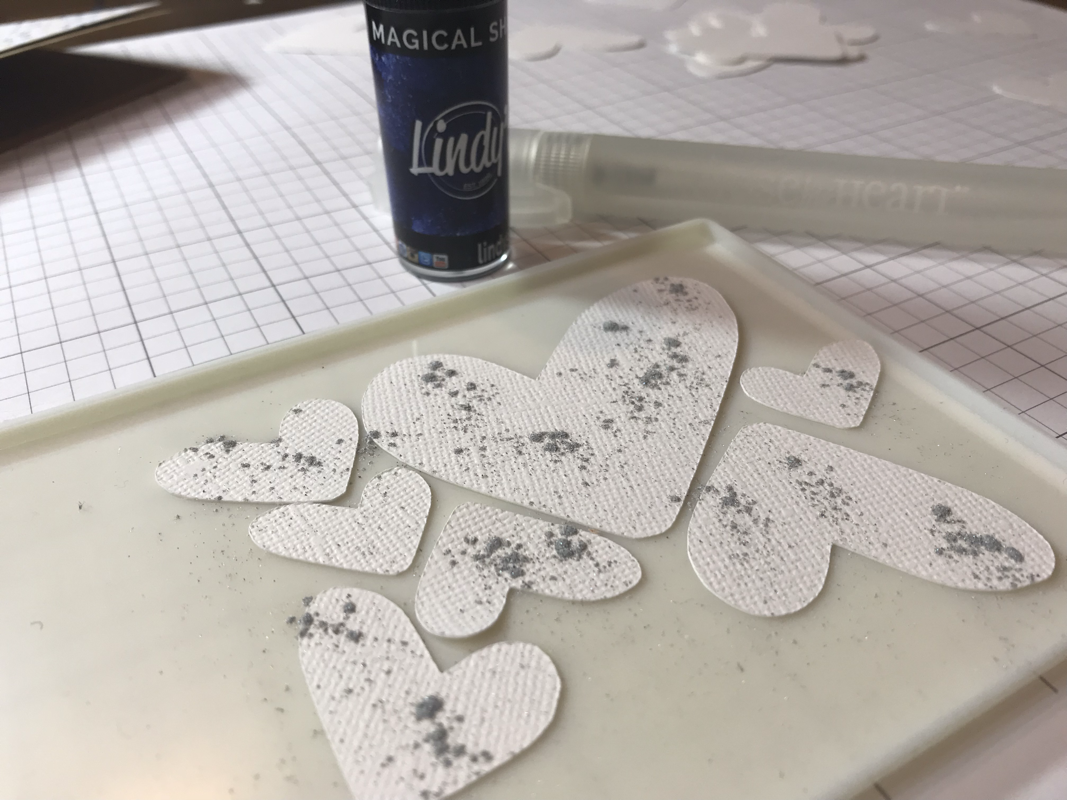
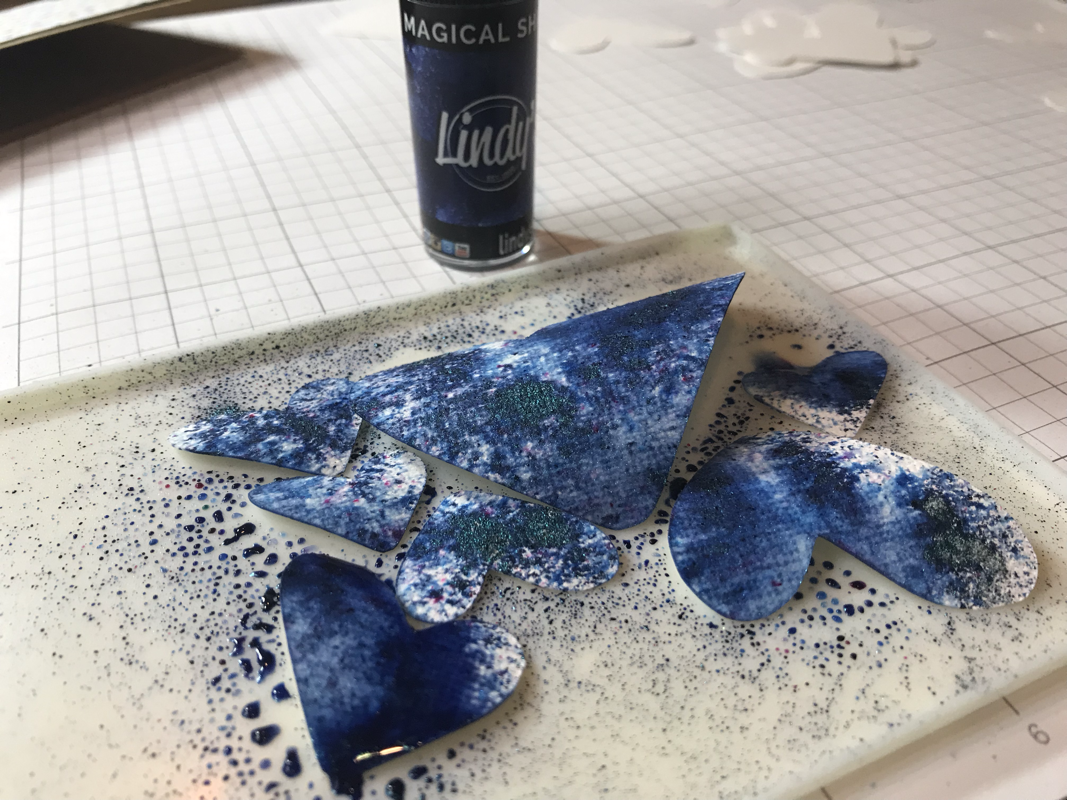
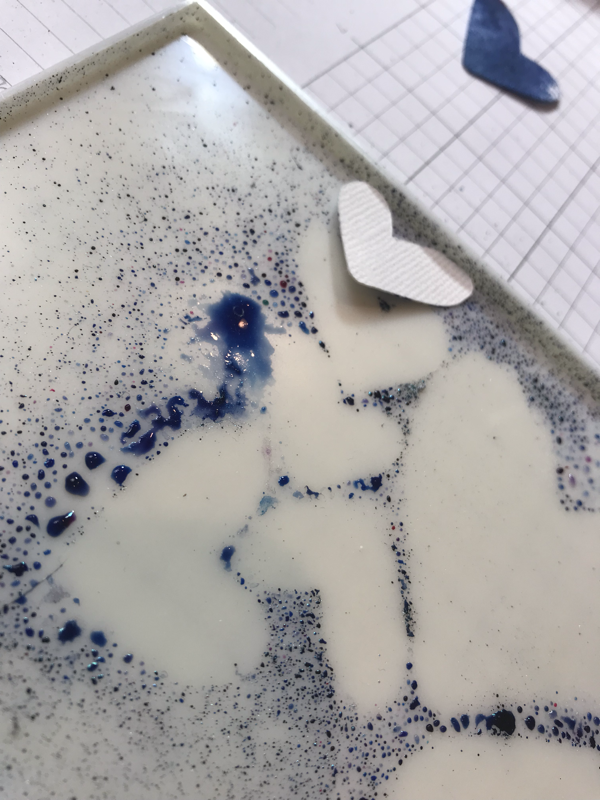
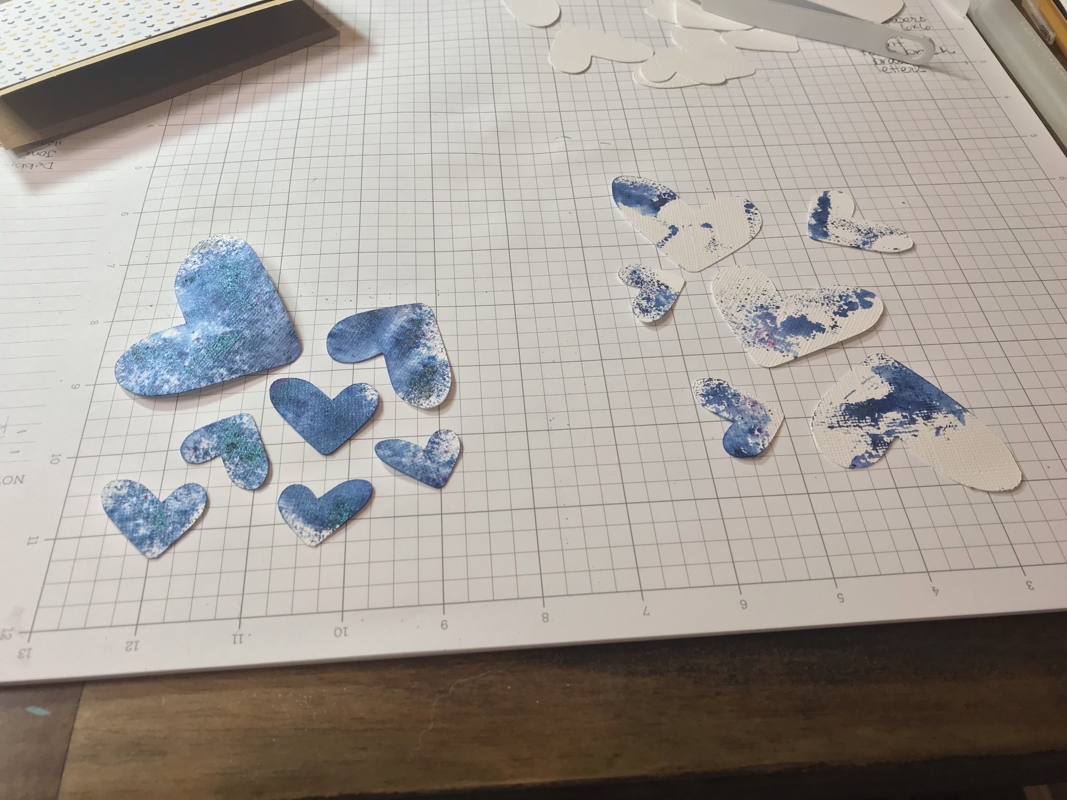
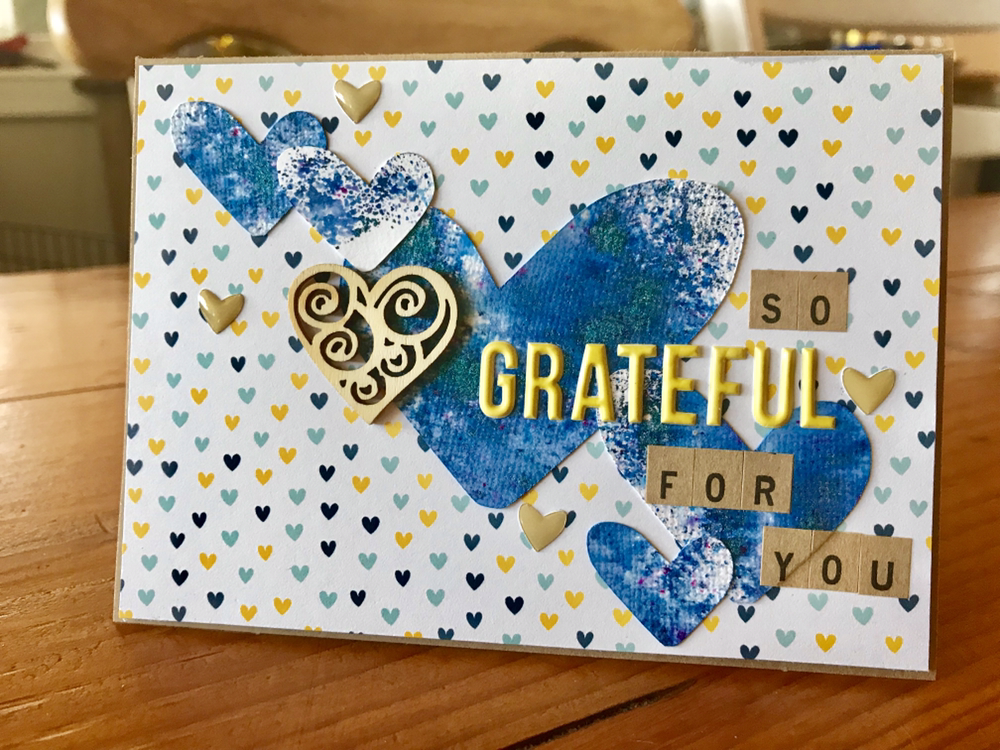
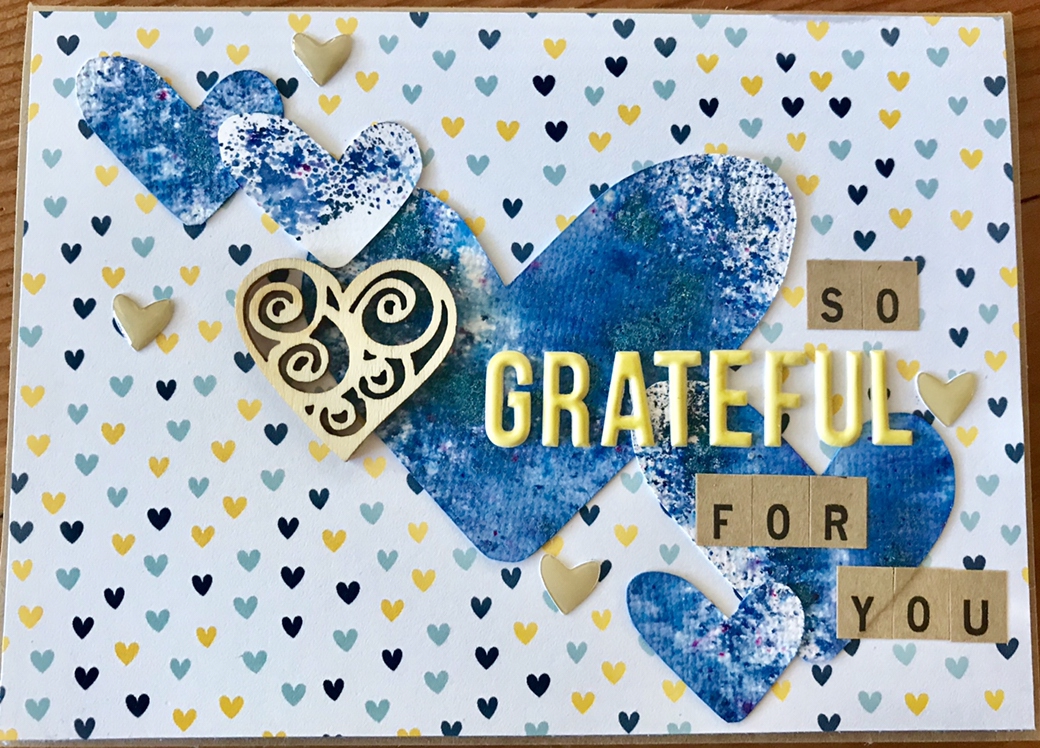
World Card Making Day I usually don’t make cards, but since it is World Card Making Day I thought I would break down and do one. I started by using the sketch for the Hip Kit Club group Facebook challenge this week. I decided to use this cute heart paper from one of my past kits as well. I had already cut the hearts using the weekly free cut file from SpiegelMom Scraps newsletter, since she also has challenged to use the cut files.  I decided the hearts were too plain to leave white so I got out one of my Lindy’s Magical Shakers. I shook some powder on them and sprayed with water. I also had some pigment left on my little plastic thingy so I decided to just grab more plain hearts and put them on top of the remaining pigment. Both results are truly magical! I added my title along with some little hearts from a past Felicity Jane Kit, and a beautiful wooden heart that I had in my stash! Then I put some pop dots on the back and mounted to a kraft card. Now it’s ready to mail! Thanks for stopping by to read this! Let me know if you have any techniques you would like to see featured on the blog in the future and check out the links below for the awesome products I used!
HIP KIT CLUB SPIEGELMOM SCRAPS LINDY’S MAGICALS FELICITY JANE |

Shaker ElementHello all! I am currently working on a mini album of a snow play trip we took in January. I wanted to put all kinds of different elements into it so I thought it would be a perfect time to add a shaker box. So first off I decided to use a snowflake cut file from The Cut Shoppe for this element and the first thing I did was cut some of the inside elements out to make the visible area bigger. Then I glued a piece of scrap page cover to the snowflake. I glued a bigger piece and once it was dry I then cut it down to just my shaker area. I then cut my foam dots in half to box it in.
So my snowflake is ready for my dodads! First I placed my snowflake on top of where I wanted it and took a mental note of where the shaker part would be. Then I placed a little pile of sequins and confetti where it will go.
I then pulled all those little backings off my foam dots and placed my snowflake where is supposed to go and viola, I had a beautiful little shaker snowflake! I hope you enjoyed this tutorial, please let me know in the comments if there is something you would like to learn for scrapbooking!
Archives
April 2023
Categories
All
|


 RSS Feed
