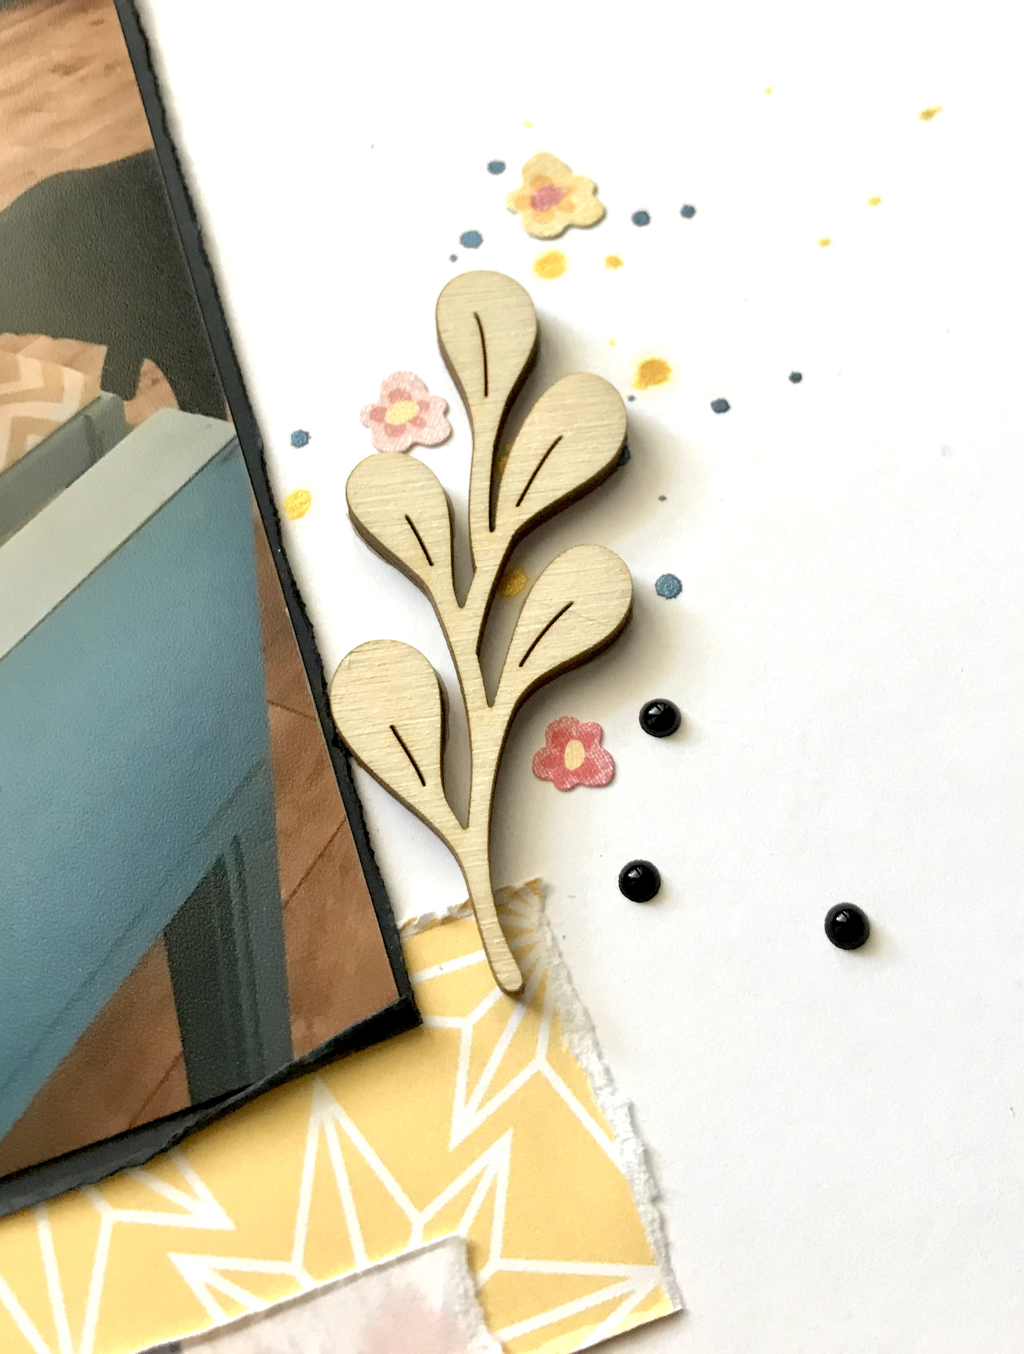
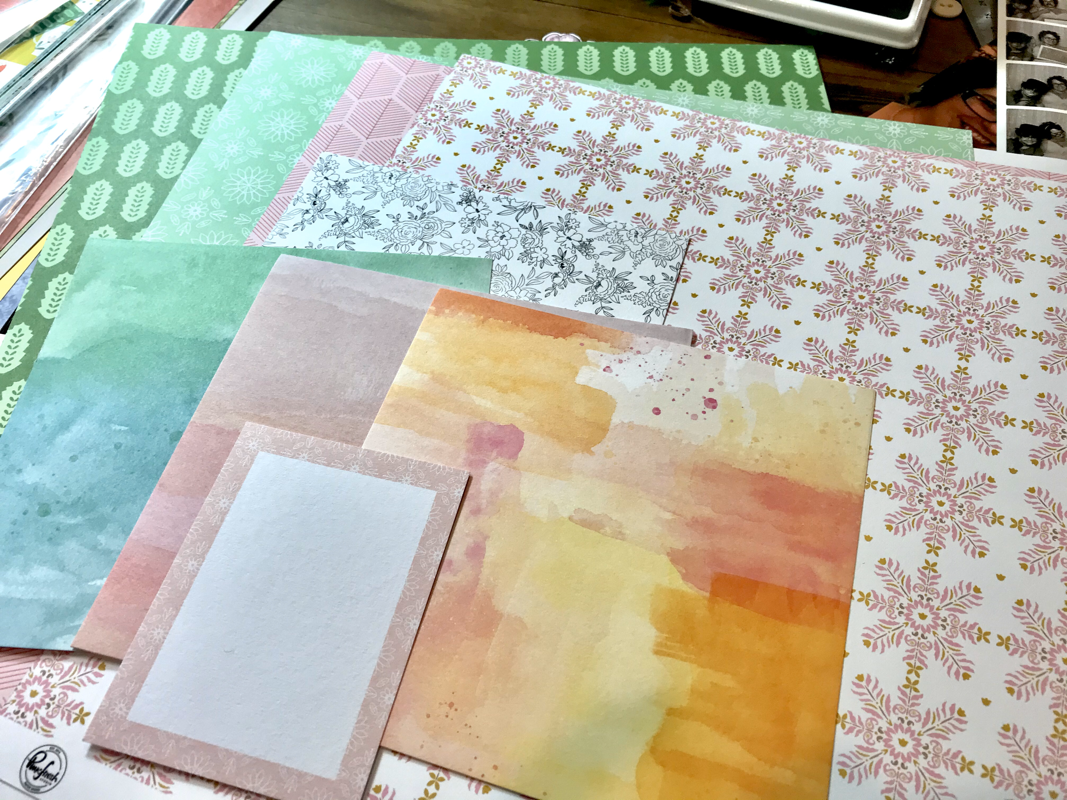
MY FAVORITE PEOPLE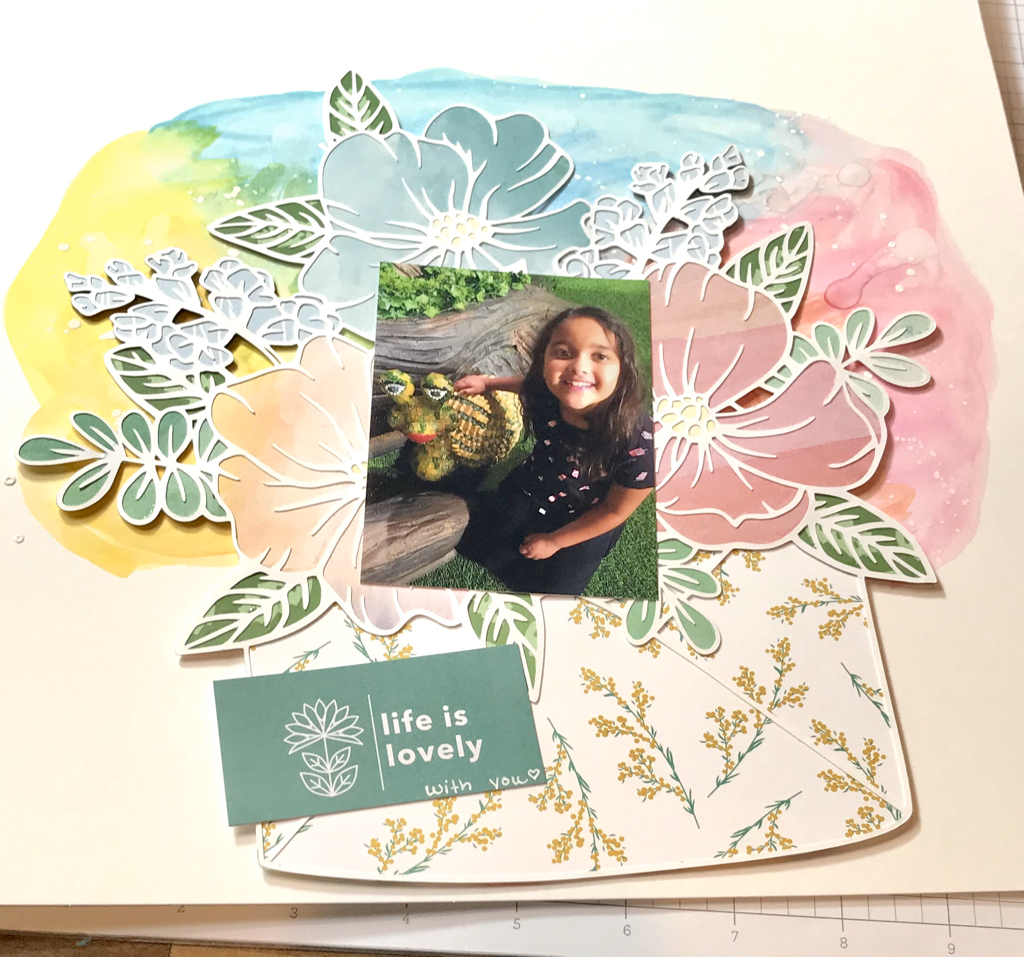 I recently went to an intro to copic coloring class and really had a great time! I left with some pink and yellow blending trios and this cute coloring page. BTW the class was at The Paper Collage in Peoria, AZ in case you are interested in checking it out too. I used my new markers and some borrowed from my daughter to color these flowers and leaves. I then fussy cut them all out ✂️ I went through my hoards of paper and decided to pull out a bunch of pinks, greens, and yellows from my Pink Fresh Studio collections. Once I decided on papers I kinda based my page off of the Hip Kit Club weekly sketch challenge. I added torn pieces to a white cardstock. I arranged my pics and then chose to only use the pink flowers I colored, saving the yellow for a different project. After that I arranged some clusters of sequins from SpiegelMom Scraps and using my new pink Nuvo drops that I also picked up at The Paper Collage. I also added some little strips of paper down in the lower left of my page along with my title. BTW a little tip, don’t try to write on your page until AFTER your Nuvo drops dry 🤦🏻♀️ Then I added a little pink butterfly seal I received in one of my Kreative Cuts Club kits. Here is the final again. Thank you for reading. 
0 Comments
|

Shaker ElementHello all! I am currently working on a mini album of a snow play trip we took in January. I wanted to put all kinds of different elements into it so I thought it would be a perfect time to add a shaker box. So first off I decided to use a snowflake cut file from The Cut Shoppe for this element and the first thing I did was cut some of the inside elements out to make the visible area bigger. Then I glued a piece of scrap page cover to the snowflake. I glued a bigger piece and once it was dry I then cut it down to just my shaker area. I then cut my foam dots in half to box it in.
So my snowflake is ready for my dodads! First I placed my snowflake on top of where I wanted it and took a mental note of where the shaker part would be. Then I placed a little pile of sequins and confetti where it will go.
I then pulled all those little backings off my foam dots and placed my snowflake where is supposed to go and viola, I had a beautiful little shaker snowflake! I hope you enjoyed this tutorial, please let me know in the comments if there is something you would like to learn for scrapbooking!
Archives
April 2023
Categories
All
|


 RSS Feed
