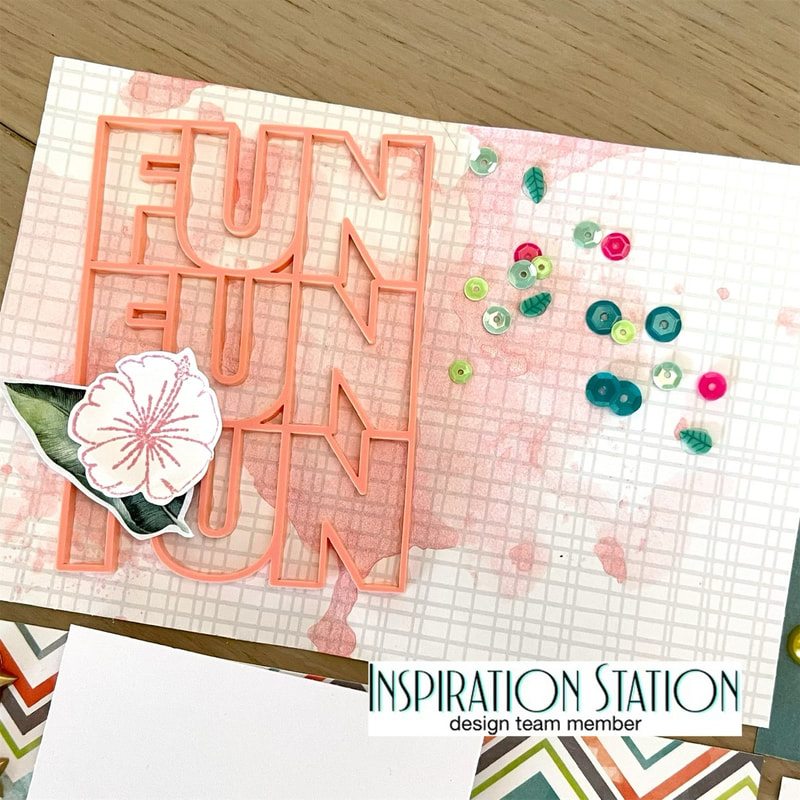
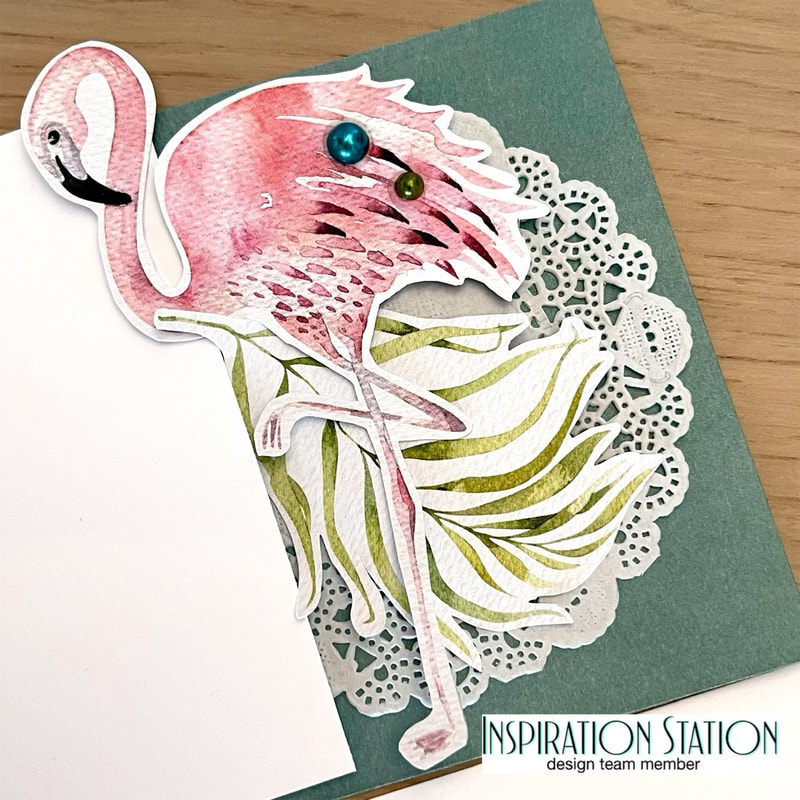
 Hello all and welcome back for another Inspiration Station blog post. The picture in the Inspiration Station Blog is full of plants so I decided to use my "Tropical Vibes" Page Kit from {Not} Just for Boys Kit Club to make this plant page. Here is the photo posted in Inspiration Station: 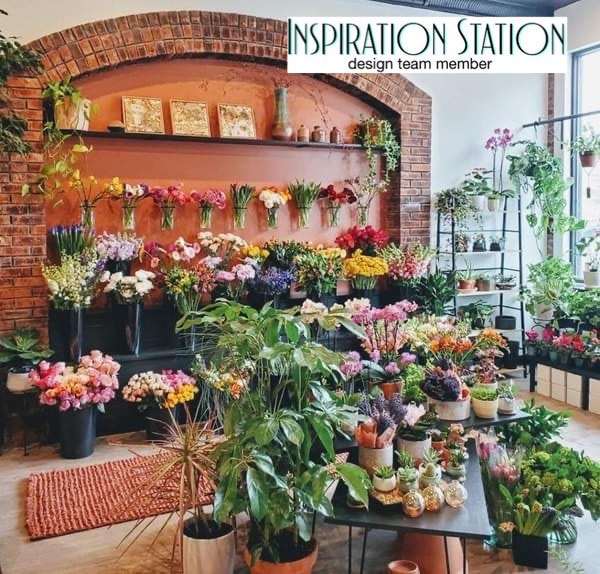 I used lots of cut aparts and stamped images that came with my kit to make different embellishment clusters. My pocket page doesn't have pictures yet because I'm saving it for my trip to Puerto Penasco, Mexico this June. I used the "FUN FUN FUN" acrylic piece, sequins, and little pearls to add more interest to this layout. Thank you so much for popping on to read about my project for Inspiration Station. You can enter your own project on the Inspiration Station Blog for a chance to win a cool prize.
Until next time, Nicole
1 Comment
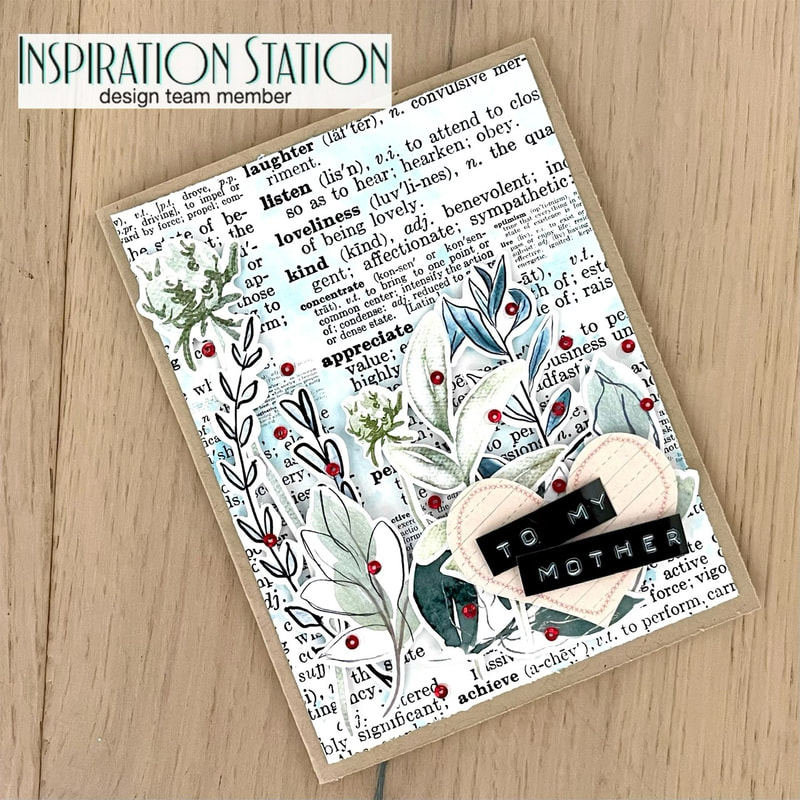 Hello all, I'm back with my first post for Inspiration Station Challenge Blog this month. The Inspiration Station is a blog that posts a picture ever 1st and 3rd Monday of the month and we use the picture to make a project. You can enter your project on the blog for a chance to win a prize. This month the picture looks like a mother holding her child out in a beautiful field. So I decided to make this card based on the picture... 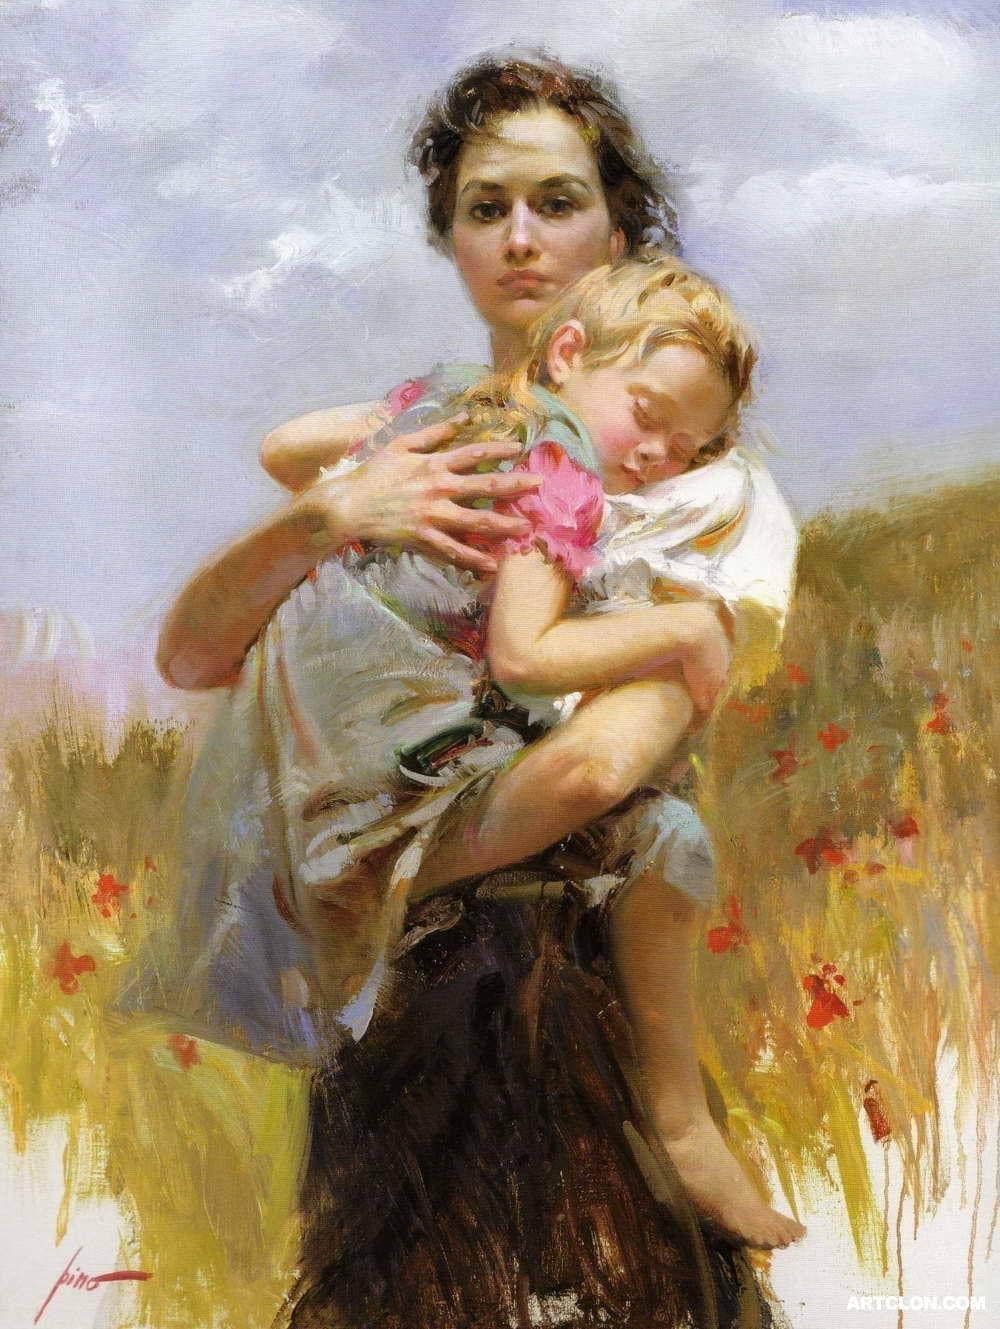 First thing I did was cut my card to size and add some Tumble Glass Distress Oxide mixed media to the background to serve as my sky. I then used ephemera from my Pretty Little Studio Wildflower Collection to make the green fields. I wanted to make the red flowers with some bling so I used the brand new Strawberry Patch collection from Spiegelmom Scraps. I added the sentiment "To My Mother" with my label maker.  Thanks so much for stopping by to read about my card. I do have a process video that you can see here: To My Mother Process Video
Until next time, Nicole |

Shaker ElementHello all! I am currently working on a mini album of a snow play trip we took in January. I wanted to put all kinds of different elements into it so I thought it would be a perfect time to add a shaker box. So first off I decided to use a snowflake cut file from The Cut Shoppe for this element and the first thing I did was cut some of the inside elements out to make the visible area bigger. Then I glued a piece of scrap page cover to the snowflake. I glued a bigger piece and once it was dry I then cut it down to just my shaker area. I then cut my foam dots in half to box it in.
So my snowflake is ready for my dodads! First I placed my snowflake on top of where I wanted it and took a mental note of where the shaker part would be. Then I placed a little pile of sequins and confetti where it will go.
I then pulled all those little backings off my foam dots and placed my snowflake where is supposed to go and viola, I had a beautiful little shaker snowflake! I hope you enjoyed this tutorial, please let me know in the comments if there is something you would like to learn for scrapbooking!
Archives
April 2023
Categories
All
|


 RSS Feed
