A Pocket Page Tip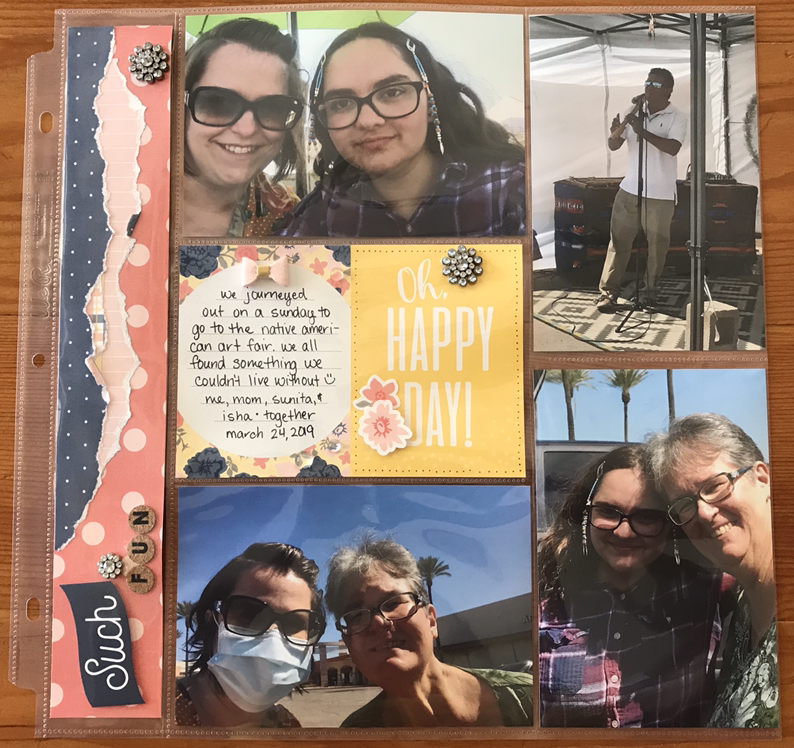 Have you ever scrapped one of these pocket pages and the stupid, long piece just keeps coming out of that darn, little pocket? Or sometimes you have a 4X6 falling out of one of it’s pockets? Well, I have a solution! So what I do is attach a brad from outside the pocket, thru the plastic, through the paper and then I secure. So now the paper and the plastic are attached with the brad. Just make sure you don’t put the brad all the way through the other side of the pocket. That’s it! This has saved so many of my side pockets from falling out! Hope this helps you!
0 Comments
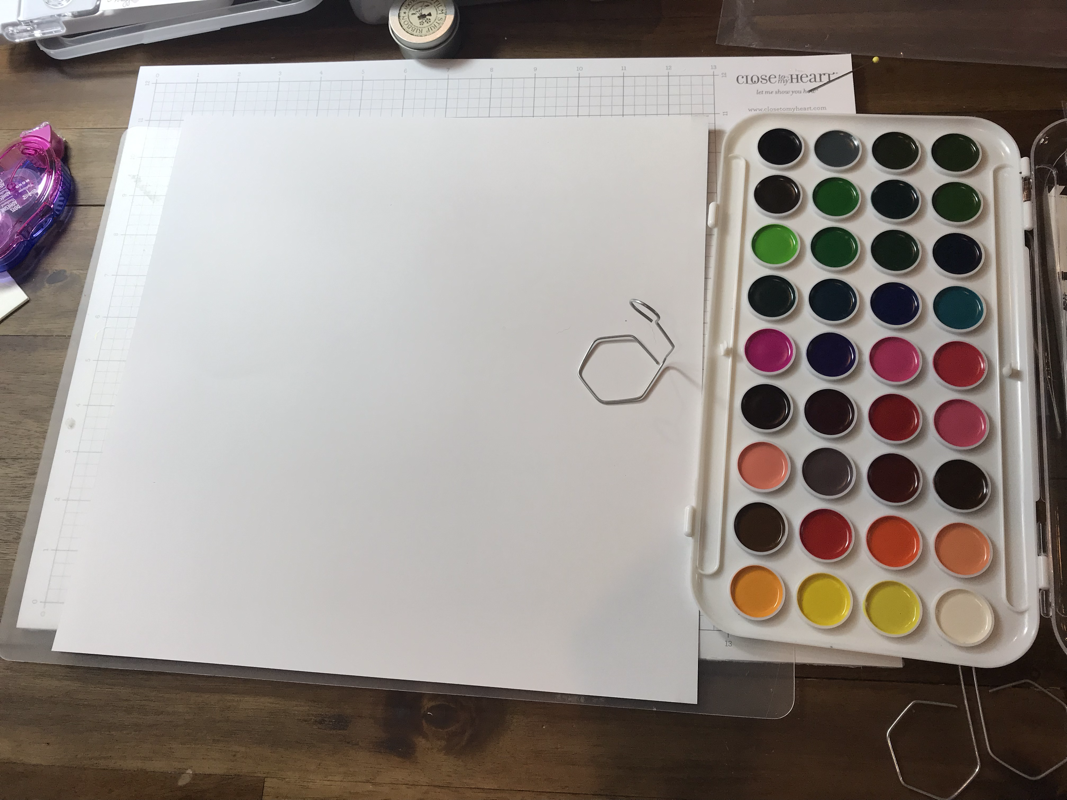
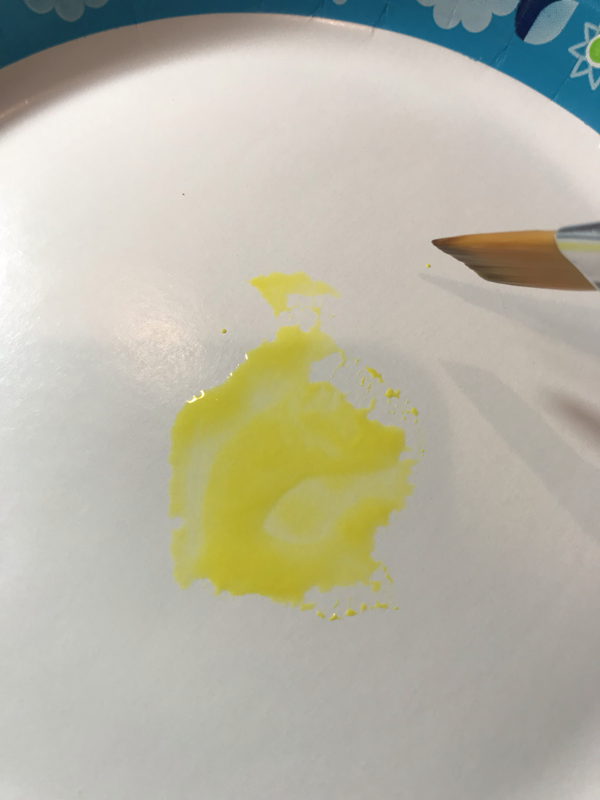
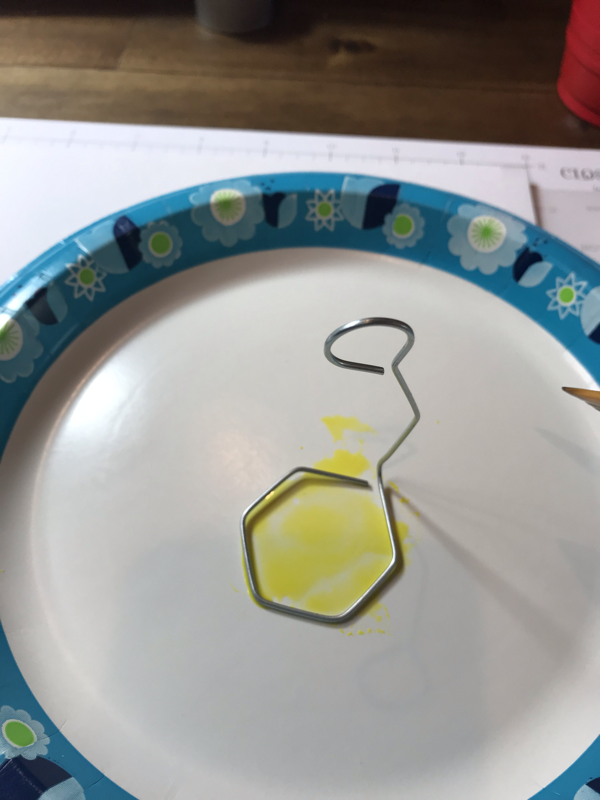
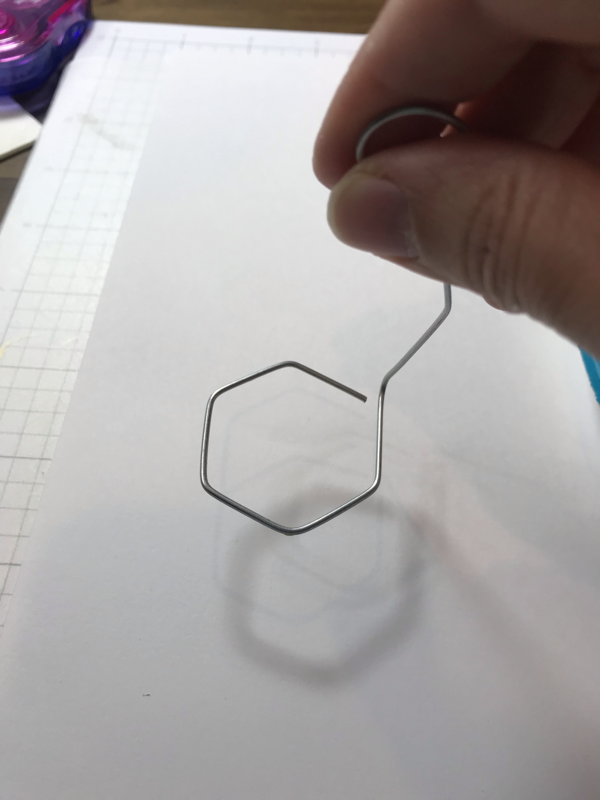
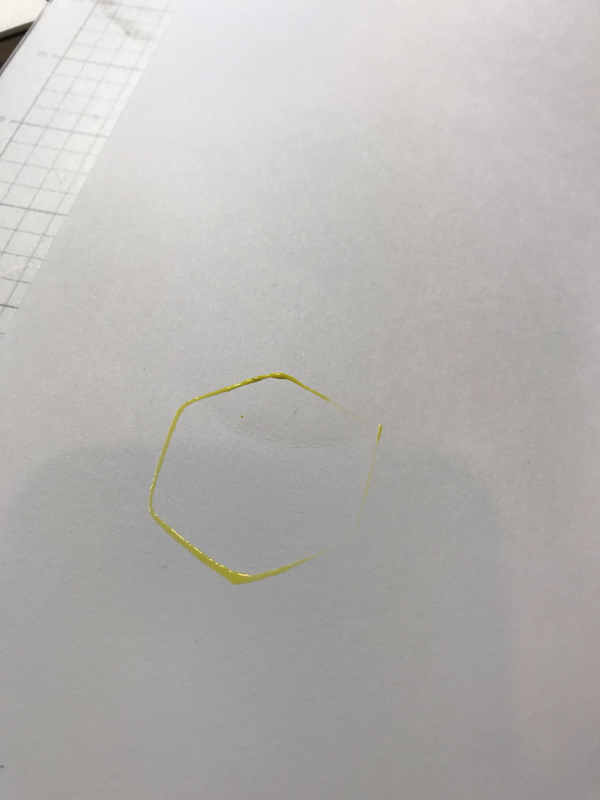
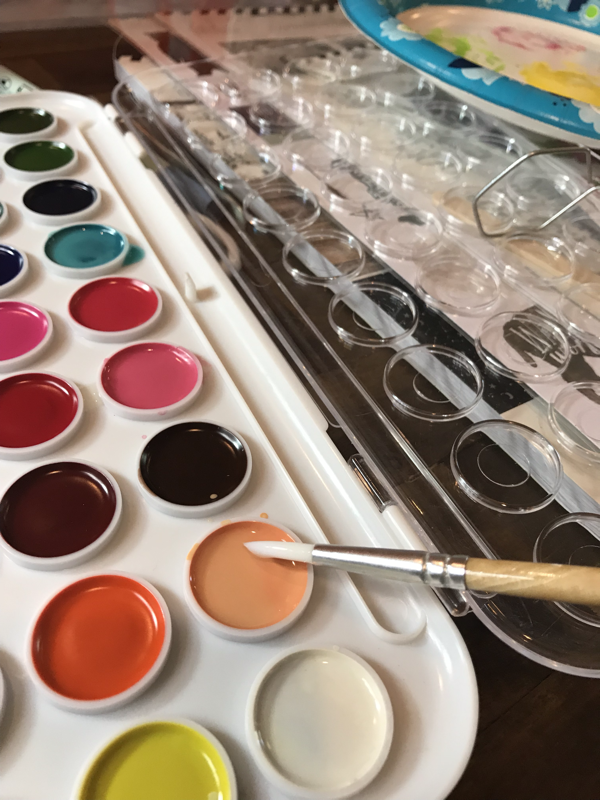
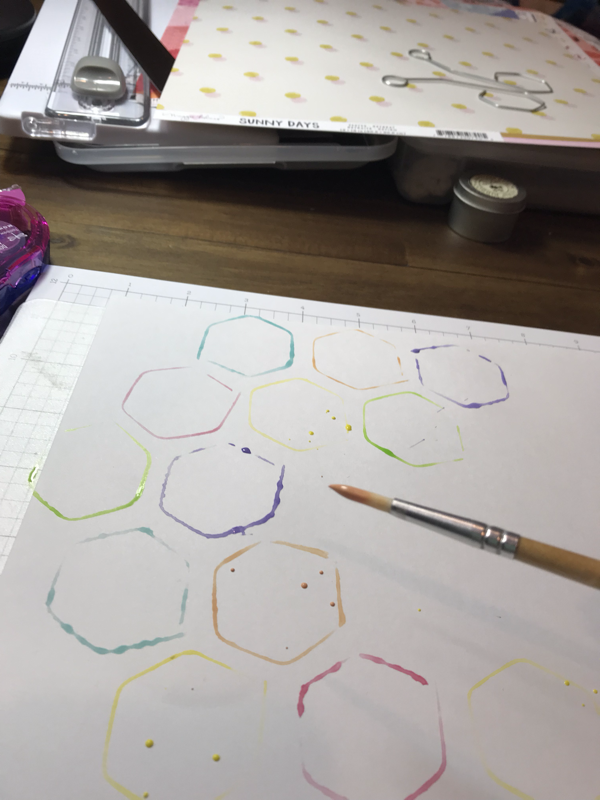
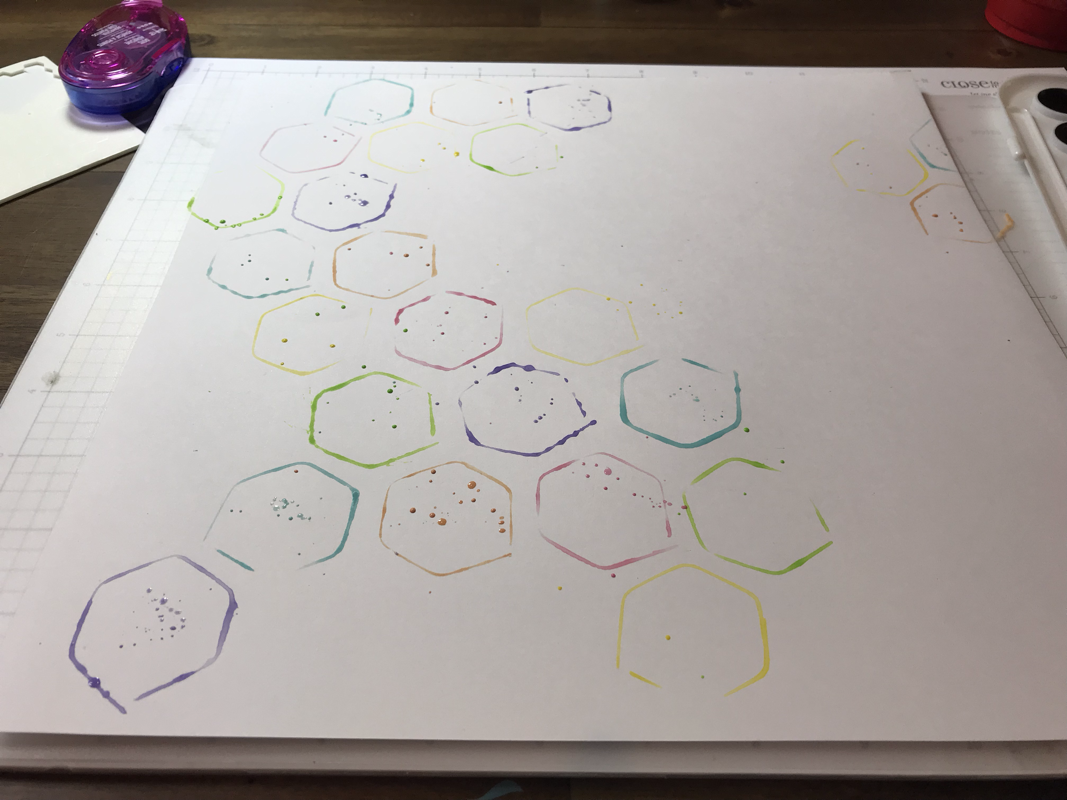
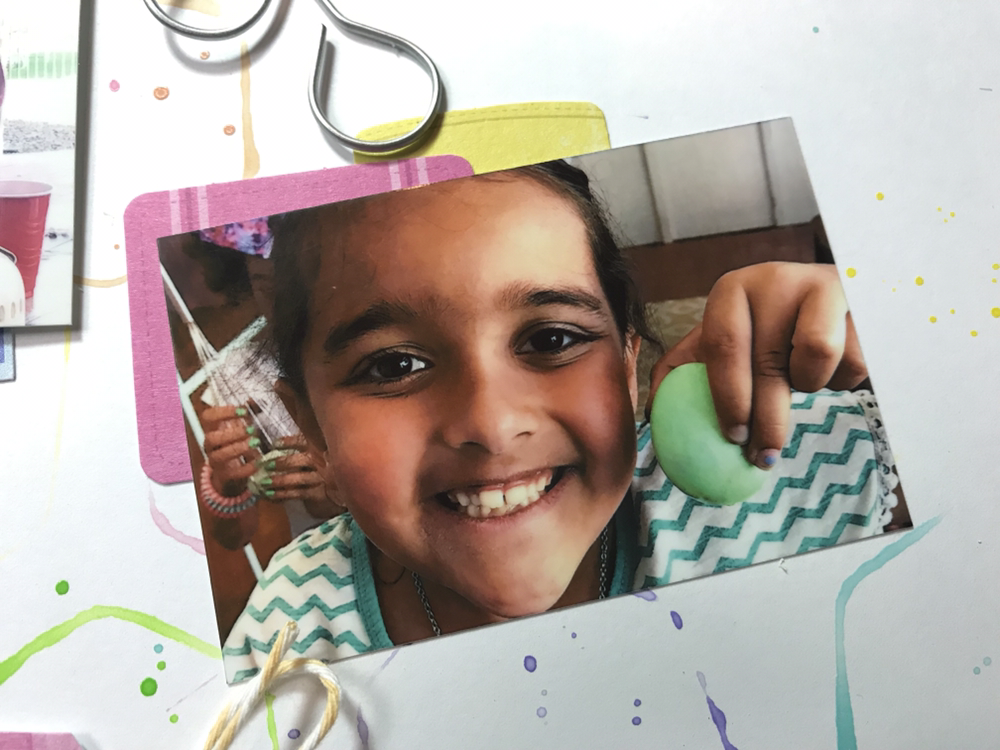
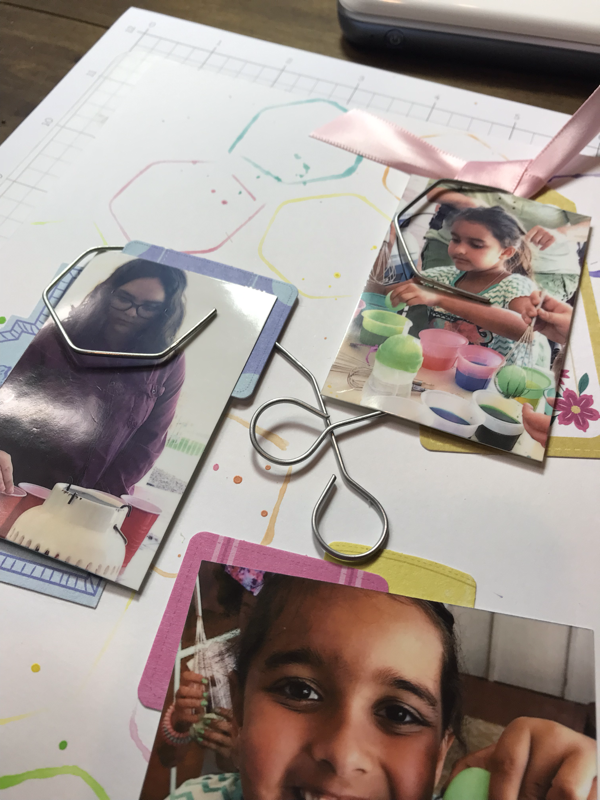
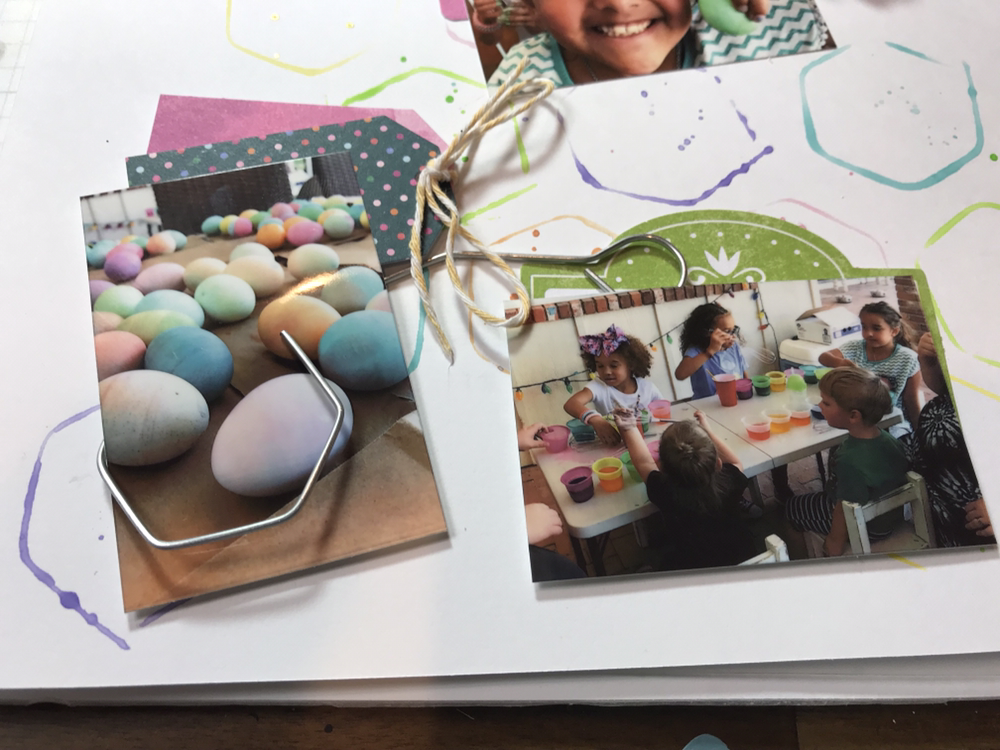
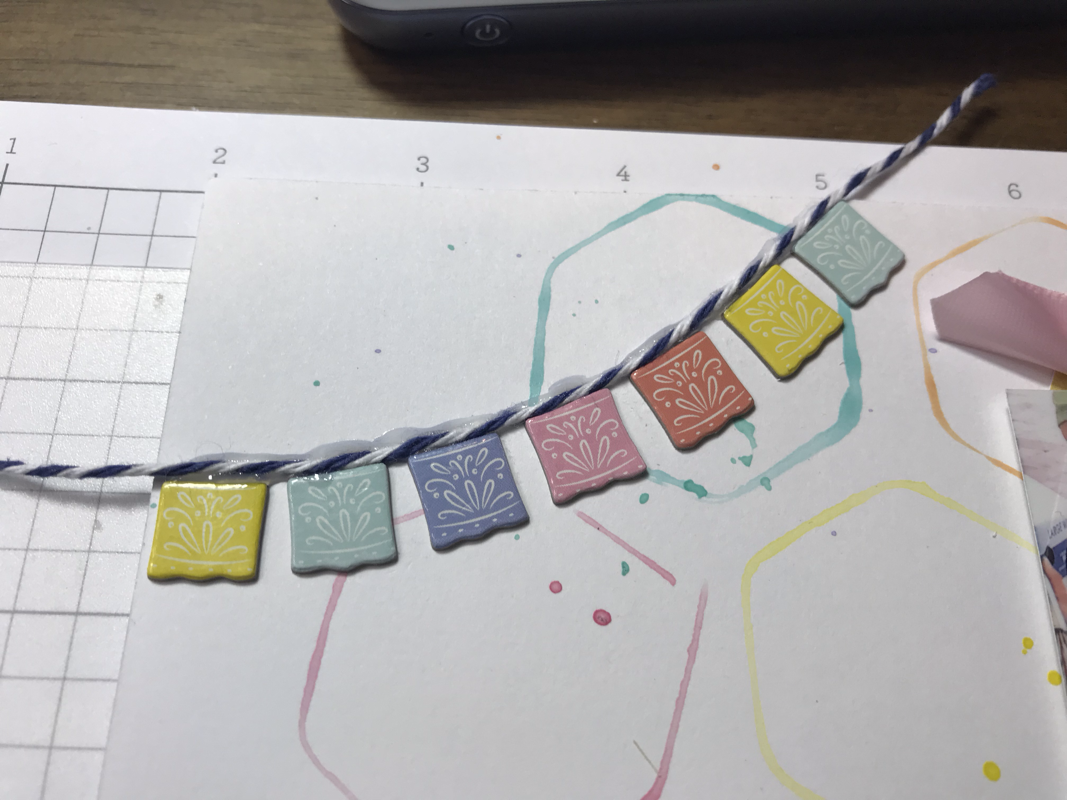
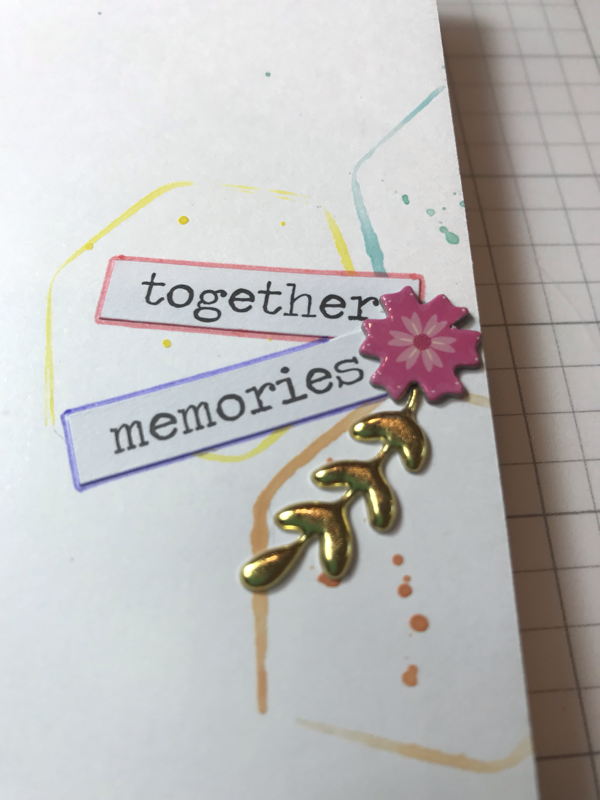
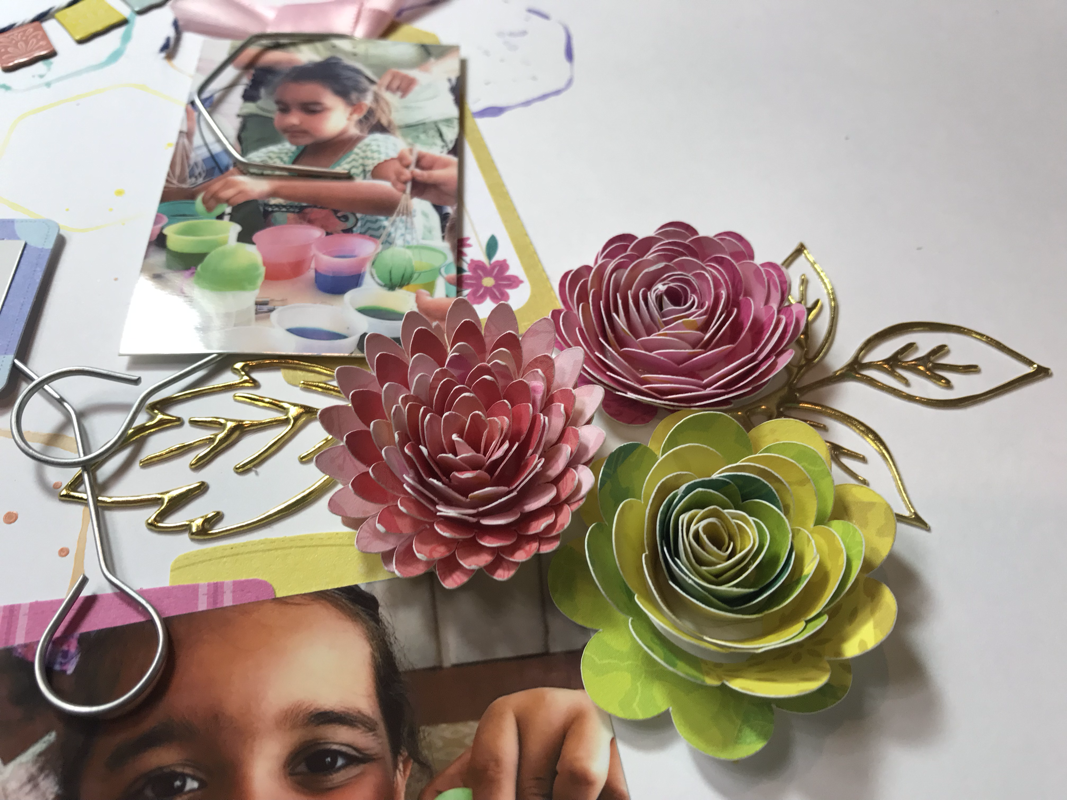
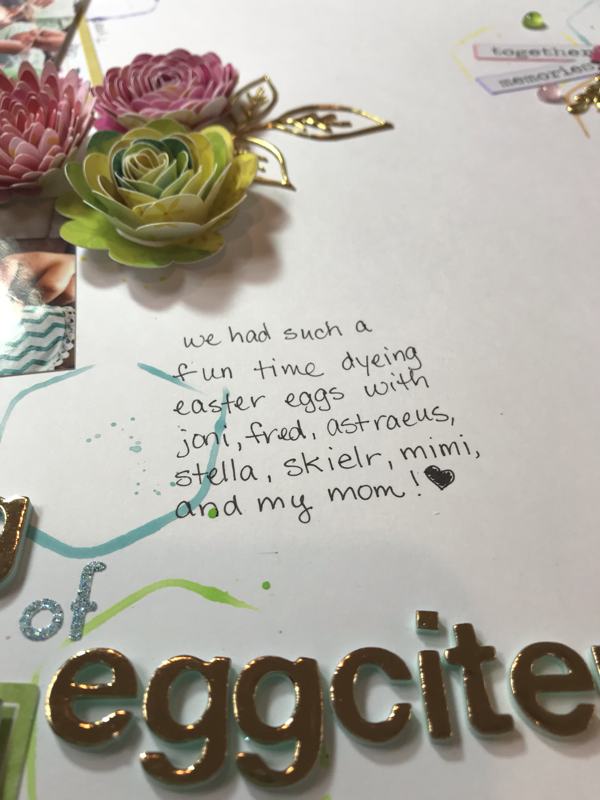
DYEING OF EGGCITEMENT On the Hip Kit Club Facebook group page there is a weekly challenge. This week it had quite a bit of pictures on the sketch so I decided to print out a bunch of egg dyeing pictures using my canon mini printer. For this page I used the Hip Kit Club April Kit which features the Paige Taylor Evans Horizon collection, I also used the Sparkly Effervescence embellishments pack from SpiegelMom Scraps. First I knew that I wanted to use some watercolor on this page and I thought it would be awesome to use the egg dipper and make a pattern. So I mixed up the color and water and I put it on a paper plate so that I could dip the dipper into it then I placed it on the paper. I continued this process with orange, pink, blue, green, and purple. After my pattern was set up I then decided to add some small splatters of paint to match the paint of the pattern. I used pieces in the Horizon ephemera pack to mat my photos and then I popped four of the photos off the page, leaving one I placed directly on the page. I then used the dippers to frame 3 of the photos.  I used one of the April cut files from The Hip Kit Club to cut these spiral flowers out of one of the Horizon papers. 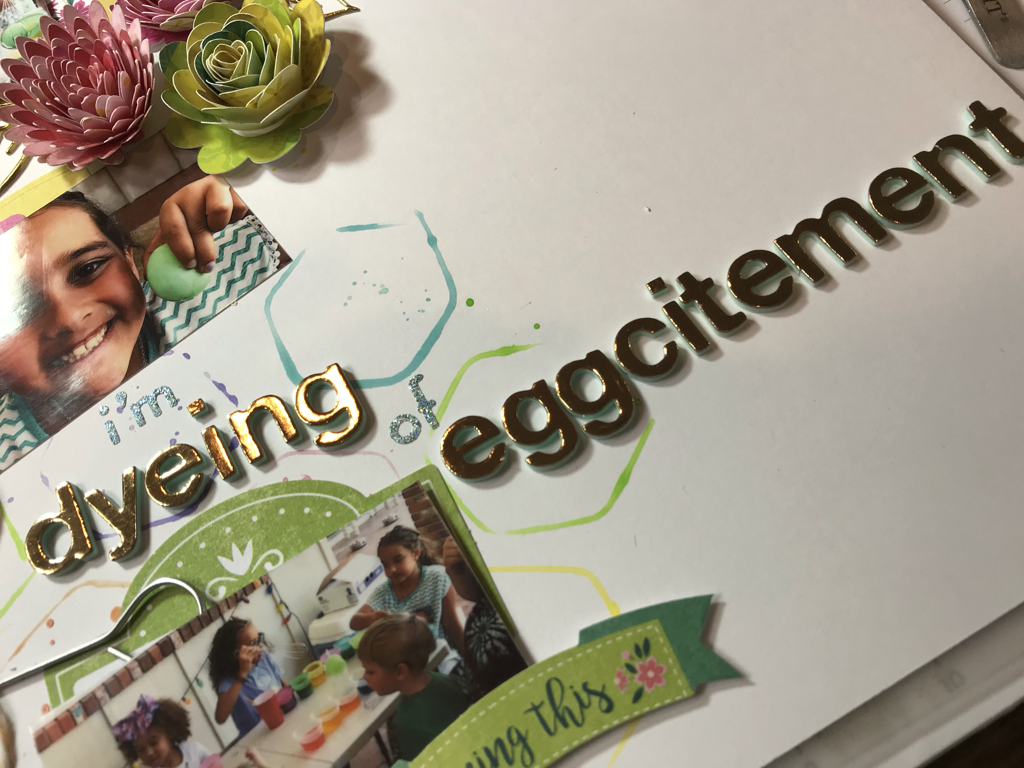 I had to add a punny title. 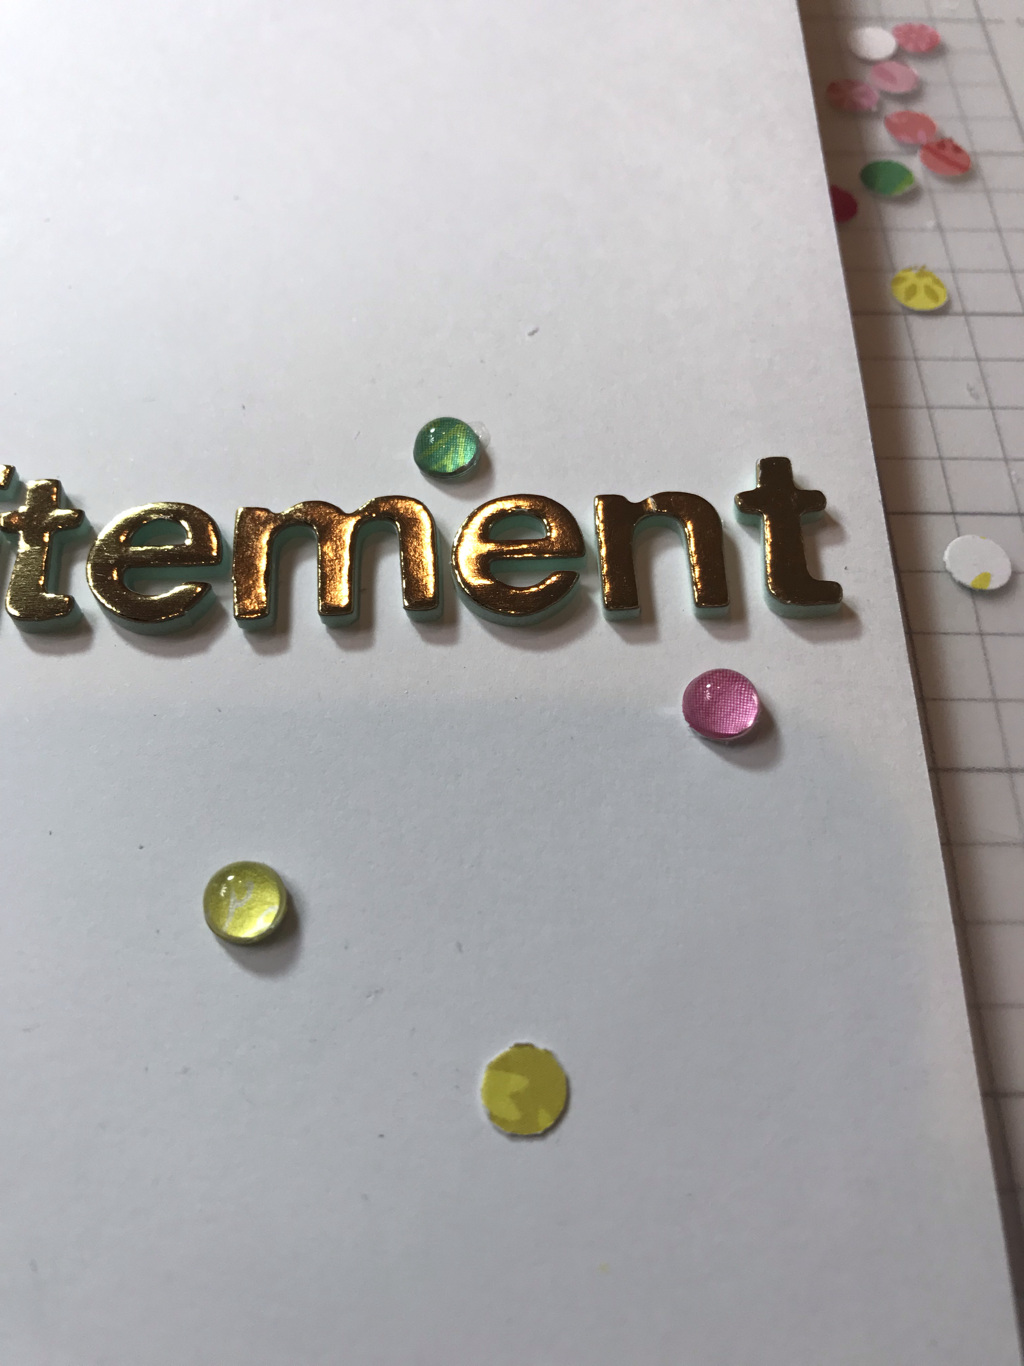 To make these I used a hole punch to make some dots from the same paper I cut the flowers from. Then I used some Liquid Glass from Close To My Heart to glue down some Sparkly Effervescence from SpiegelMom Scraps. To finish up I glued down the flowers with liquid glass, then added some more embellishments here and there, and finally put down some journaling. 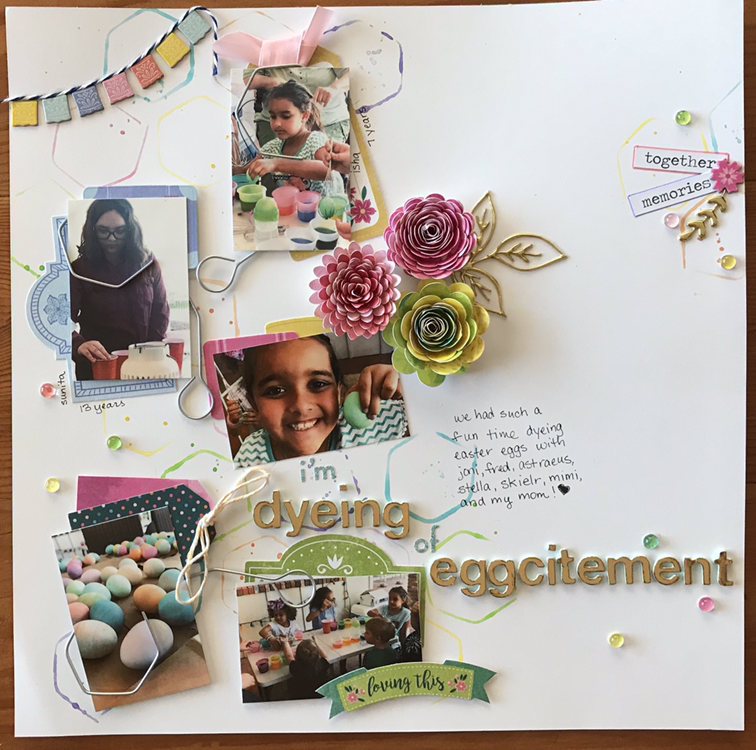 Here is the finished project! It was a lot, but I feel it came together perfectly! Thank you for reading!
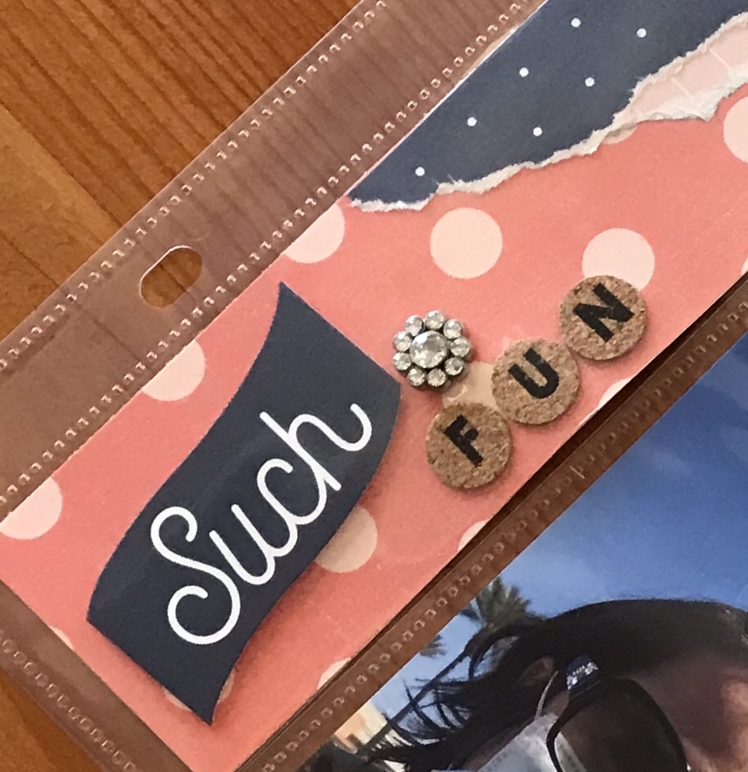
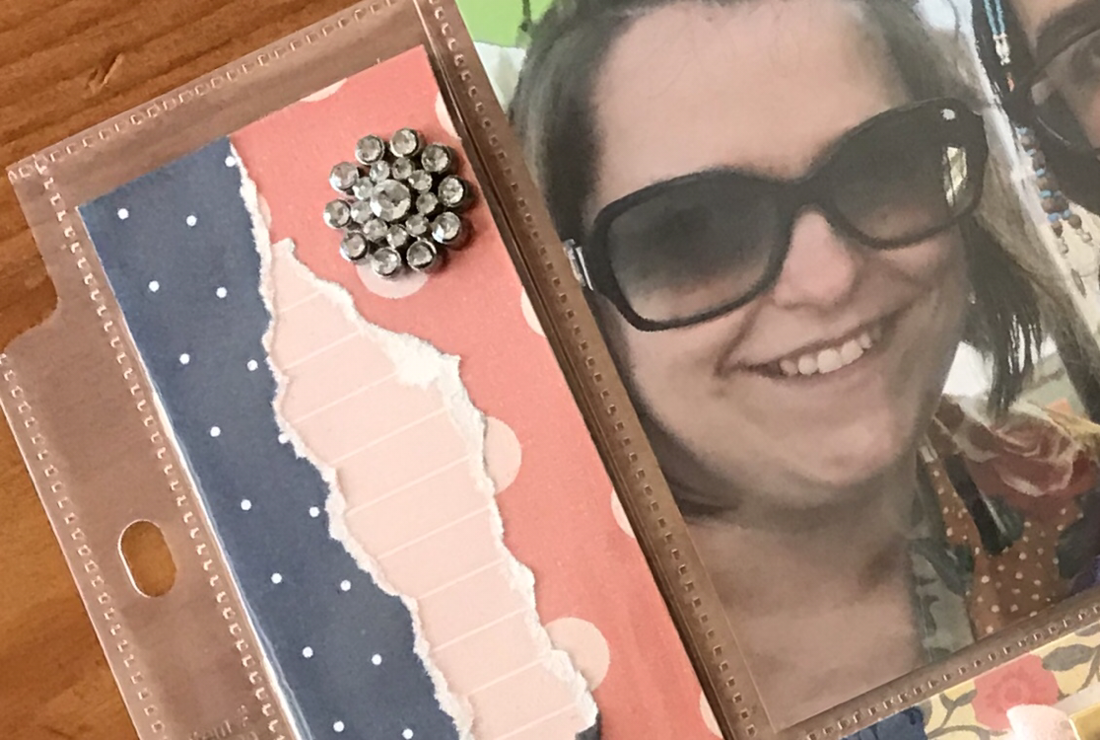
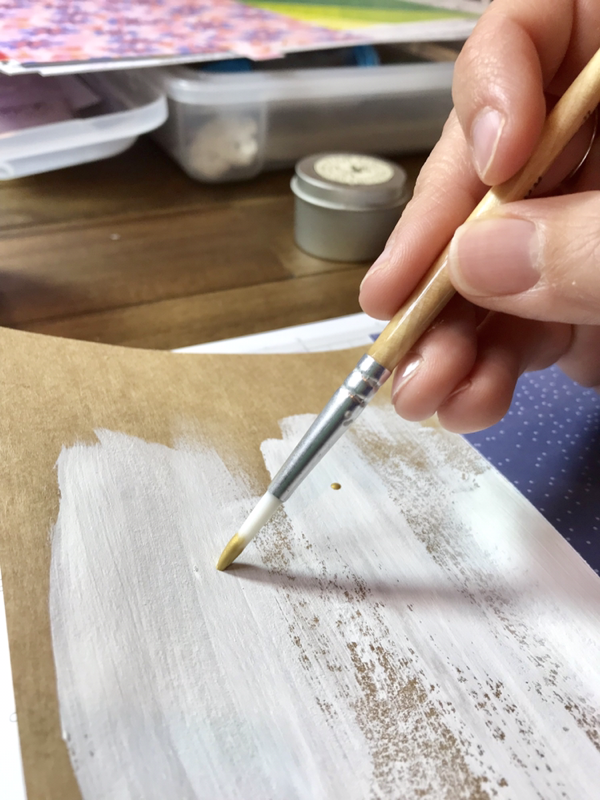
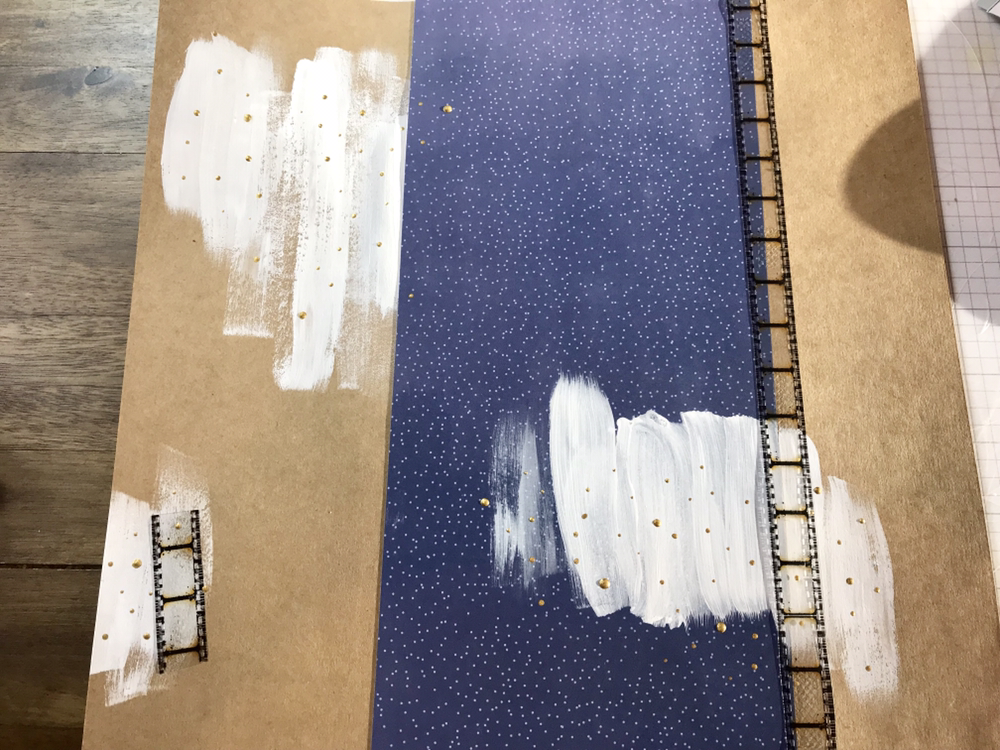
MOVIE TIME I recently decided to subscribe to the Hip Kit Club and received my first kits this last week. I decided to try to tackle some mixed media which I haven’t really attempted yet except for paint splatters. So I started with this blue piece of patterned paper which is part of the new Horizon collection by Paige Taylor Evans and Pink Paisley and decided to paint on that and my kraft background paper. 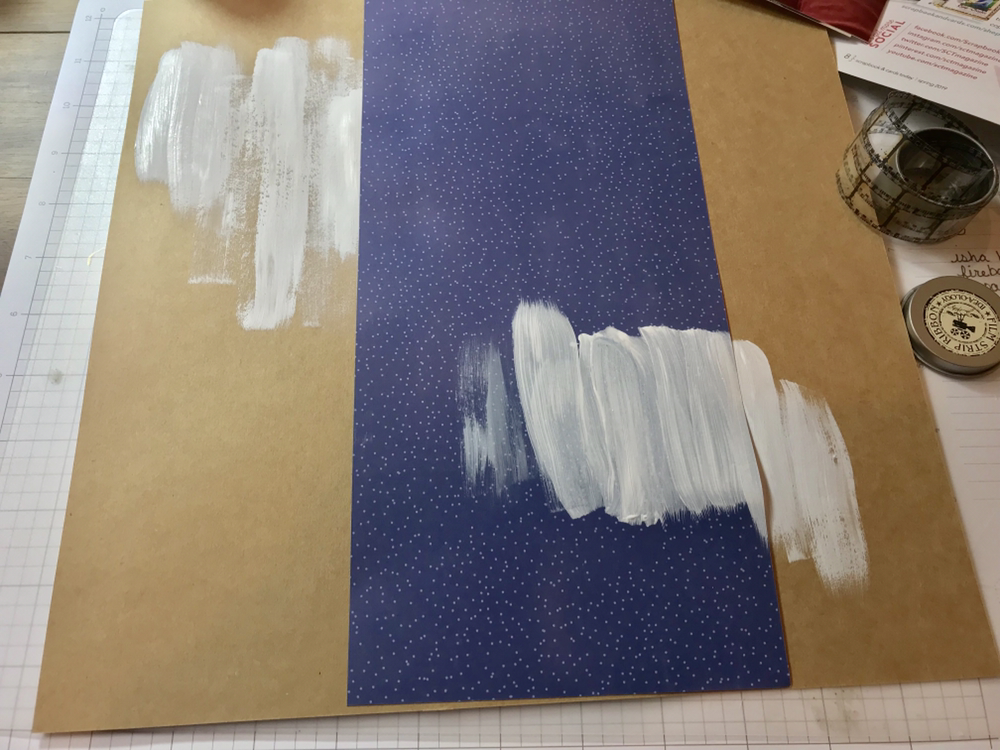 I then used some film strip for borders and an embellishment near the edge that I decided to add. 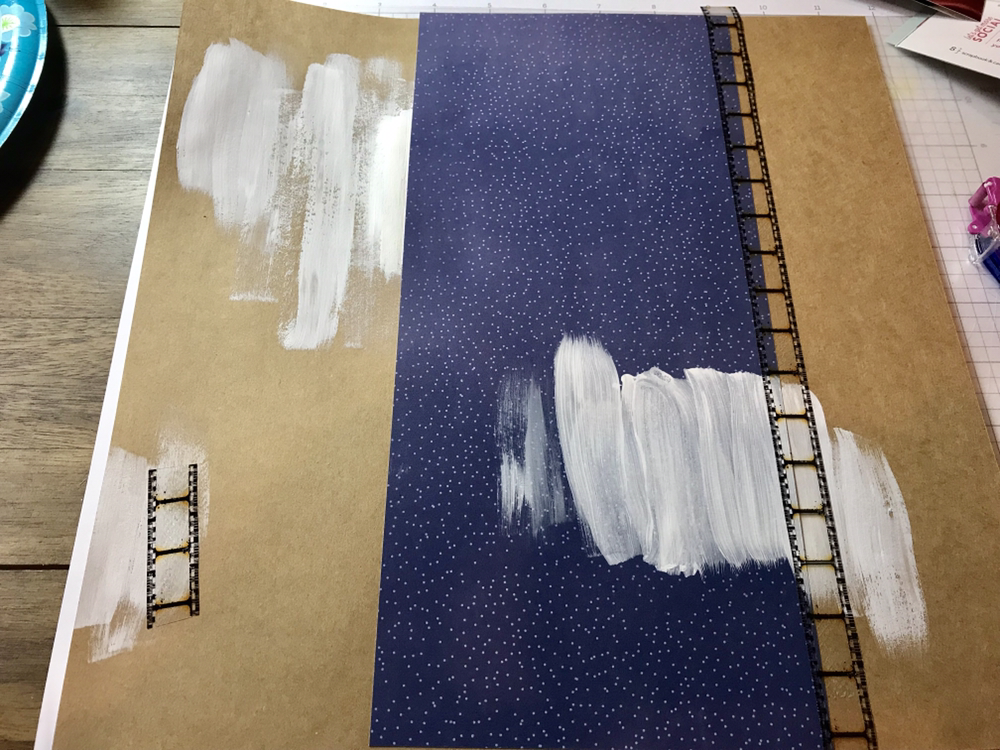 Next up I painted gold dots on my white paint and around them. I all of the sudden thought about adding some pink tulle. I’m so glad I did. I just used my double sided tape (Tombow) for that. 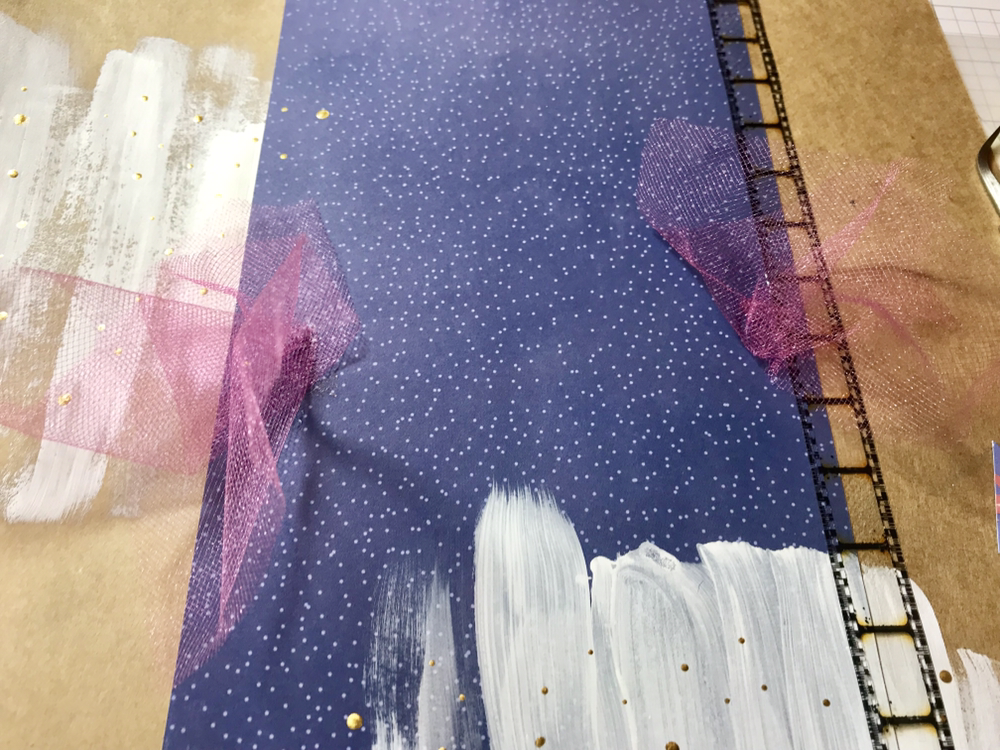 For my journaling I used some Horizon ephemera that came with my April kit from Hip Kit Club and tied up some ribbons and twine from my stash on it. 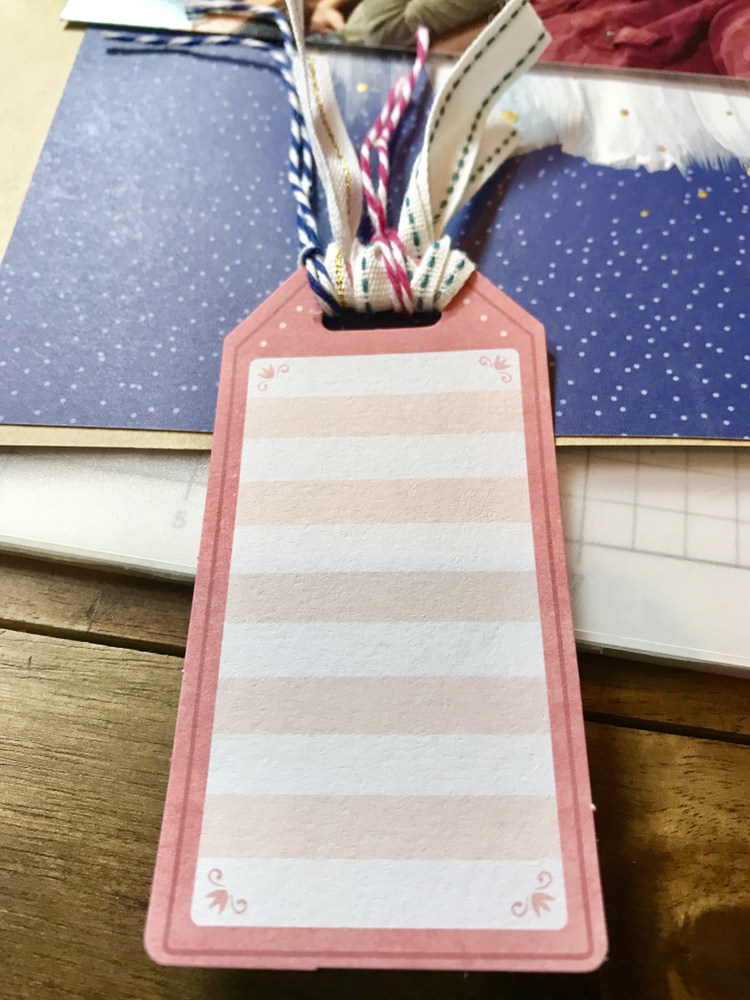 I used my We Are Royals sequins from SpiegleMom Scraps and I fussy cut flowers from the opposite side of my blue background paper. The page really came together with the title and some saying stickers.  Hope you found some inspiration on this post! Happy crafting!
|

Shaker ElementHello all! I am currently working on a mini album of a snow play trip we took in January. I wanted to put all kinds of different elements into it so I thought it would be a perfect time to add a shaker box. So first off I decided to use a snowflake cut file from The Cut Shoppe for this element and the first thing I did was cut some of the inside elements out to make the visible area bigger. Then I glued a piece of scrap page cover to the snowflake. I glued a bigger piece and once it was dry I then cut it down to just my shaker area. I then cut my foam dots in half to box it in.
So my snowflake is ready for my dodads! First I placed my snowflake on top of where I wanted it and took a mental note of where the shaker part would be. Then I placed a little pile of sequins and confetti where it will go.
I then pulled all those little backings off my foam dots and placed my snowflake where is supposed to go and viola, I had a beautiful little shaker snowflake! I hope you enjoyed this tutorial, please let me know in the comments if there is something you would like to learn for scrapbooking!
Archives
April 2023
Categories
All
|


 RSS Feed
