BESTIES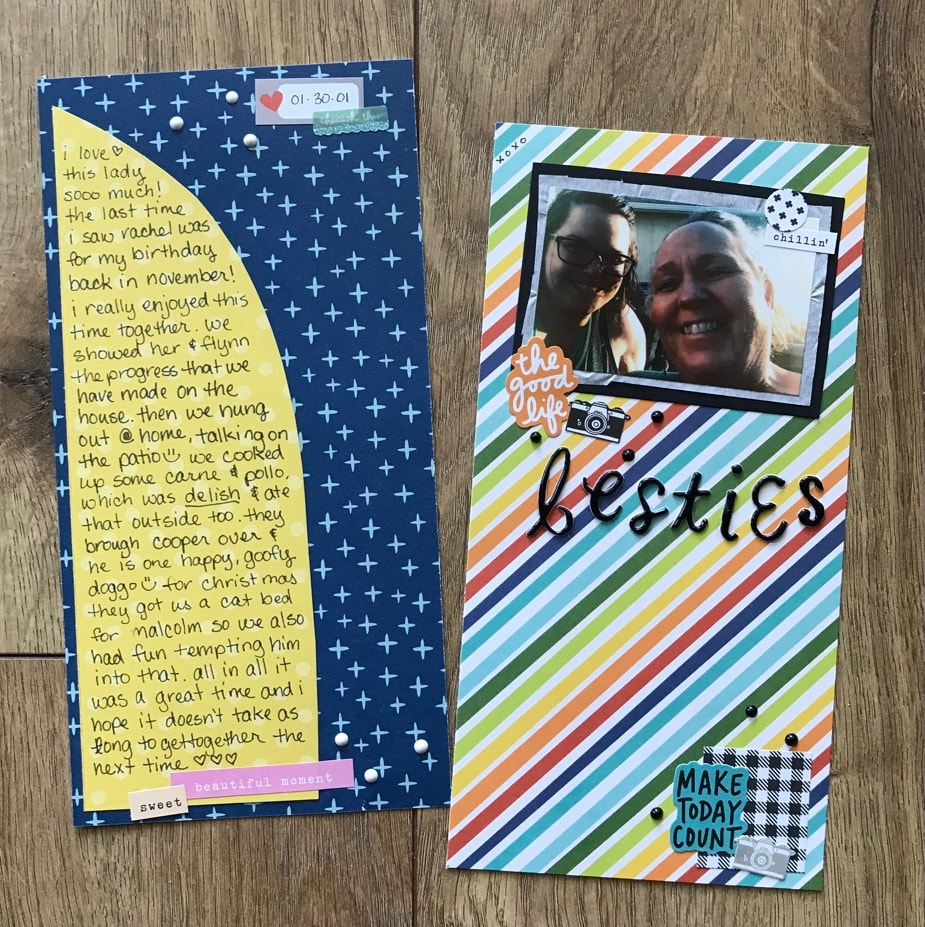 I’m using the colorful “Little Mister” Deluxe Theme Kit from {Not} Just for Boys Kit Club to help document a happy moment with my bestie! 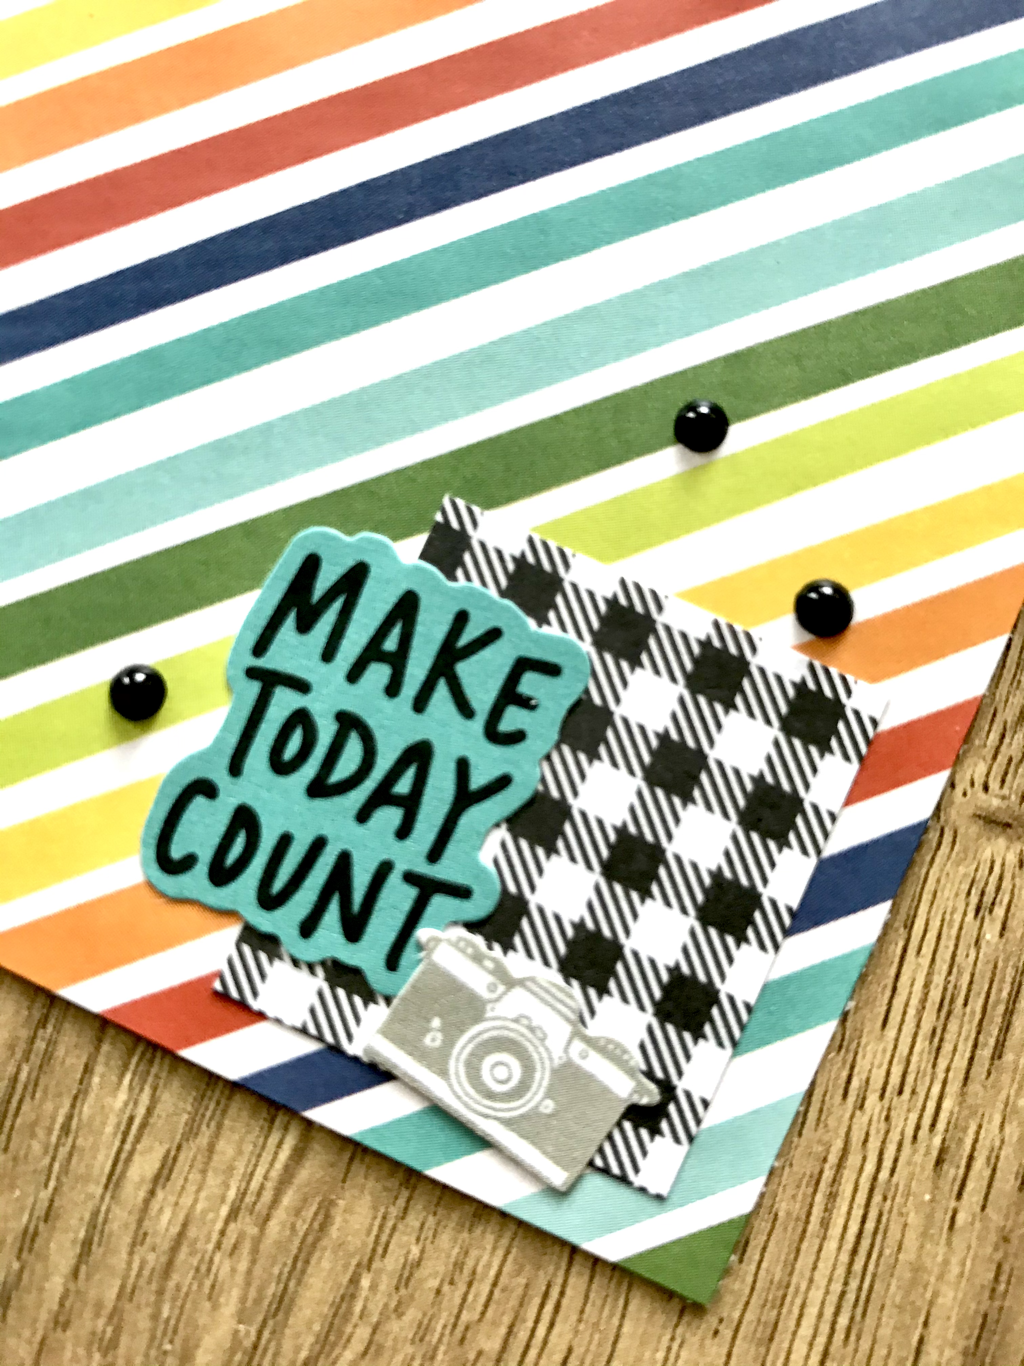 I just loved how colorful this kit is! Although the name is “Little Mister” it is by no means limited to a little boy! The bold bright colors make me happy just like this lady! 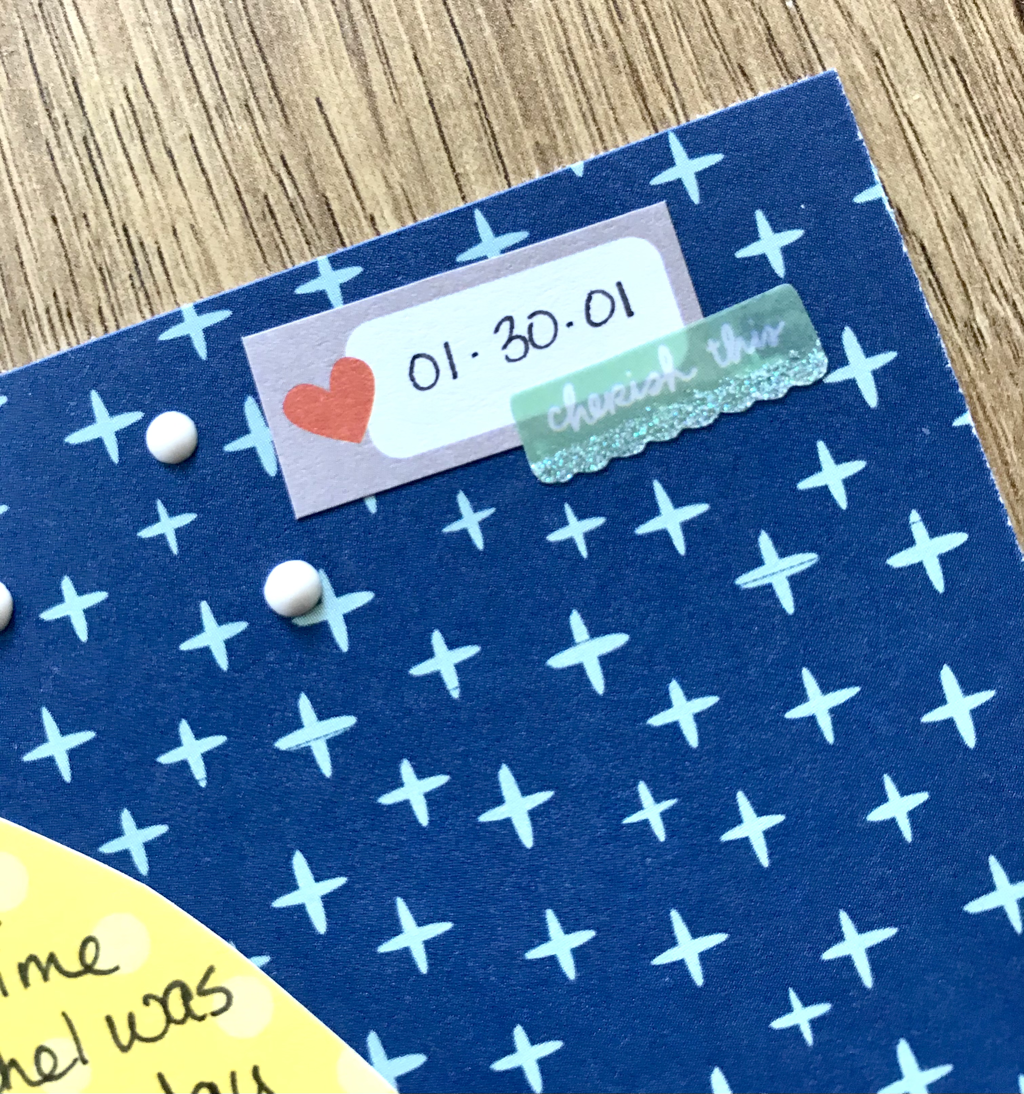 I also used add on stickers and some Nuvo to help me embellish! 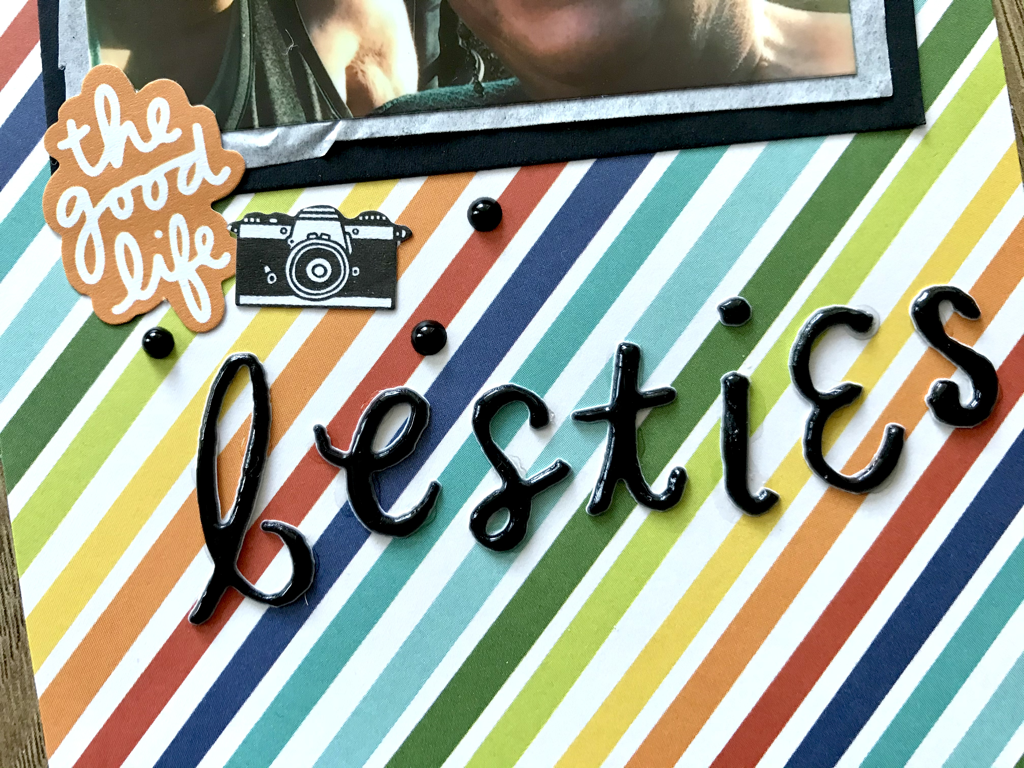 The alphas in the kit were perfect for this tn layout! I like how all the letters are a little different so it’s not perfect...and that makes it perfect!
Although the “Little Mister” Deluxe Theme Kit is sold out you can still find add ons here: “LITTLE MISTER” ADD ONS And find the latest Nuvo here: MIXED MEDIA
0 Comments
Play For Me Hello fellow scrappers! I have this cute page that I scraplifted from @small_and_scrappy on Instagram. I’m using the paper, stickers, and wood embellies from the Happiness Lives Here, Close to My Heart Collection. 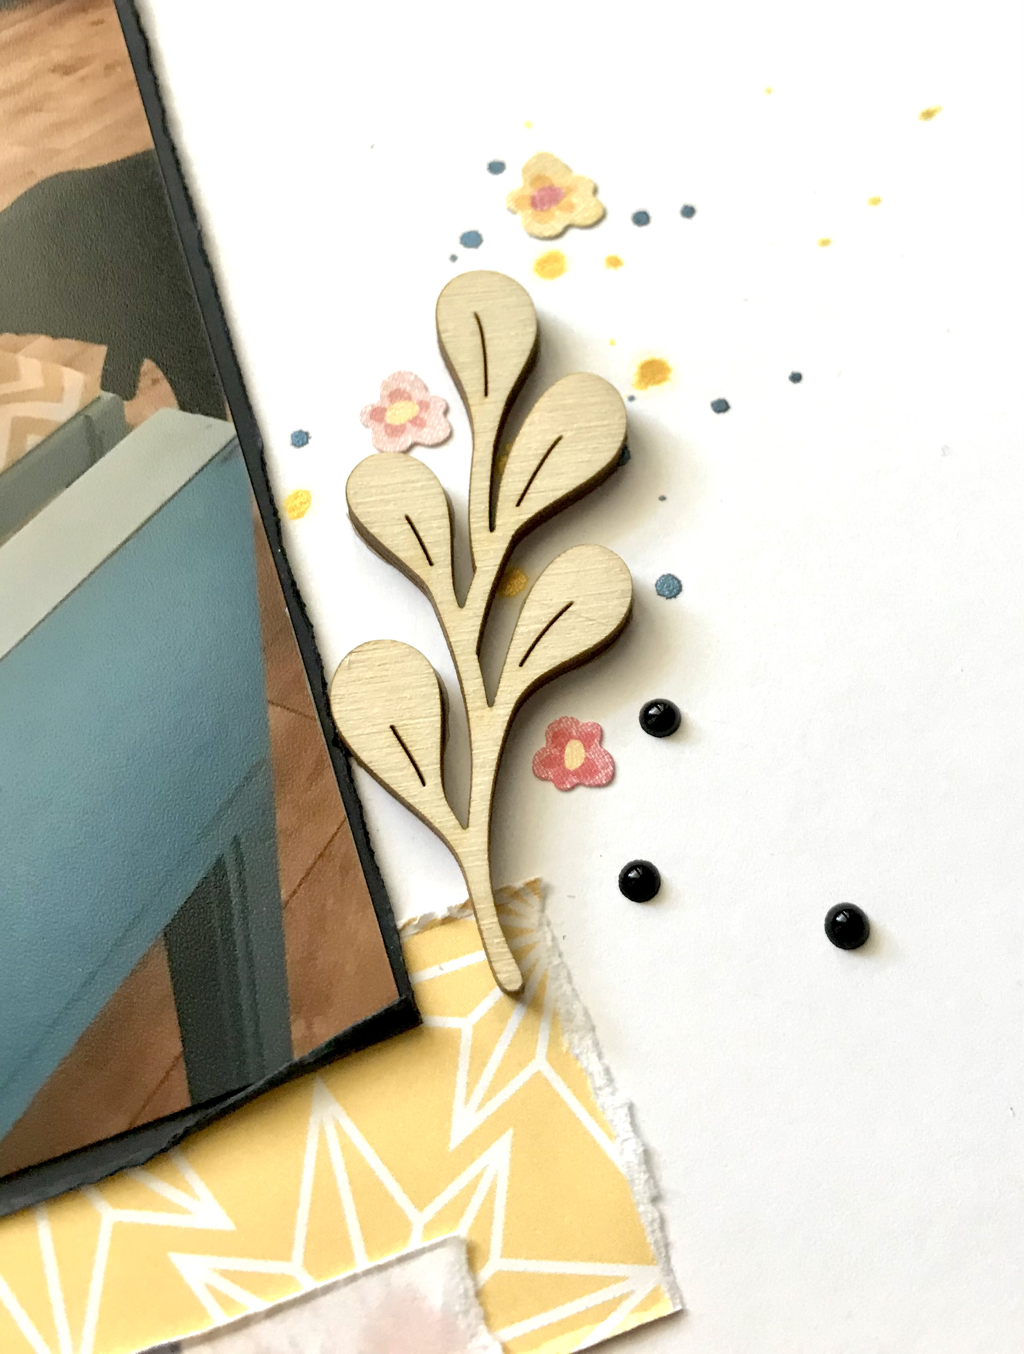 First I paper pieced my page and added my photo. Then I added some splatters. The yellow ones are from a Lindy’s color spray and the dark blue is a Color Shine. 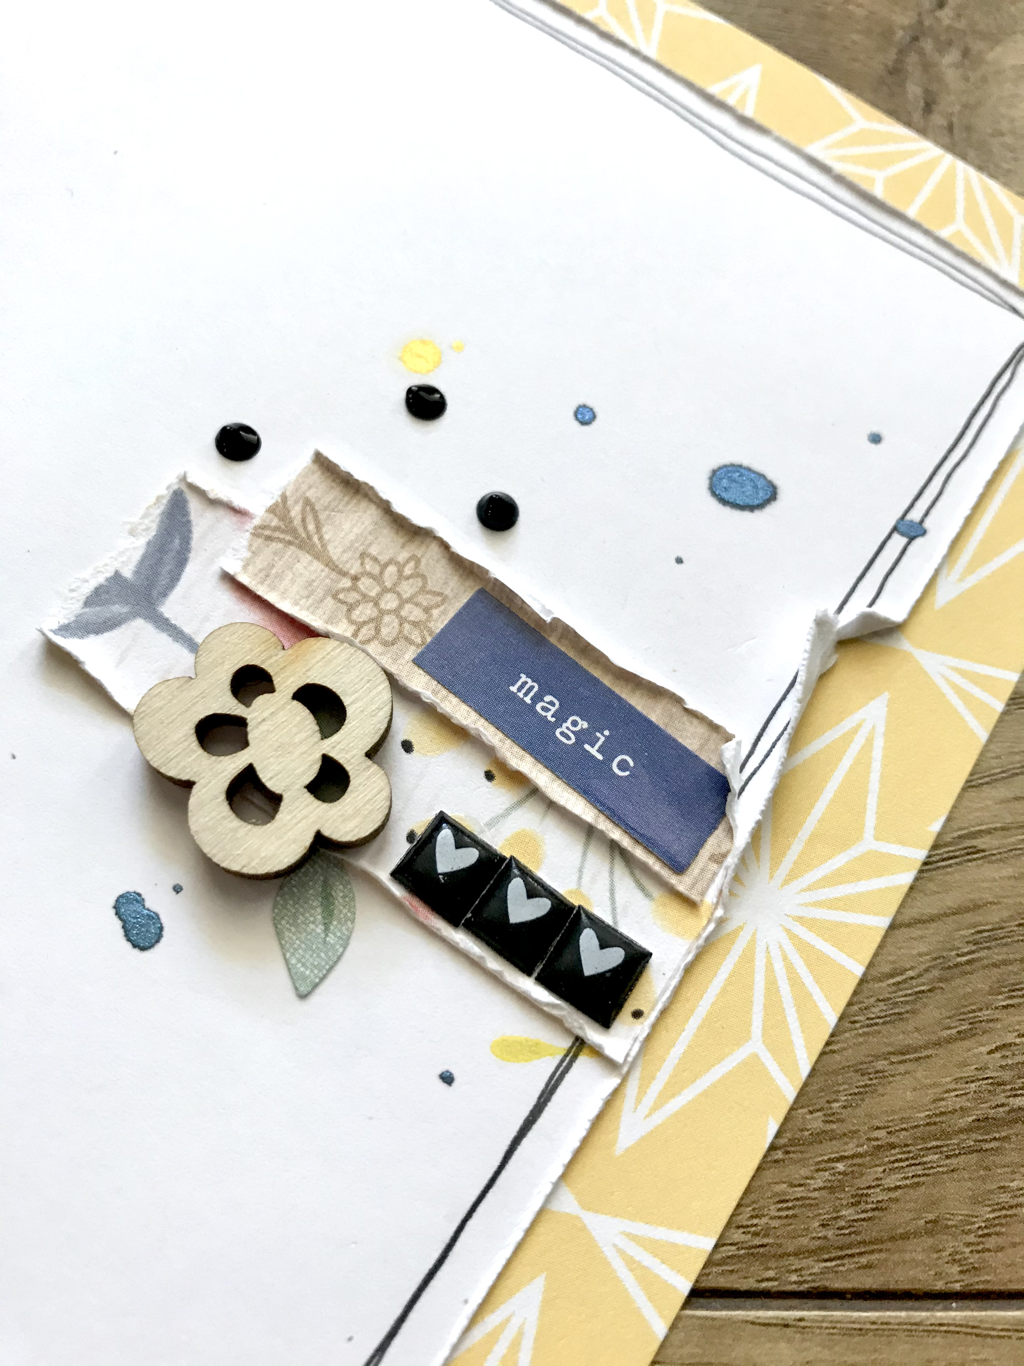 I also have a little focus area on the side of the page. In with the scraps of papers I used some little phrase stickers from Dear Lizzy. 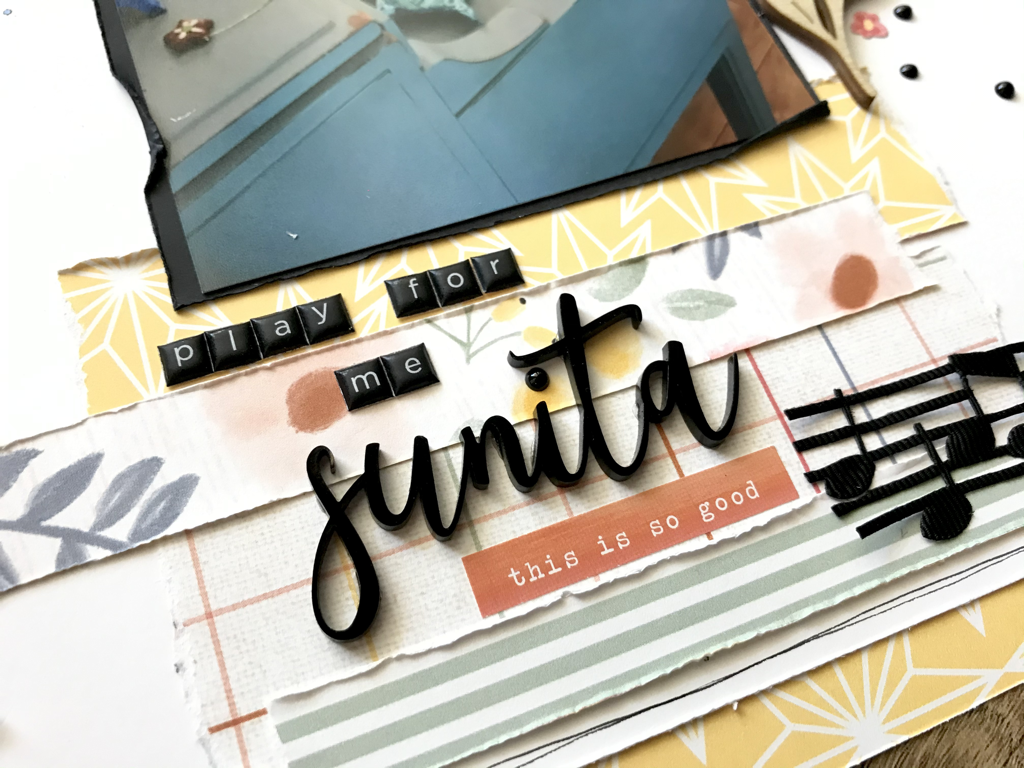 I finished with my title. The name acrylic piece was a gift and the “play for me” was an alpha I got from Felicity Jane Studio. The musical note ribbon I got in my “Crescendo” Deluxe Theme Kit from {Not} Just for Boys Kit Club, where I also got my black Nuvo drops from.
Thank you for popping on and checking out my layout. I hope it inspires you to get crafting! |

Shaker ElementHello all! I am currently working on a mini album of a snow play trip we took in January. I wanted to put all kinds of different elements into it so I thought it would be a perfect time to add a shaker box. So first off I decided to use a snowflake cut file from The Cut Shoppe for this element and the first thing I did was cut some of the inside elements out to make the visible area bigger. Then I glued a piece of scrap page cover to the snowflake. I glued a bigger piece and once it was dry I then cut it down to just my shaker area. I then cut my foam dots in half to box it in.
So my snowflake is ready for my dodads! First I placed my snowflake on top of where I wanted it and took a mental note of where the shaker part would be. Then I placed a little pile of sequins and confetti where it will go.
I then pulled all those little backings off my foam dots and placed my snowflake where is supposed to go and viola, I had a beautiful little shaker snowflake! I hope you enjoyed this tutorial, please let me know in the comments if there is something you would like to learn for scrapbooking!
Archives
April 2023
Categories
All
|


 RSS Feed
