 Hello all, I'm back with another fun layout for Inspiration Station Blog using the following photo for inspiration:  I have to say that I found this photo pretty creepy...I mean this guy has pure black eyes... Any who, I was inspired by the diamonds and the bright colors in this photo. 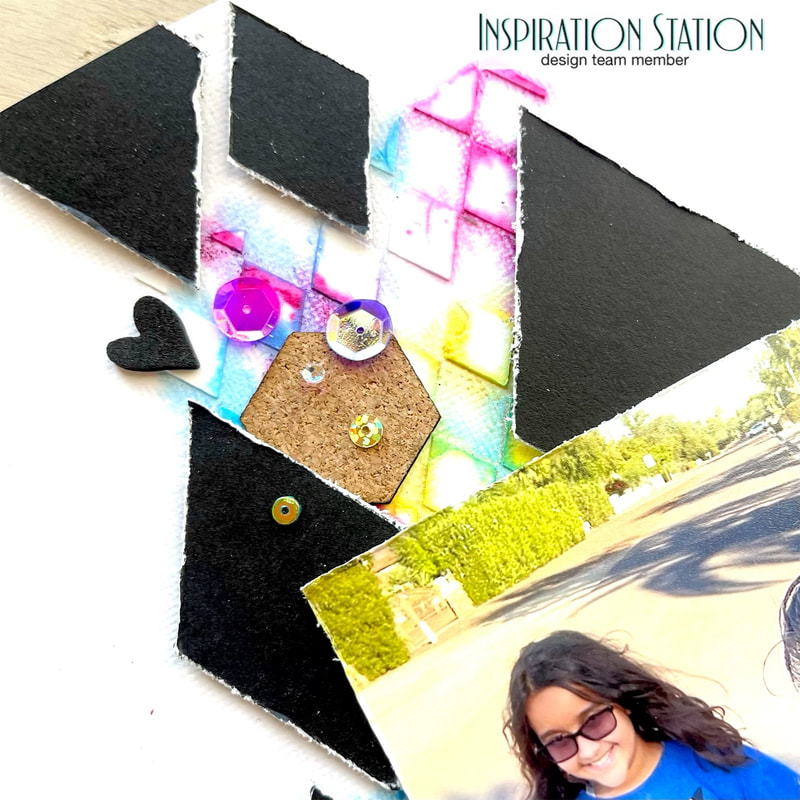 The first thing that I did was add some gesso to my white card stock to help the color flow. I then added some texture paste through a diamond stencil. I used some different sprays that I had, just dropping the color from the applicator to add color and sprayed with water so that the color moved easily. 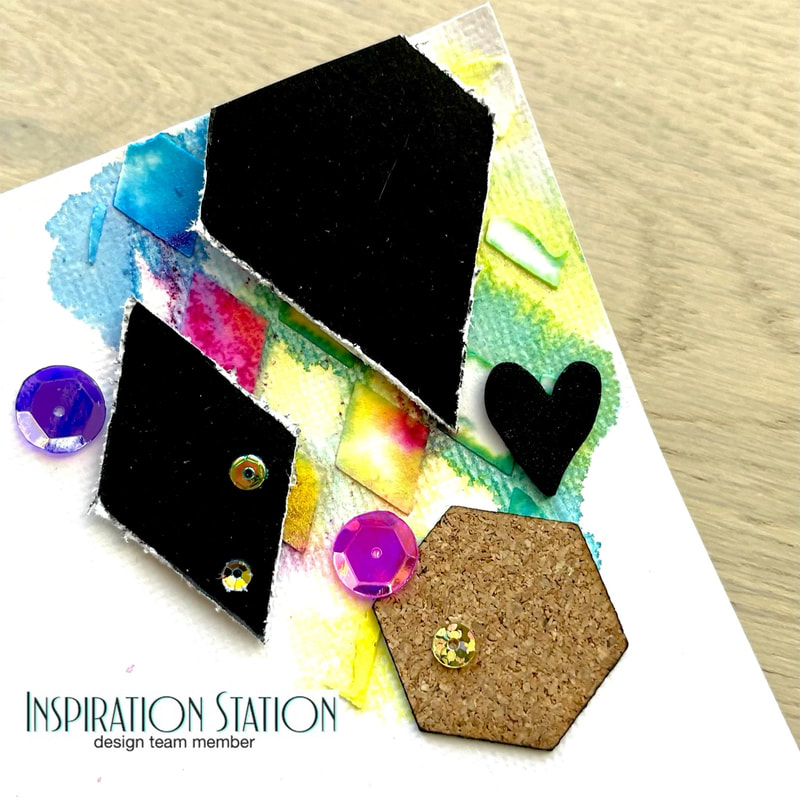 I cut some different shaped diamonds out of black card stock with my cricut. I distressed the edges and placed them randomly on my layout. I also made sure to include a little corner element on my page too, just to pop out. 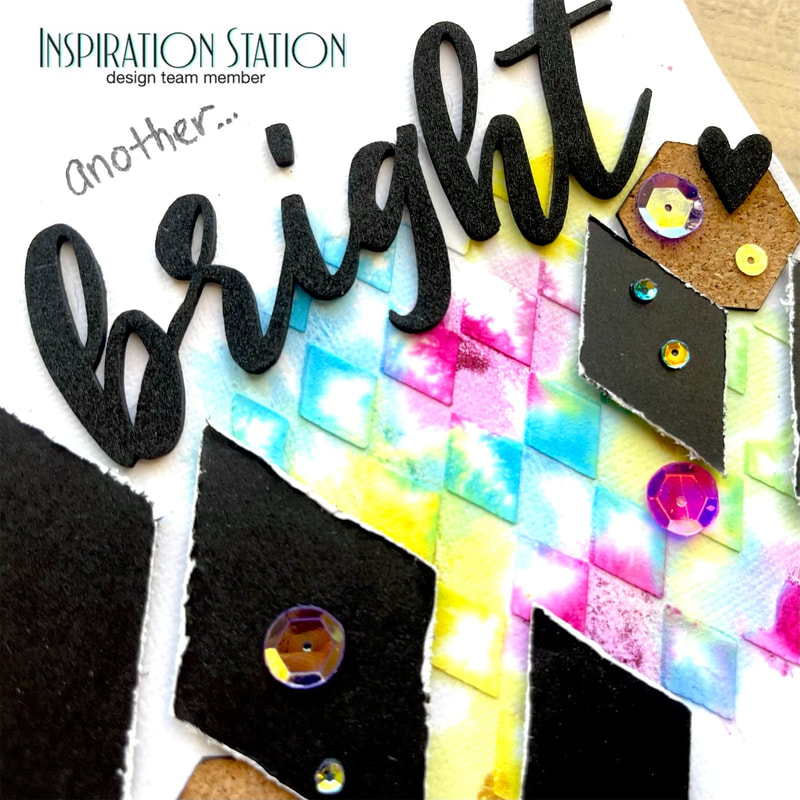 To finish I added my title...Bright, which is part of my journaling as well... "another bright and beautiful day in paradise" I also added some Dreaming of Spring sequins from SpiegelMom Scraps, some cork hexagons from Shadnee's Etsy shop, and some little black hearts throughout my page. I had a hard time choosing my picture and decided to go with this one of me and my daughter walking in our neighborhood, I thought it was very bright and colorful to match the layout.
Thank you so much for stopping by to read about my layout. Don't forget to play along with Inspiration Station every 1st and 3rd Monday of the month, and add your inspired project at the bottom of their blog for a chance at winning a prize. Until next time, Nicole
1 Comment
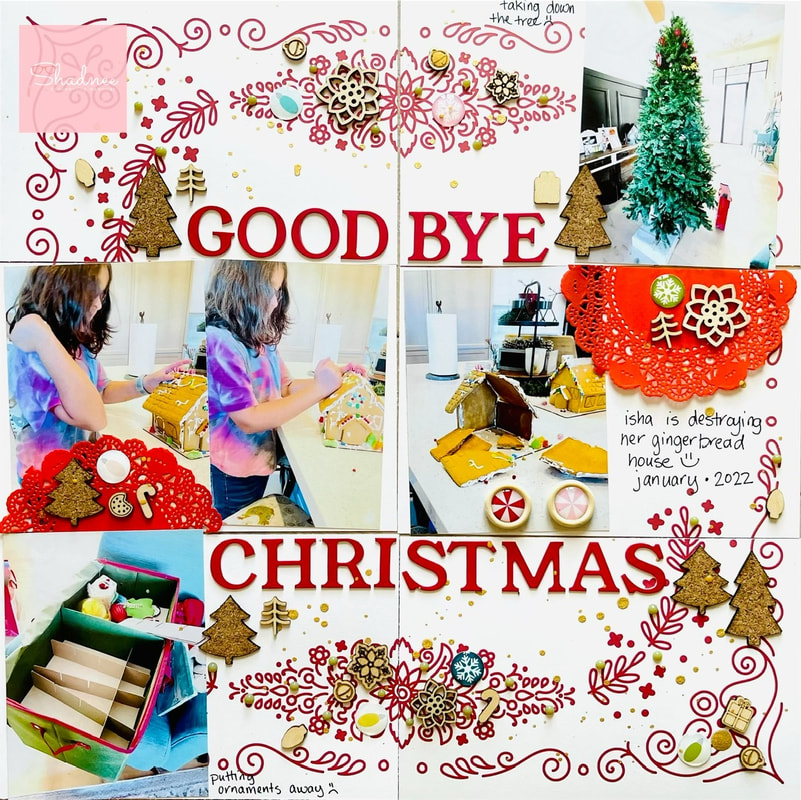 This year I decided to document a sad event...the taking down of Christmas :( I have never documented this before but thought that I would this time. I'm documenting in a pocket page style althought I'm just using one sheet of patterned paper from my Hip Kit Club and a bunch of embellishments from Shadnee's Etsy Shop. 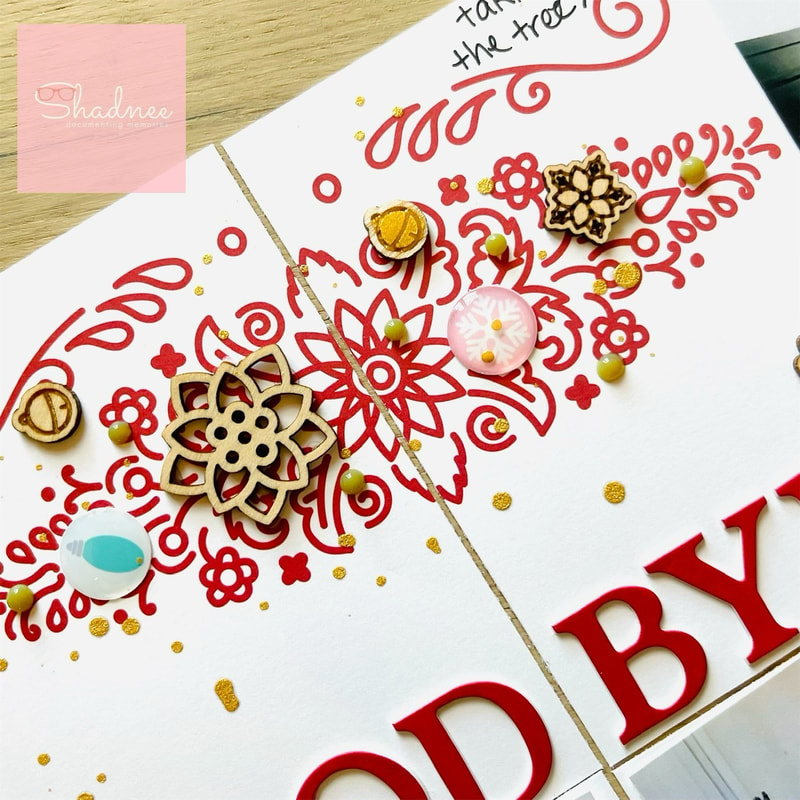 The first thing I worked on was the two upper pockets. I started my title here with "GOODBYE" then I added wood veneer and epoxy dots from Shadnee's Etsy Shop. I have linked the exact products at the end of this blog post.  Part of putting away Christmas includes the gingerbread houses. Well my youngest decided that she just needed to destroy her house first! I documented this in the middle pockets. I added a split doily in both pockets and more wood veneer and epoxy dots. 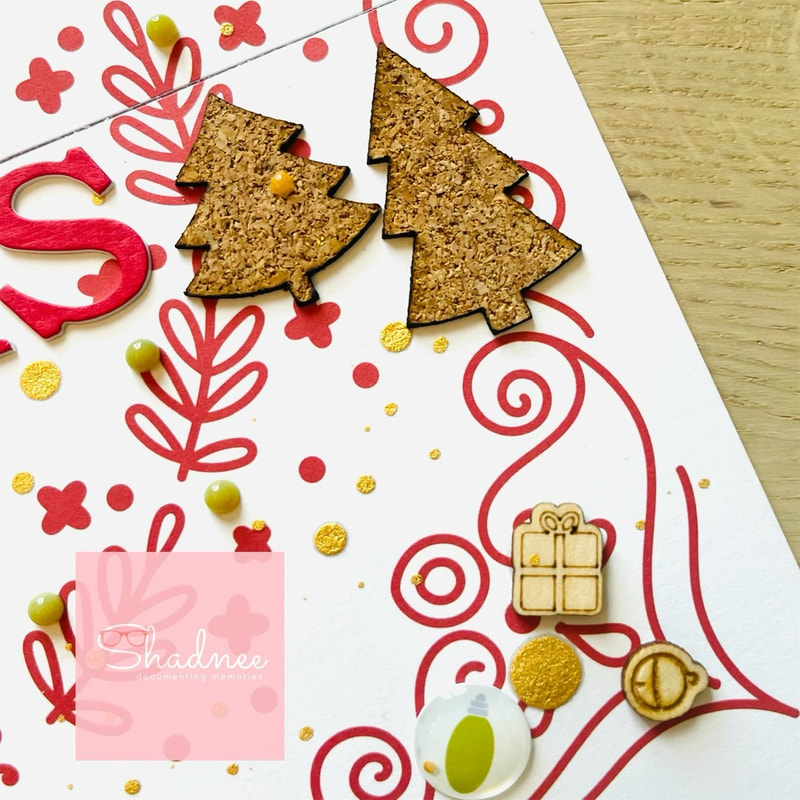 In my bottom pockets I finished off my title: "CHRISTMAS". I added some cork trees to my page as well as (you guessed it) more wood veneer and epoxy dots. I then finished the whole page with gold splatters and olive colored Nuvo drops.
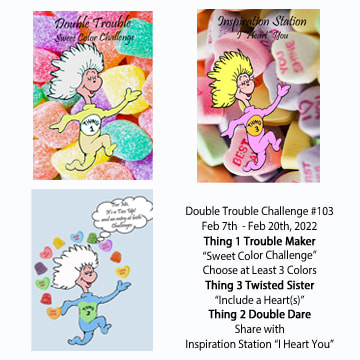
I had some fun using all my wonderful embellishments from Shadnee's Etsy Shop and I hope you enjoyed reading about my process. As promised you can find links to all of the products below. Thanks for stopping by, Nicole Christmas Sprinkles Wood Veneer Tiny Jingle Bell Sprinkles Wood Veneer Poinsettias Wood Veneer Snowflake Epoxy Sprinkles Christmas Lights Epoxy Sprinkles Red Peppermint Epoxy Buttons Coral Peppermint Epoxy Buttons Bright Red Doilies Cork Christmas Trees 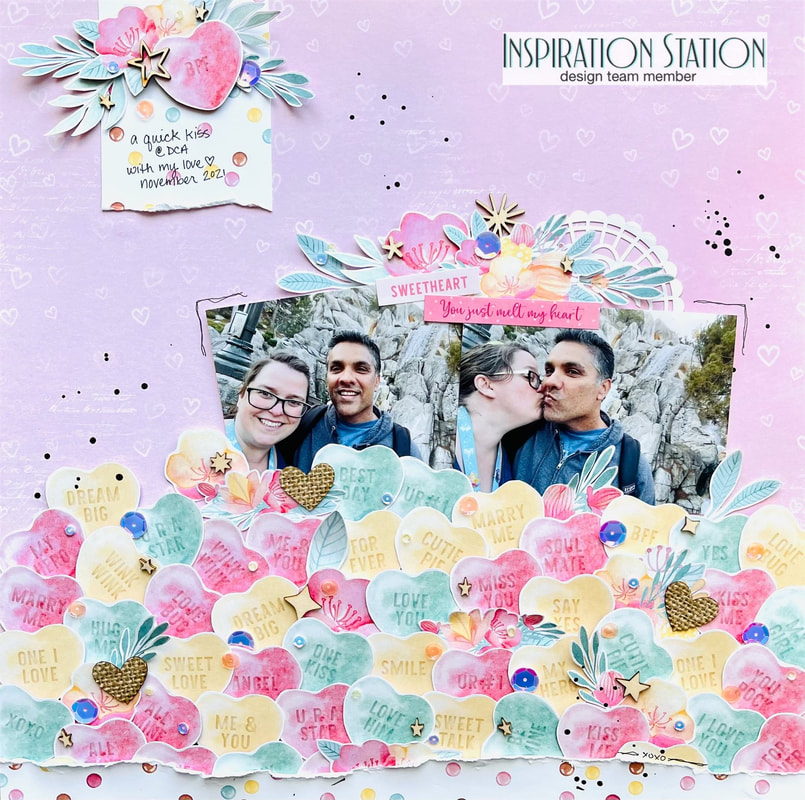 Hello fellow crafters, I'm back today with this sweet layout documenting a quick kiss at Disney's California Adventure. I'm playing along today with both the Inspiration Station and Double Trouble Challenge! Here is the inspiration for my layout: 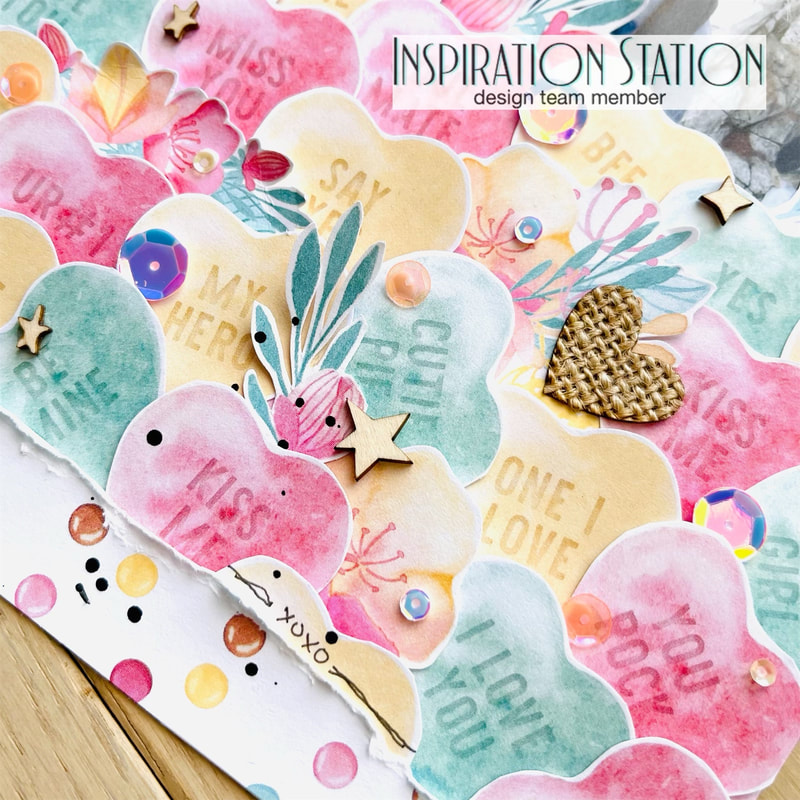 I started with my P13 Sugar and Spice collection and fussy cut all the hearts from paper #6. I made sure to use pink, yellow, and green as my three colors from the Thing #1 prompt over at Double Trouble. I arranged the hearts on the page like they were piled on top of each other like the pic at Inspiration Station. Thing #3 challenge at Double Trouble was super easy for me on this...include a heart! 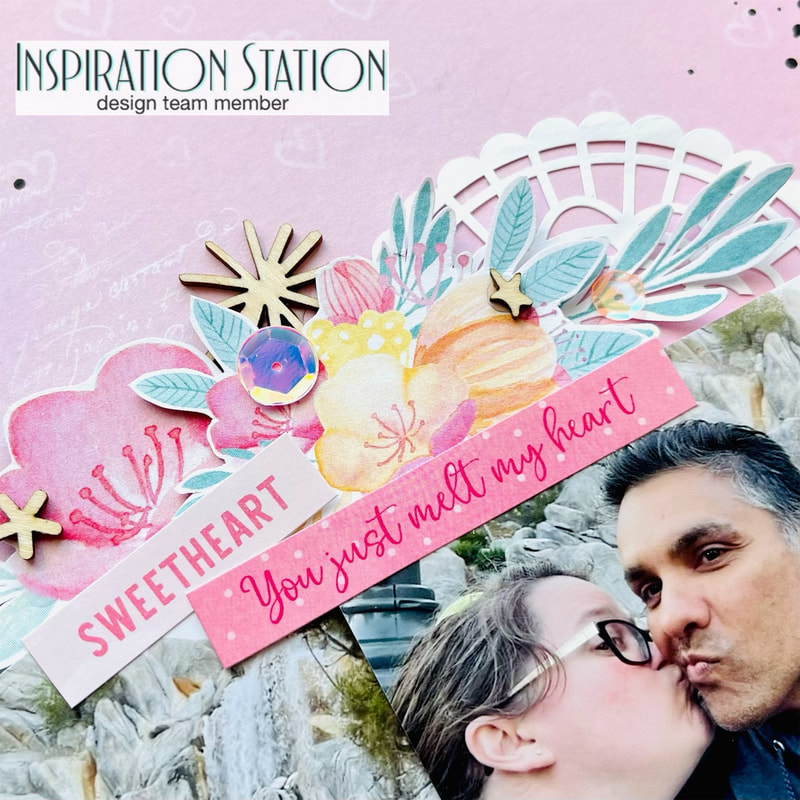 I also fussy cut a bunch of florals to include on my layout from the P13 Sugar and Spice cut apart paper. I added them through out the hearts an in a couple of clusters on my page as well. I then added some wood veneer bits from the Star Sprinkle Wood Veneer from Shadnee's Etsy shop. 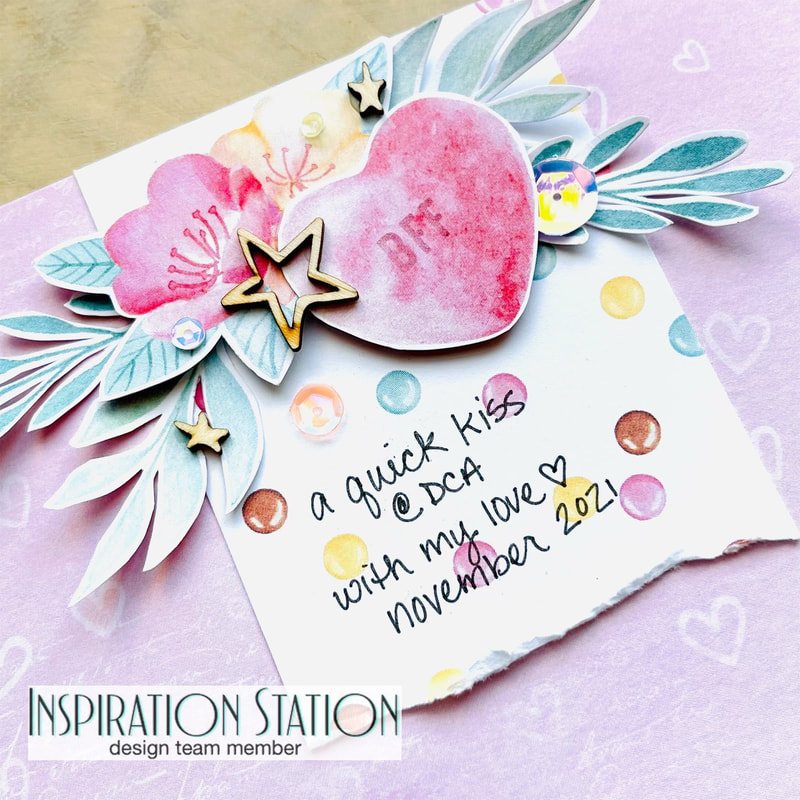 Finally I added a little scrap in the top corner of my layout. That's were I decided to add my journaling. Then I added some Rainbow Sherbet sequins from SpiegelMom Scraps and some black splatters to finish my layout.
Thanks so much for stopping by to read about my blog. Remember you can play along with the Inspiration Station Blog by creating a project using the inspiration photo posted every 1st and 3rd Monday of the month. Just enter your project at the bottom of the post and you could win a prize. Don't forget to also play along with the Double Trouble Challenge Feb 7th as well! Until next time, Nicole |

Shaker ElementHello all! I am currently working on a mini album of a snow play trip we took in January. I wanted to put all kinds of different elements into it so I thought it would be a perfect time to add a shaker box. So first off I decided to use a snowflake cut file from The Cut Shoppe for this element and the first thing I did was cut some of the inside elements out to make the visible area bigger. Then I glued a piece of scrap page cover to the snowflake. I glued a bigger piece and once it was dry I then cut it down to just my shaker area. I then cut my foam dots in half to box it in.
So my snowflake is ready for my dodads! First I placed my snowflake on top of where I wanted it and took a mental note of where the shaker part would be. Then I placed a little pile of sequins and confetti where it will go.
I then pulled all those little backings off my foam dots and placed my snowflake where is supposed to go and viola, I had a beautiful little shaker snowflake! I hope you enjoyed this tutorial, please let me know in the comments if there is something you would like to learn for scrapbooking!
Archives
April 2023
Categories
All
|


 RSS Feed
