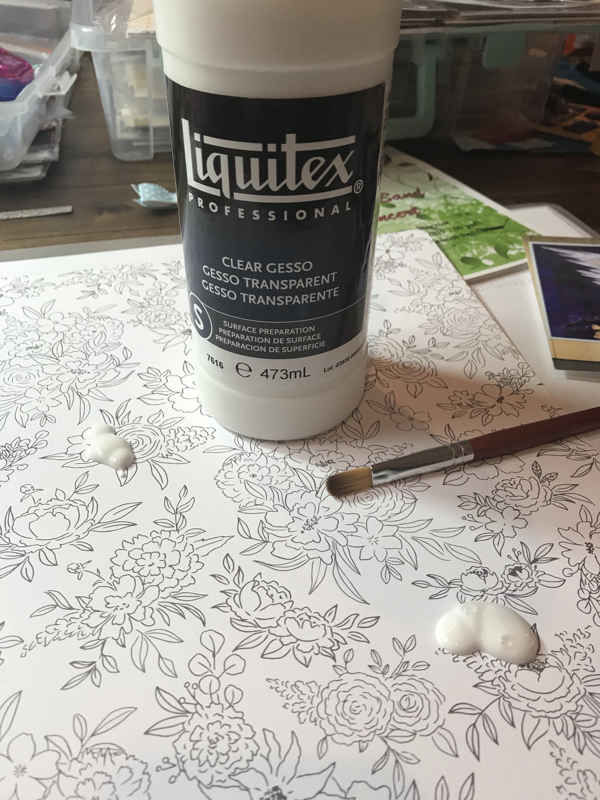
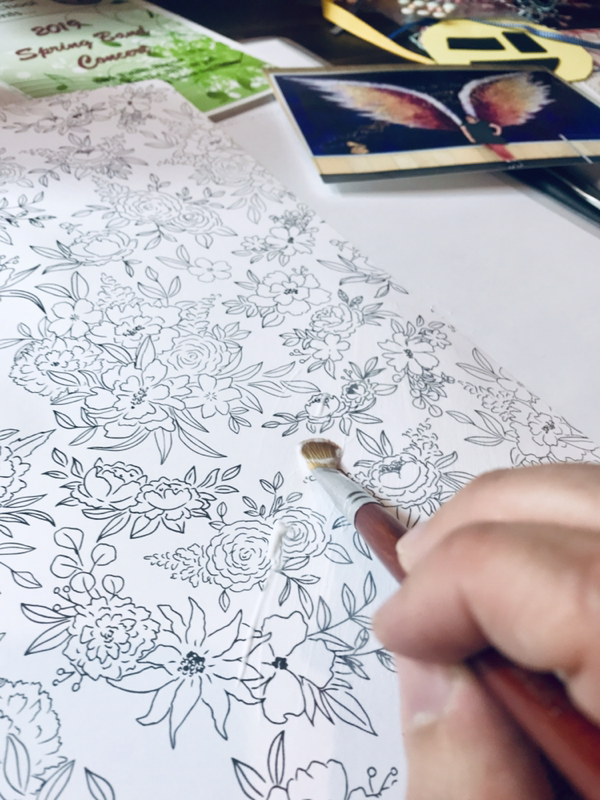
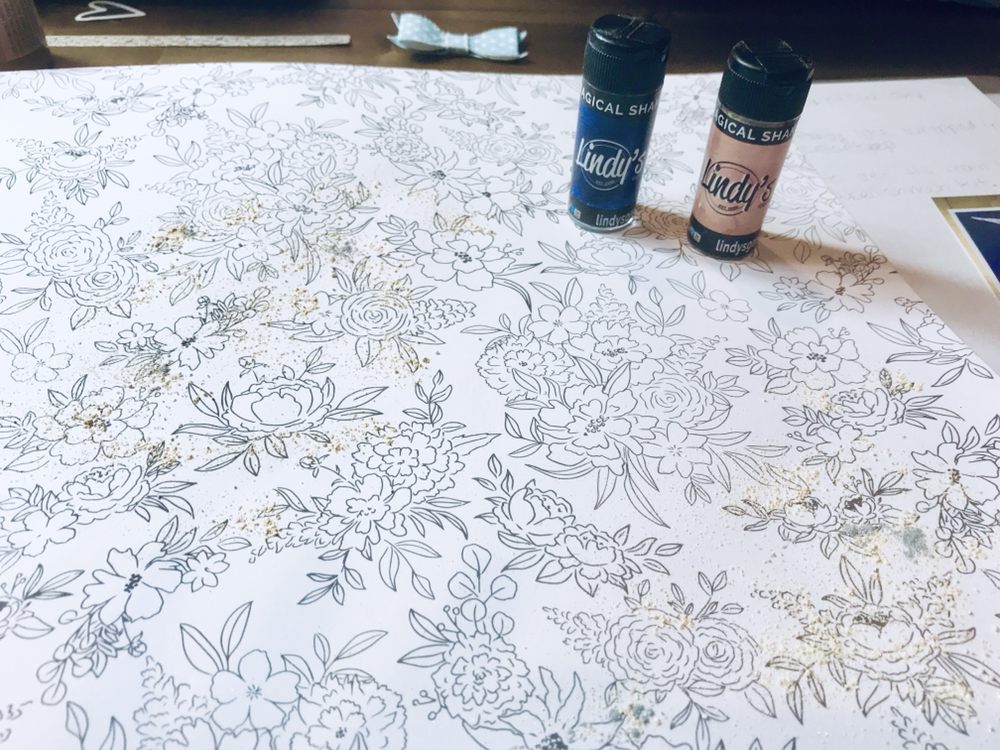
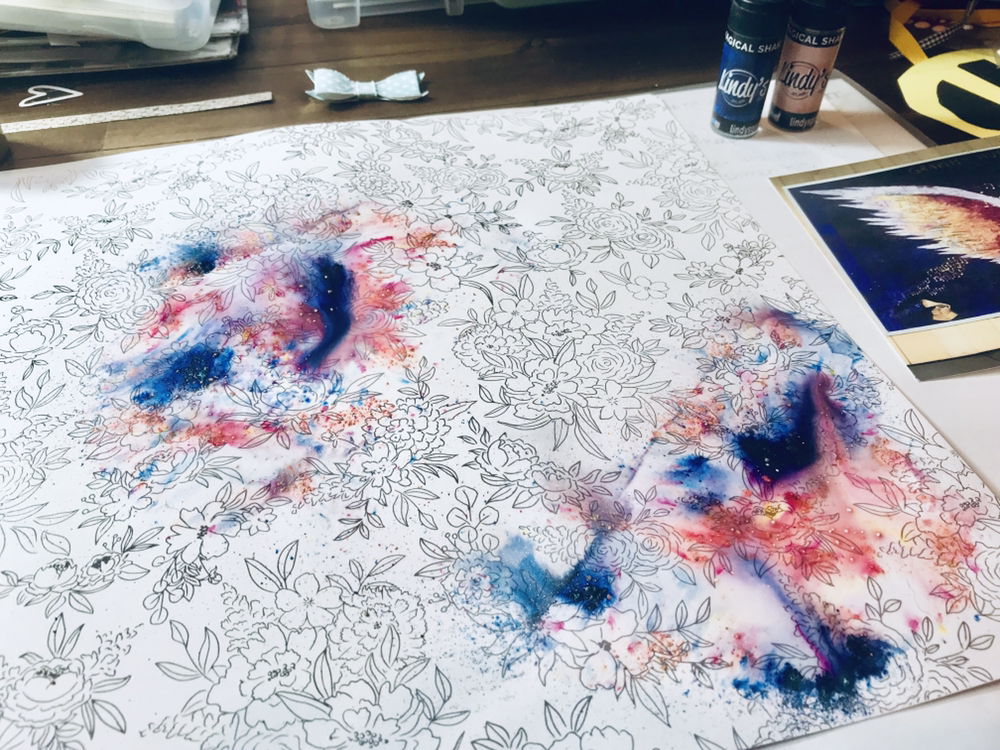
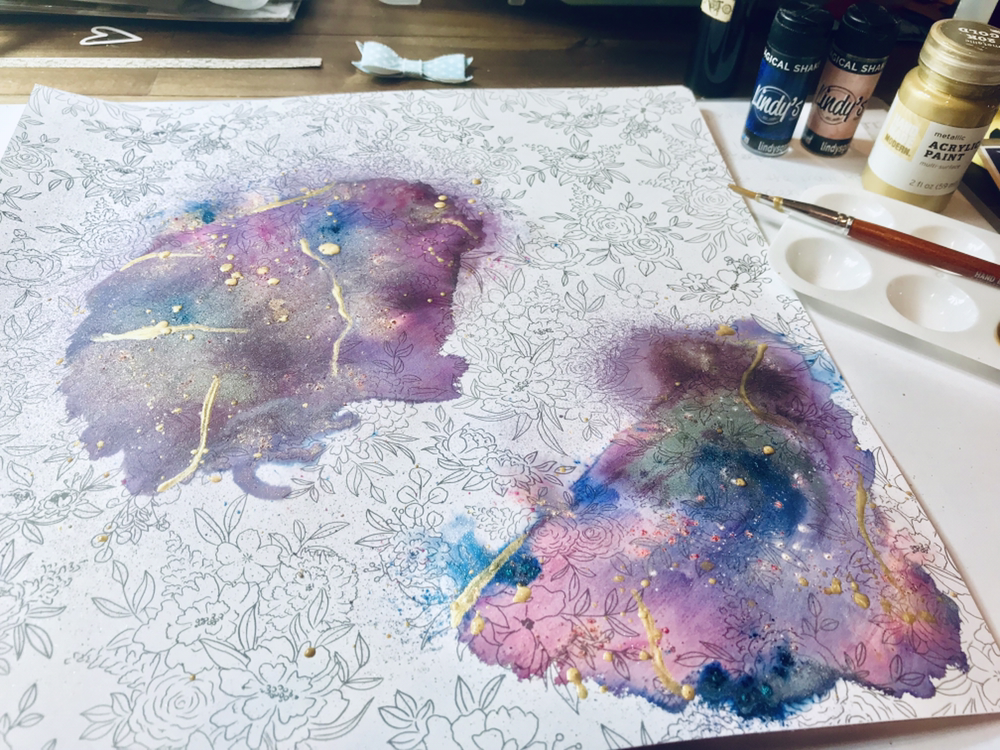
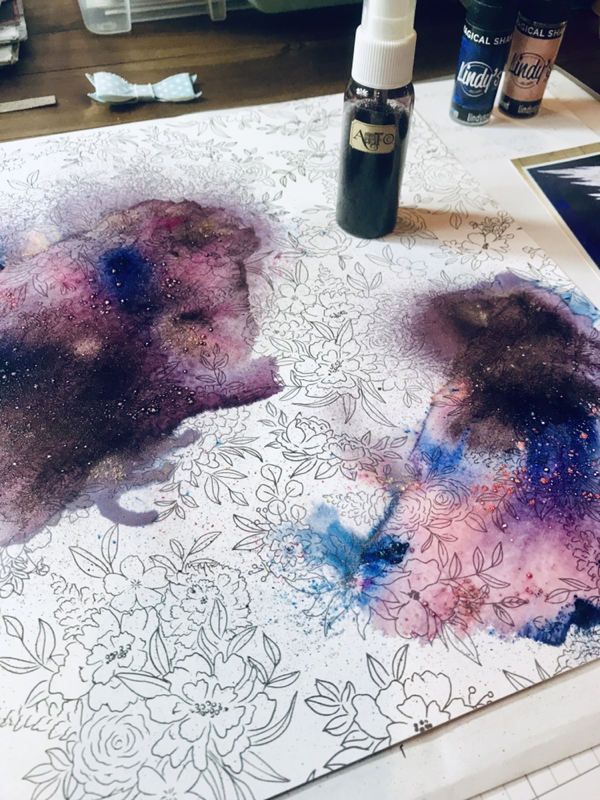
 MIXED MEDIA WITH GESSOSo I have been hearing all about this gesso stuff from other scrapbookers and decided to try it out myself. First I poured some in two spots on my paper and spread it out with my paint brush (I have also seen others use a pallet knife to spread it around as well). After my gesso dried I added some Lindy’s Magical Shakers To My page. Here I used Oom Pah Pah Pink and Afternoon Delight Denim. After sprinkling on my page I just sprayed some water onto it using a Close To My Heart spray pen, but you can use any kind of water spray bottle. I then used a purple gold shimmer spray to add more purple since my picture had so much purple in it. At this point all my liquid from the water and the shimmer spray was just kind of floating on top of my paper. It did not just sink and stay where it was placed, it was very flowy, this was a direct result of the gesso. I added some gold acrylic to give it another pop of shimmer and called it a day. I then let my page dry overnight (it was actually several days before I picked it back up again). In the mean time I went through all my recent stashes of ephemera, this included goodies from my Hip Kit Club kit and my Felicity Jane Elizabeth kit. I picked out all kinds of cool pieces in shades of pink, purple, and golden yellow. I also backed my picture with leftover scraps from other projects. 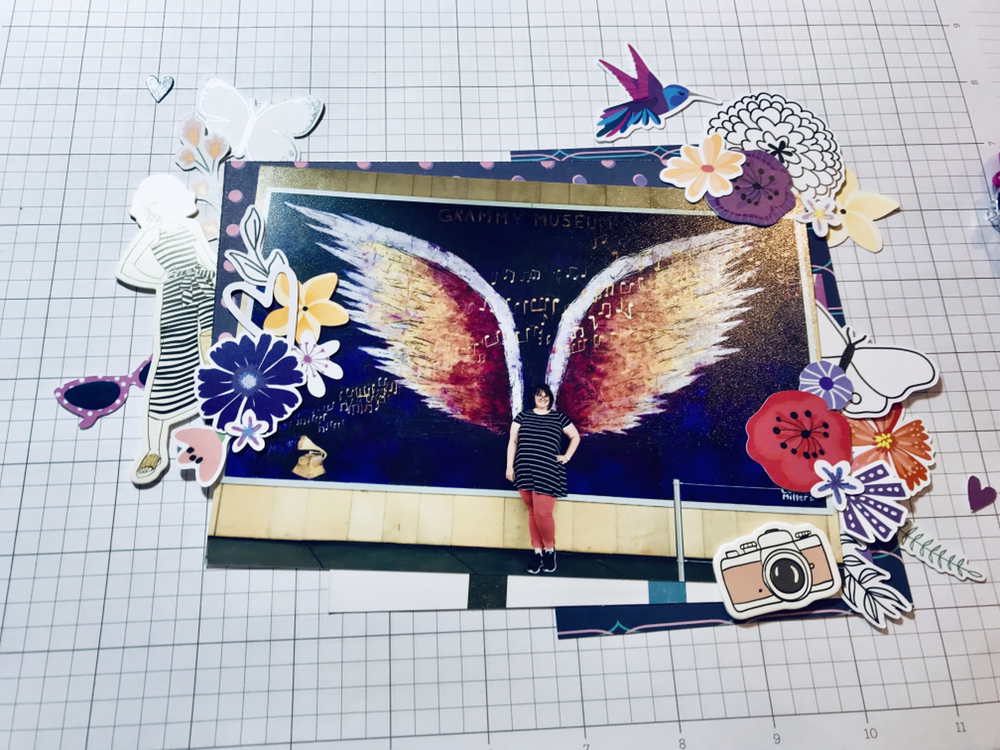 And here is the final project 😍💜💛💖 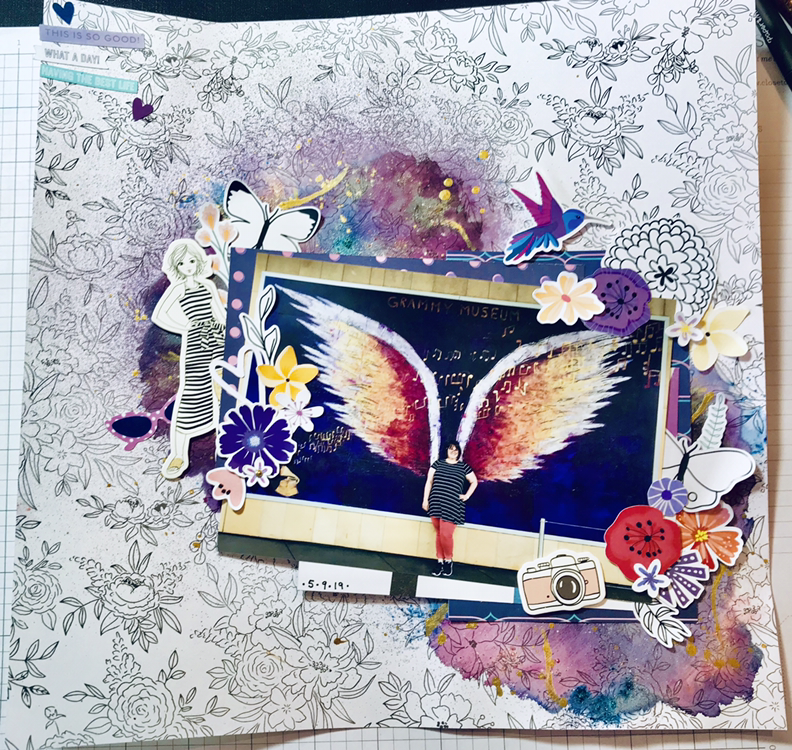 Thank you for taking the time to enjoy this walk through and I hope it gives you some courage to play with some gesso soon. Here is a list of the products and links to find them:
Liquitex Clear Gesso Lindy’s
0 Comments
|

Shaker ElementHello all! I am currently working on a mini album of a snow play trip we took in January. I wanted to put all kinds of different elements into it so I thought it would be a perfect time to add a shaker box. So first off I decided to use a snowflake cut file from The Cut Shoppe for this element and the first thing I did was cut some of the inside elements out to make the visible area bigger. Then I glued a piece of scrap page cover to the snowflake. I glued a bigger piece and once it was dry I then cut it down to just my shaker area. I then cut my foam dots in half to box it in.
So my snowflake is ready for my dodads! First I placed my snowflake on top of where I wanted it and took a mental note of where the shaker part would be. Then I placed a little pile of sequins and confetti where it will go.
I then pulled all those little backings off my foam dots and placed my snowflake where is supposed to go and viola, I had a beautiful little shaker snowflake! I hope you enjoyed this tutorial, please let me know in the comments if there is something you would like to learn for scrapbooking!
Archives
April 2023
Categories
All
|


 RSS Feed
