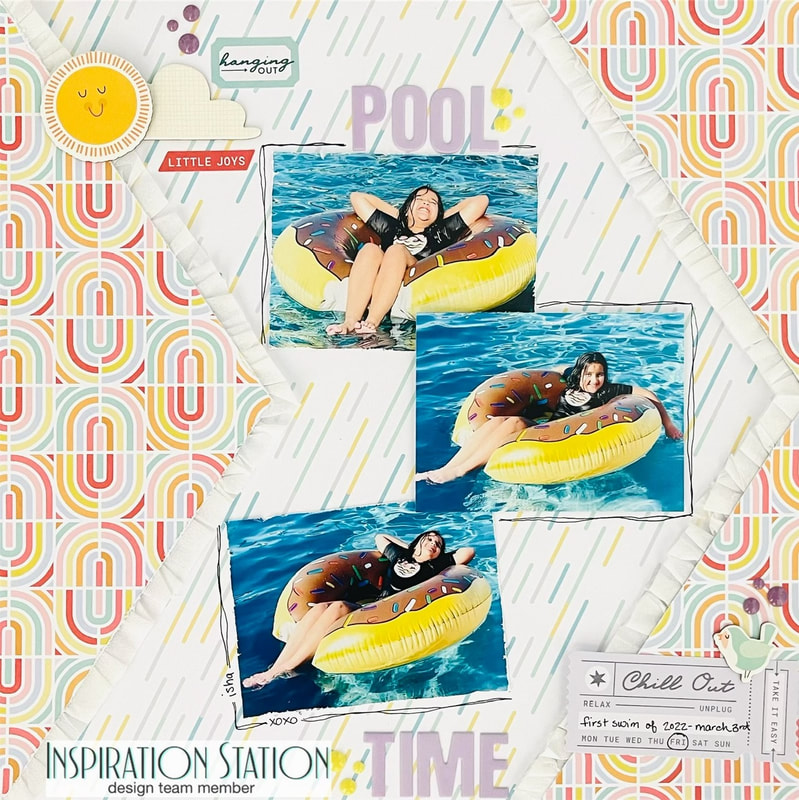
 Hello friends, I'm back for the third Monday Inspiration Station Challenge Blog post! I made this layout above with the inspiration photo in mind (see below)! Since the picture is of a little girl jumping in a puddle after it just rained with her rainbow colored umbrella I thought that this paper matched perfectly. The main background paper looks like raindrops and the other part of the background looks like rainbows! I am documenting my daughter getting in the pool for the first time this year...it was heated, and she had a great time. I used my March Hip Kit Club Kit to make my layout and I am scraplifting from Danielle de Konink from the Scrap Squad Facebook group Scraplift #12. Below is the inspriation picture from Inspiration Station Challenge Blog. The Inspiration Station posts a picture of everyday life and we create a project with the photo as inspiration. You can play along too, enter your project on the blog, and be entered for a chance to win a prize! 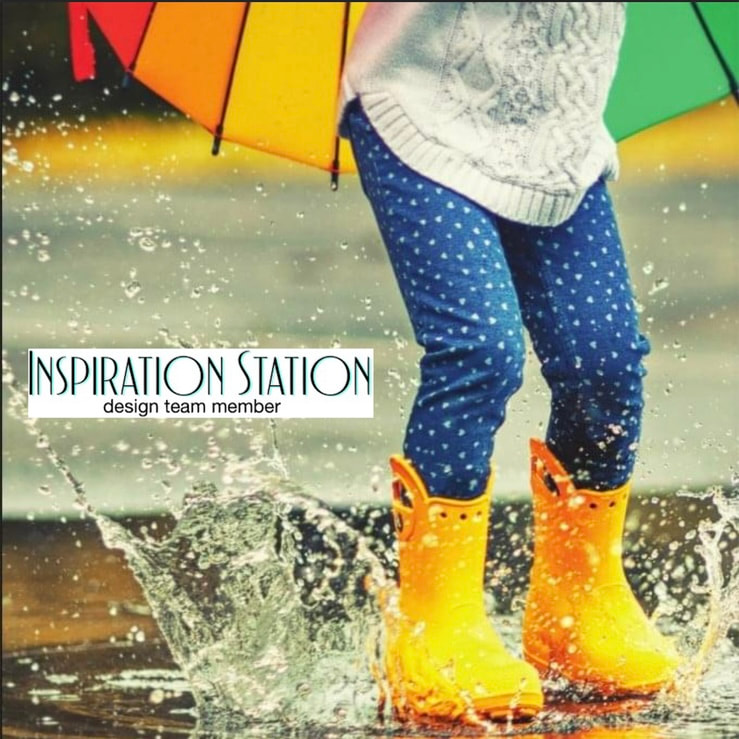 Thank you so much for coming on to look at my project for the Inspiration Station! Be sure to play along on their blog too!
Nicole Santos
2 Comments
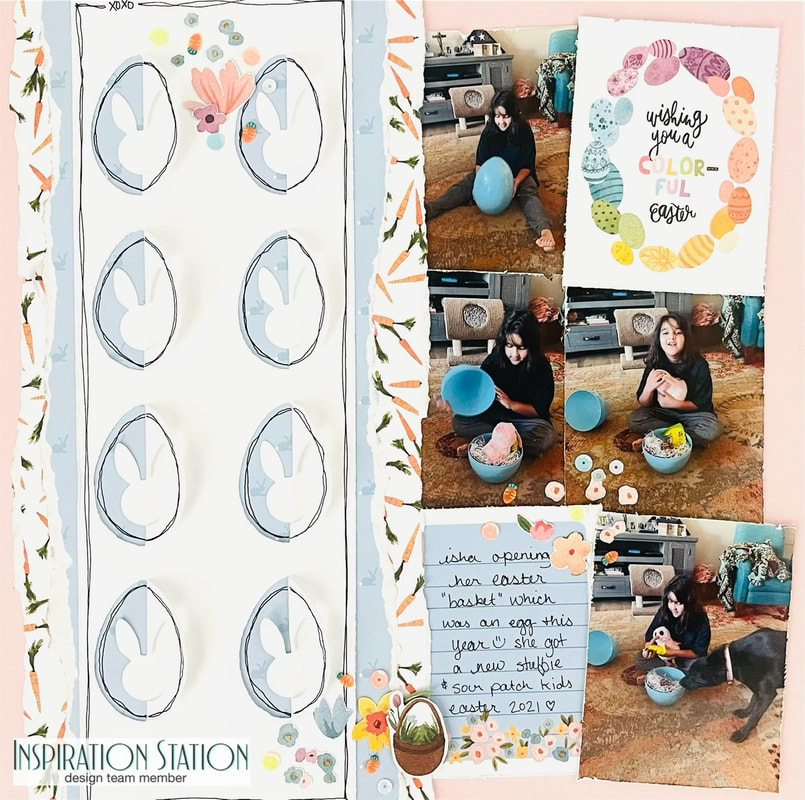 Hello challenge lovers! I'm back with my first monday of the month layout for Inspiration Station Challenge Blog. Inspiration Station is a blog where we are inspired by an everyday picture that is posted to create a fun project. You can play along too and create you own project, enter it on the blog, and possibly win a prize! Here is the picture for this post:  I took all the Eastery vibes from the photo to create my layout. I used my "Hippity Hoppity" Page Kit from {Not} Just for Boys Kit Club and assembled my page. First I paper pieced. I had quite a bit of pictures for one page so I decided to put those in a grid to the right along with 2 pocket cards from the kit. I then built up a vertical element using the bunny egg paper cut that also came with the kit. I had fussy cut some elements from the different pages and made some clusters with those along with the "Hippity Hoppity" sequins. To finish my page I added my journaling.
Thanks so much for stopping by to read about my page designed for the Inspiration Station Challenge Blog. Don't forget to play along too for your chance to win a prize! Nicole |

Shaker ElementHello all! I am currently working on a mini album of a snow play trip we took in January. I wanted to put all kinds of different elements into it so I thought it would be a perfect time to add a shaker box. So first off I decided to use a snowflake cut file from The Cut Shoppe for this element and the first thing I did was cut some of the inside elements out to make the visible area bigger. Then I glued a piece of scrap page cover to the snowflake. I glued a bigger piece and once it was dry I then cut it down to just my shaker area. I then cut my foam dots in half to box it in.
So my snowflake is ready for my dodads! First I placed my snowflake on top of where I wanted it and took a mental note of where the shaker part would be. Then I placed a little pile of sequins and confetti where it will go.
I then pulled all those little backings off my foam dots and placed my snowflake where is supposed to go and viola, I had a beautiful little shaker snowflake! I hope you enjoyed this tutorial, please let me know in the comments if there is something you would like to learn for scrapbooking!
Archives
April 2023
Categories
All
|


 RSS Feed
