TEA TIME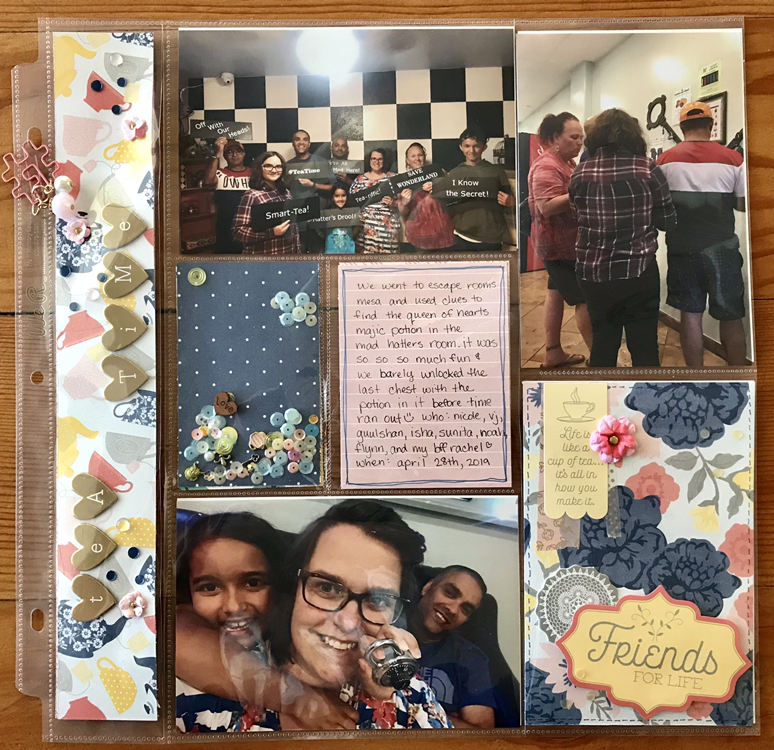 We recently went to an escape room titled the Mad Hatter room, and was tea theamed. So I knew right away I wanted to use the Beautiful Friendship collection from Close To My Heart. I found some beautiful little charms with a tea pot in it so I was for sure gonna do a shaker pocket! I added a bunch of sparkly sequins from a couple different packs that I got from SpiegelMom Scraps and they really made my pocket shake!!! 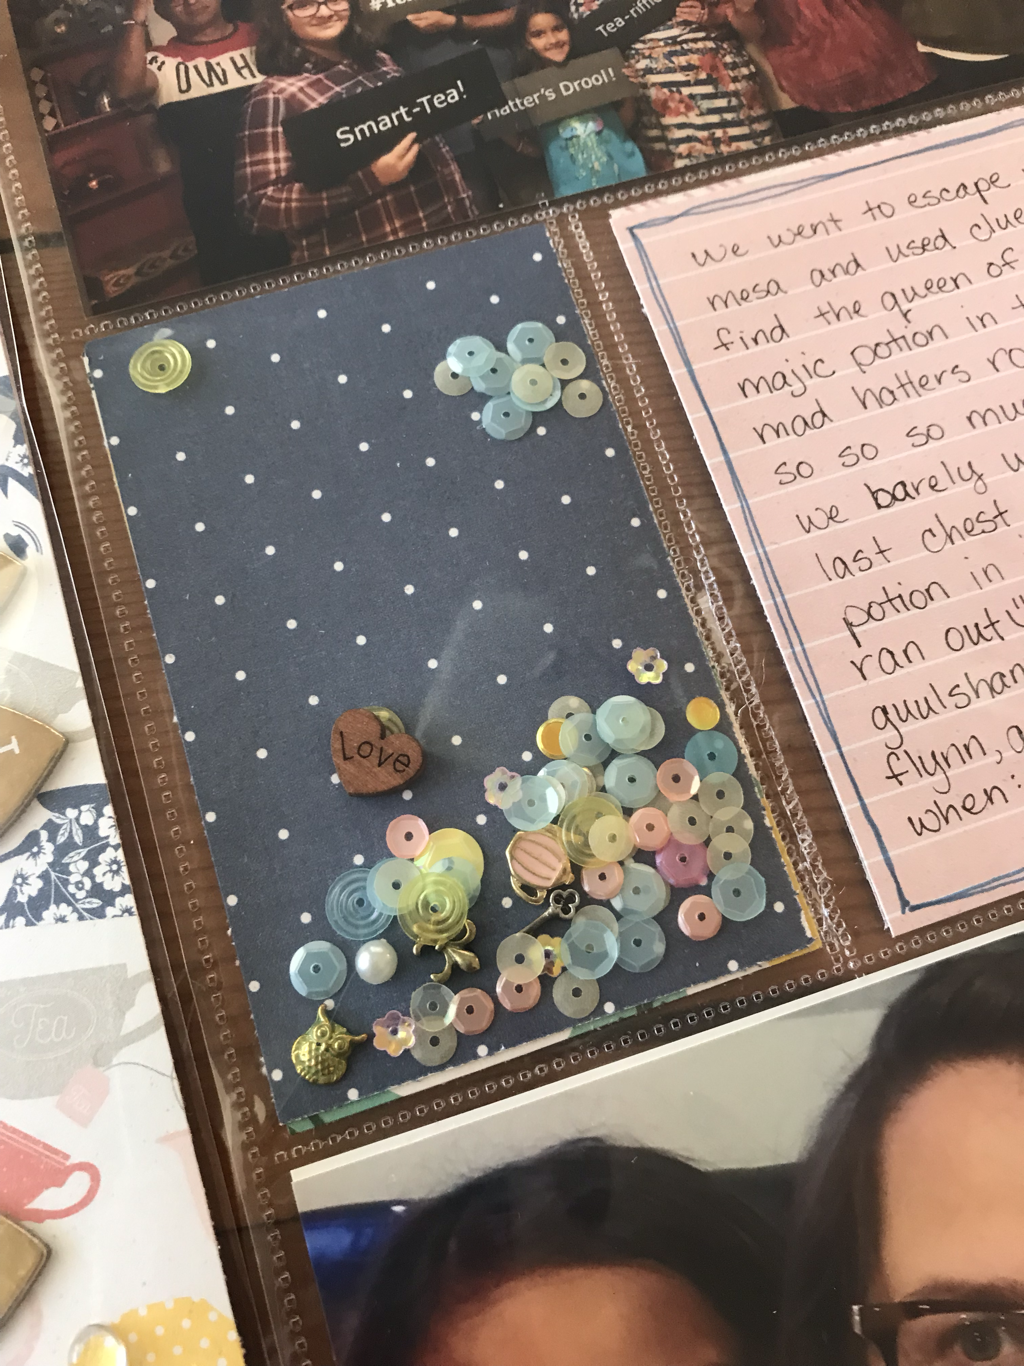 I have shared with you before that the paper in my long 12x2” pocket usually falls out so I like to add a brad through the protector part into the paper to hold it in place. I am a member of a fantastic group on Facebook called Scrapbook and Planner Supplies Weekend Exchange where one weekend a month we can post a wish list and others can grant you those wishes, well I got some beautiful flowers from my wish granter that I immediately used on this page with my brad technique! I then wanted to do something a little fancy and added a hashtag paper clip with some more charms and I think my page is perfect! 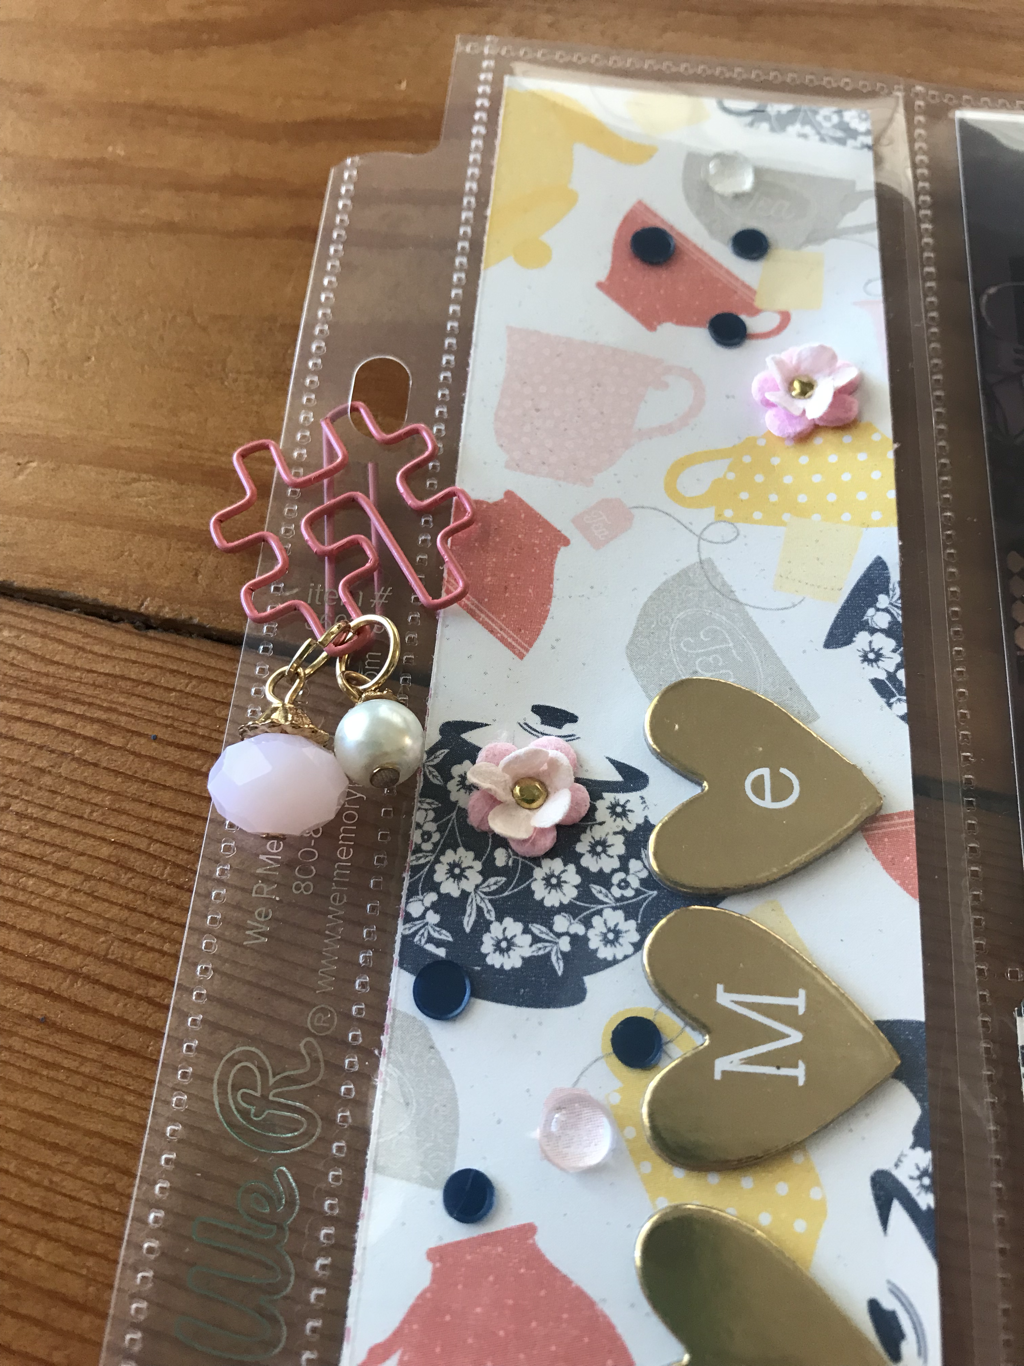 That is all for me right now! Hope you enjoyed this post and you got some new ideas too! Let me know in the comments if there is something you would like to see on the blog in the future!
0 Comments
|

Shaker ElementHello all! I am currently working on a mini album of a snow play trip we took in January. I wanted to put all kinds of different elements into it so I thought it would be a perfect time to add a shaker box. So first off I decided to use a snowflake cut file from The Cut Shoppe for this element and the first thing I did was cut some of the inside elements out to make the visible area bigger. Then I glued a piece of scrap page cover to the snowflake. I glued a bigger piece and once it was dry I then cut it down to just my shaker area. I then cut my foam dots in half to box it in.
So my snowflake is ready for my dodads! First I placed my snowflake on top of where I wanted it and took a mental note of where the shaker part would be. Then I placed a little pile of sequins and confetti where it will go.
I then pulled all those little backings off my foam dots and placed my snowflake where is supposed to go and viola, I had a beautiful little shaker snowflake! I hope you enjoyed this tutorial, please let me know in the comments if there is something you would like to learn for scrapbooking!
Archives
April 2023
Categories
All
|


 RSS Feed
