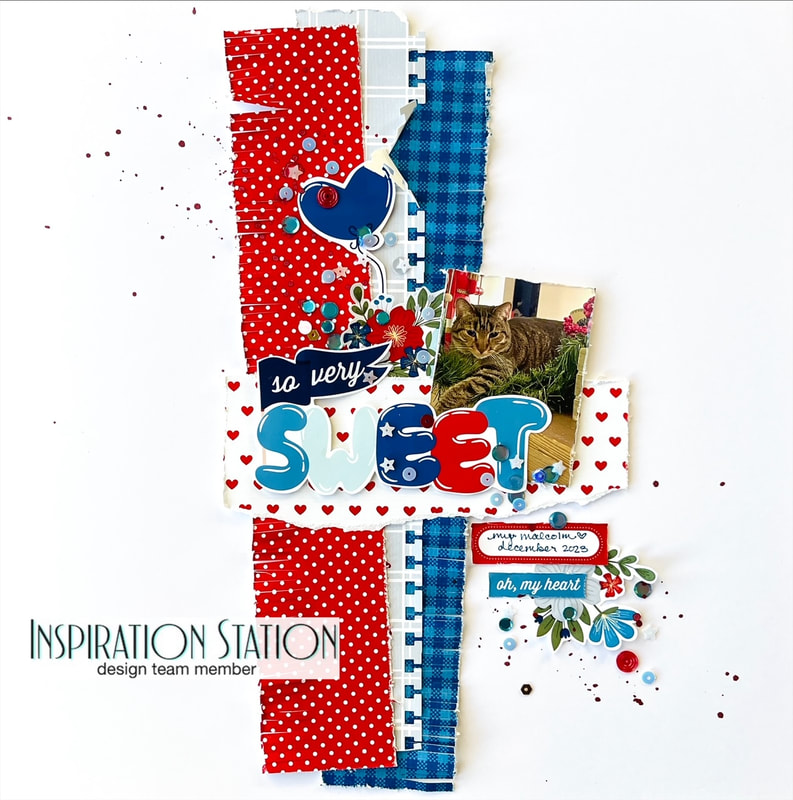
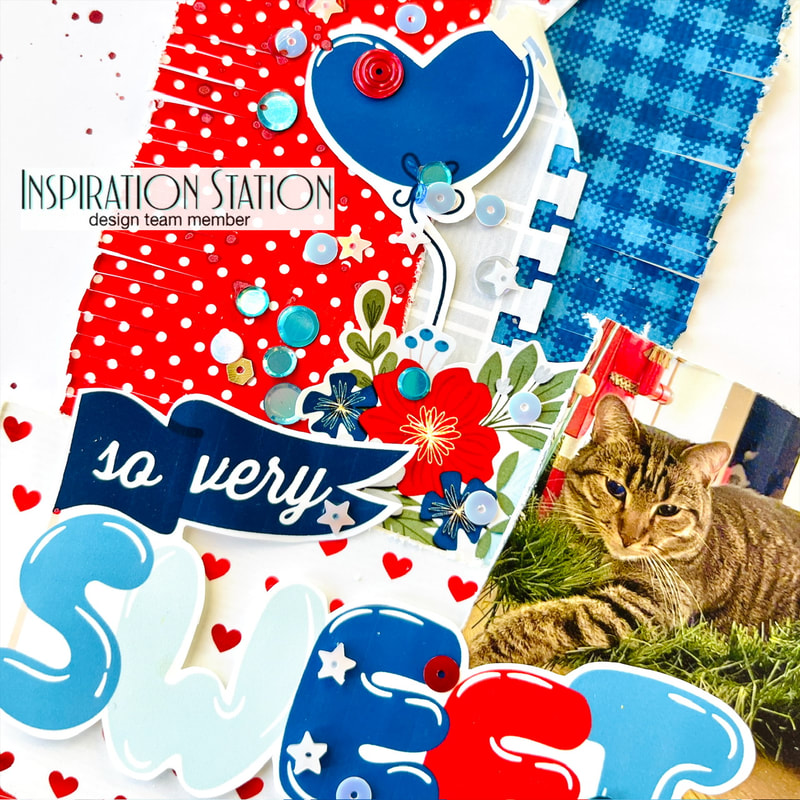
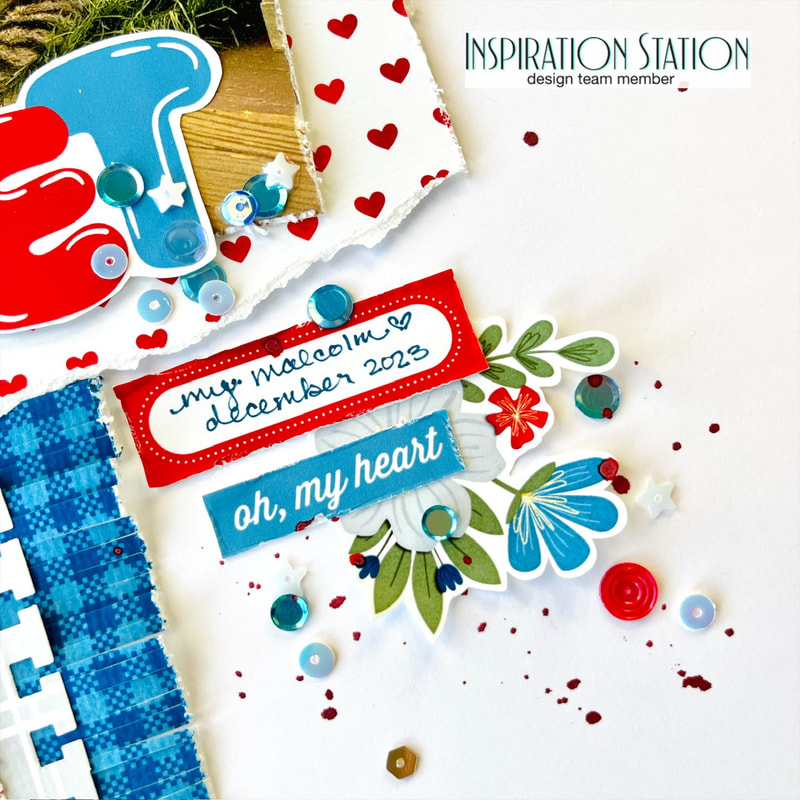
 Hey all! Nicole here with a layout I did for the February Inspiration Station post. Inspiration Station is a blog that posts an inspirational picture, then you make a crafty project based on the picture. You can enter your project on the blog for a chance to win a prize! Here is this month's picture:  I took inspiration from the pets in the photo and decided to make a layout of my sweet kitty Malcolm. I also was inspired by the XOXO to use a Valentine's collection, so I'm using the Over the Moon Collection from Traci Reed Designs. I did three strips down the middle of my page as a base. I then used a scrap horizontally for my title and photo to rest. Then I embellished with elements from the Over the Moon stickers, some sequins from Spiegelmom Scraps, and some red shimmer spray from my stash.
Thanks for popping on to read about my layout. Don't forget to head over to the Inspiration Station to get inspired by other projects from this month's pic. Until next time, Nicole
1 Comment
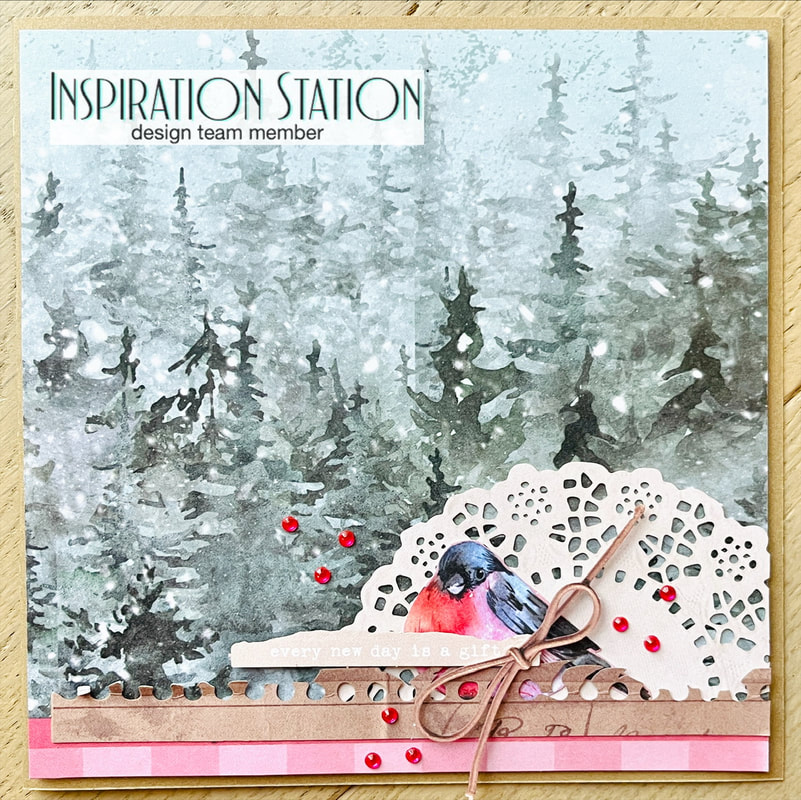 Hello all and happy New Year! I am sharing this card that I made for the Inspiration Station Challenge Blog! The Inspiration Station is a blog that posts a new inspiration picture every month and you create a project, post on their blog and you have the chance to win a small prize. Here is the picture for January 2024:  I took inspiration from the cold and the trees. I used my Nordic Nights kit from Scrapbooking Coach to make the card with some embellishments from the Toast Color Swatch collection from 49 and Market. I just love the way that it turned out. 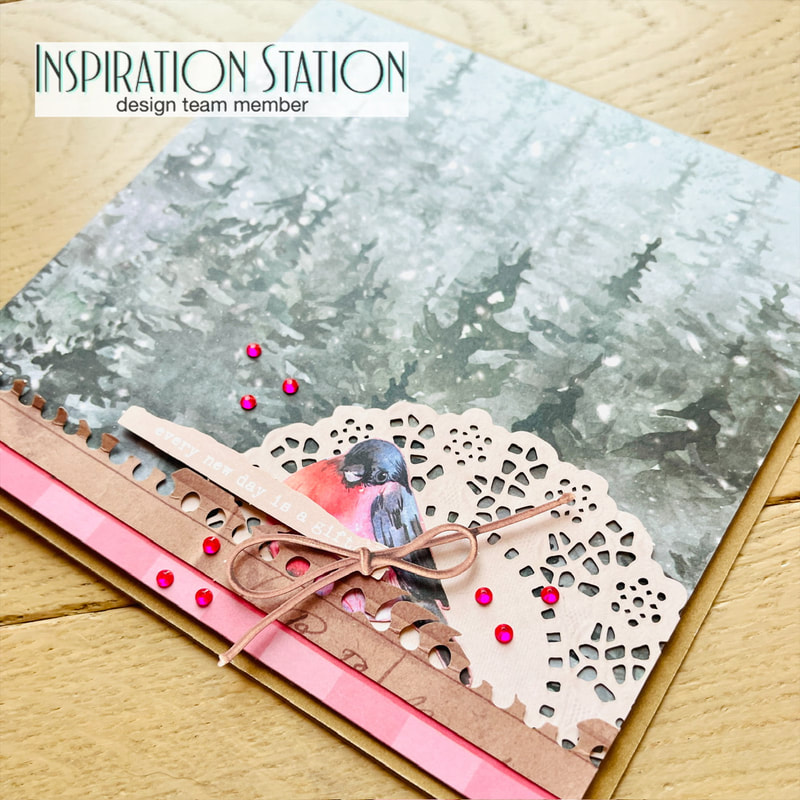 Don't forget to make your own project and post to the Inspiration Station for your chance to win a prize! Thanks for stopping by to read about my card. Until next month...
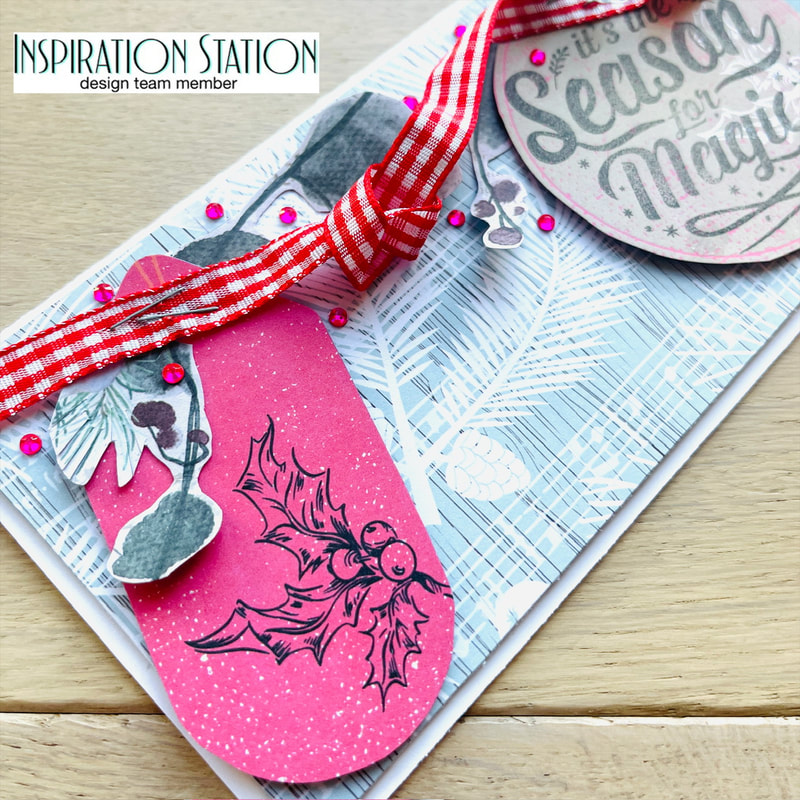
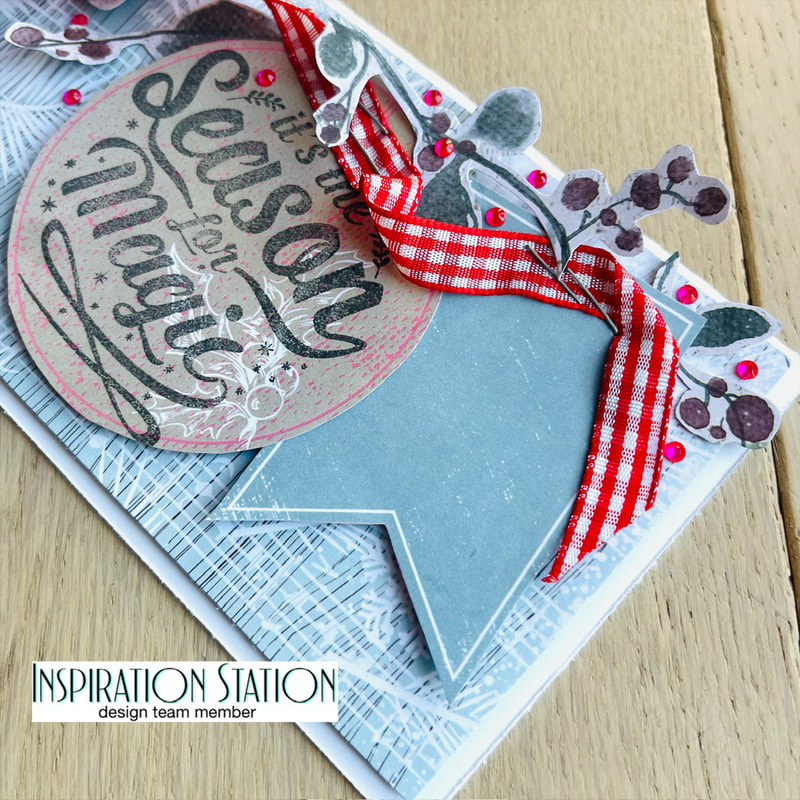
Nicole 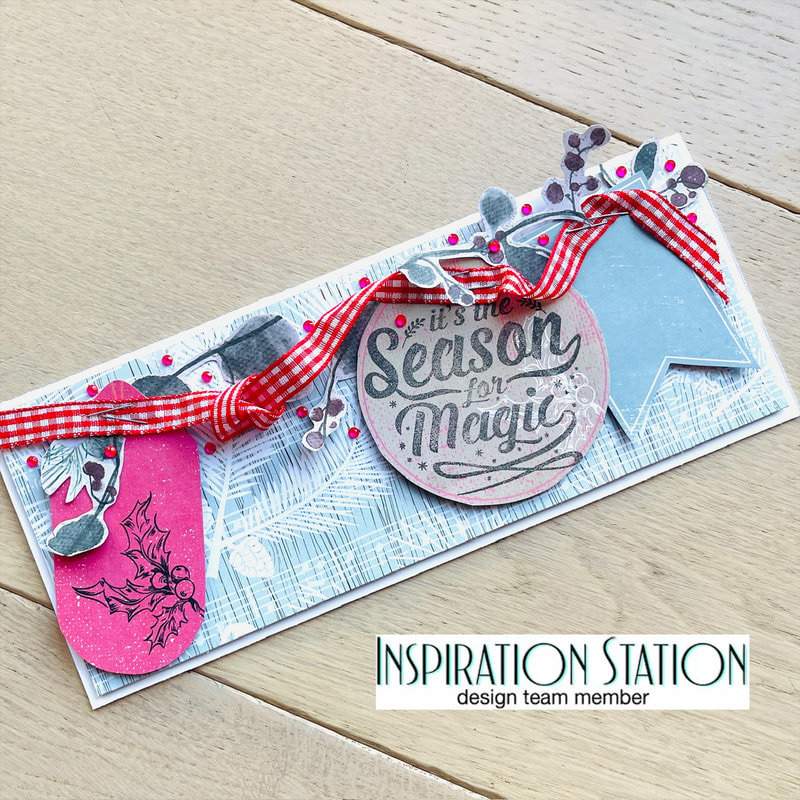 Hey all, Nicole here with a Christmas card I made for the Inspiration Station. The Inspiration Station is a challenge blog that posts a new pic for inspiration every month, then you create a project based on the pic and post to the blog for a chance to win a prize. Here is this month's pic: 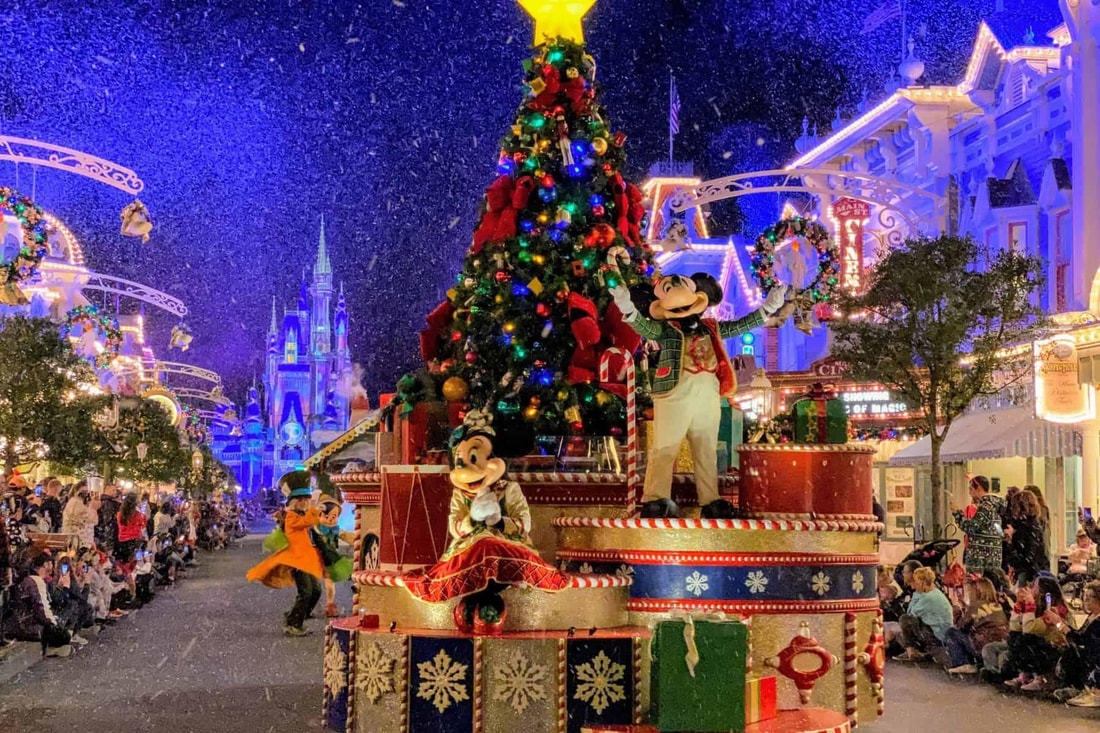 I took the Christmas theme of the pic as well as the magic of Disney to create my Christmas card: 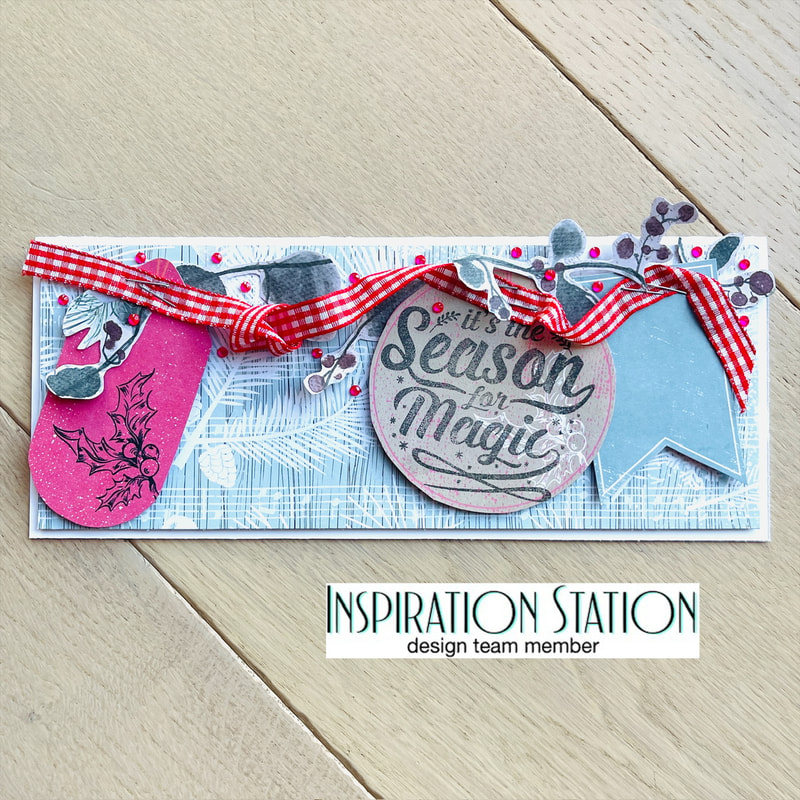 I created an 8 1/2 x 3 1/2" slimline card using the magical Nordic Nights kit from Scrapbooking Coach. I first cut the background paper to 8 1/4 x 3 1/4". Then I cut some tags from the cut apart sheet and added my sentiment to one of the tags. I stapled the ribbon to the tags fronts and then popped them up on the background. I used some fussy cut foliage around the ribbon and then added some little pink gems as well. Thanks for popping on to read about my card. Don't forget to make your own project based on the card and post it to the Inspiration Station blog for your chance to win a prize.
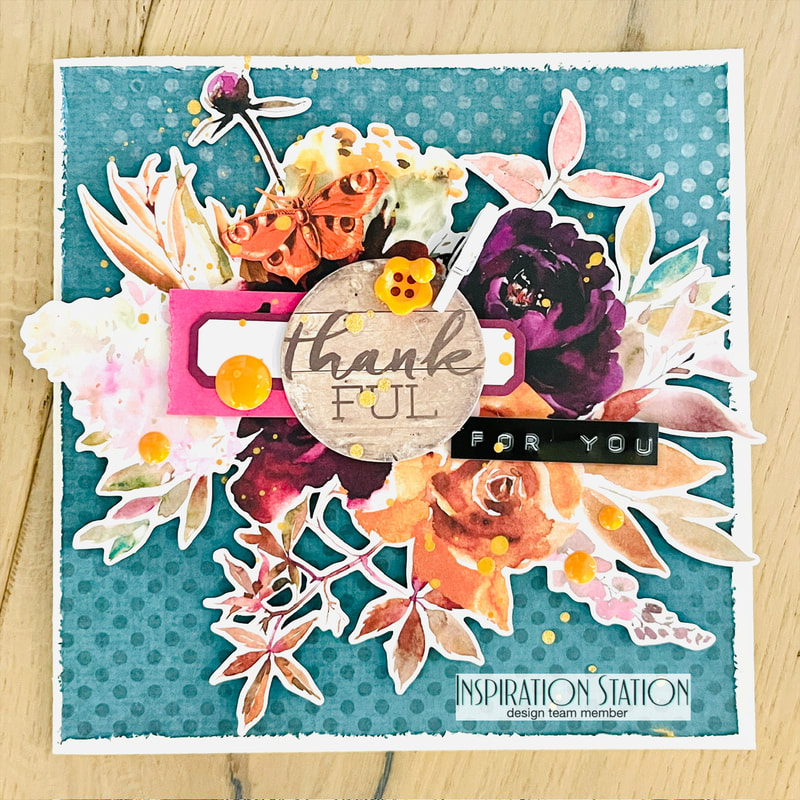
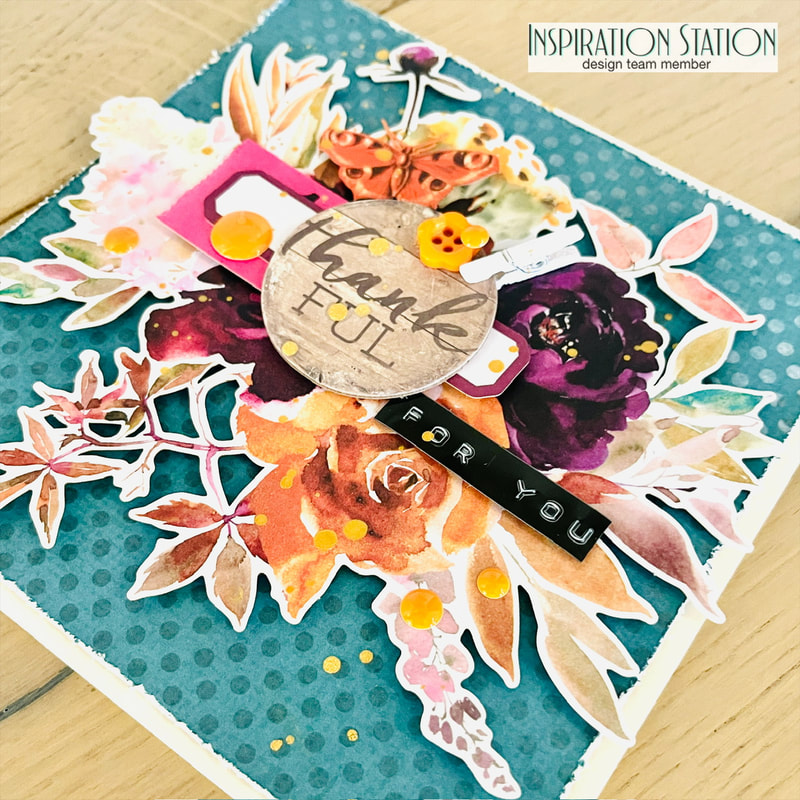
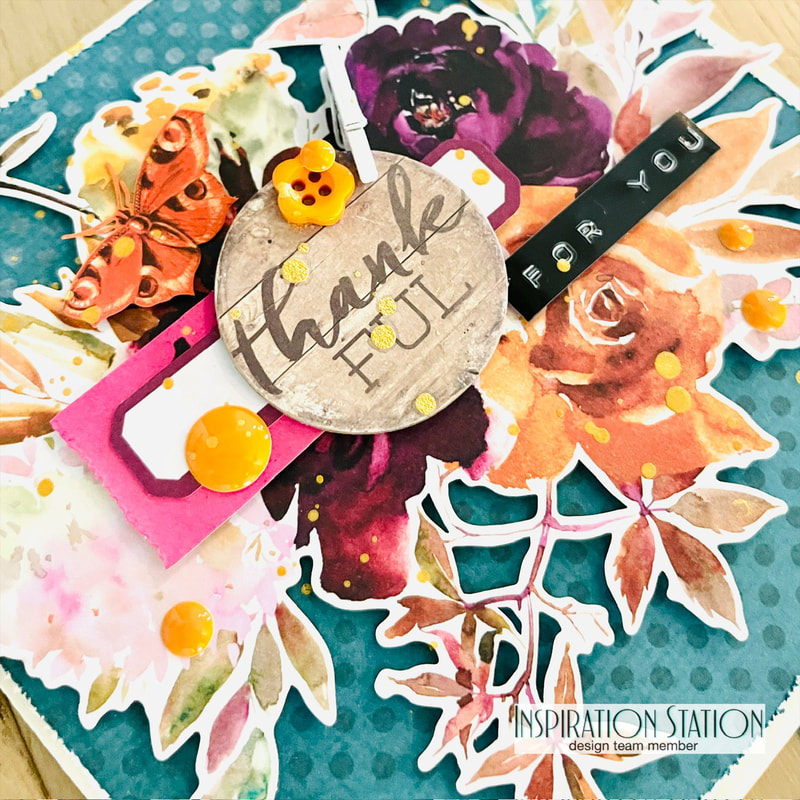
Until next time, Nicole  Hey all, Nicole here with my take on this month's challenge over at Inspiration Station Challenge Blog. Inspiration Station is a blog where you make a project based on the inspirational pic posted. Here is this month's pic: 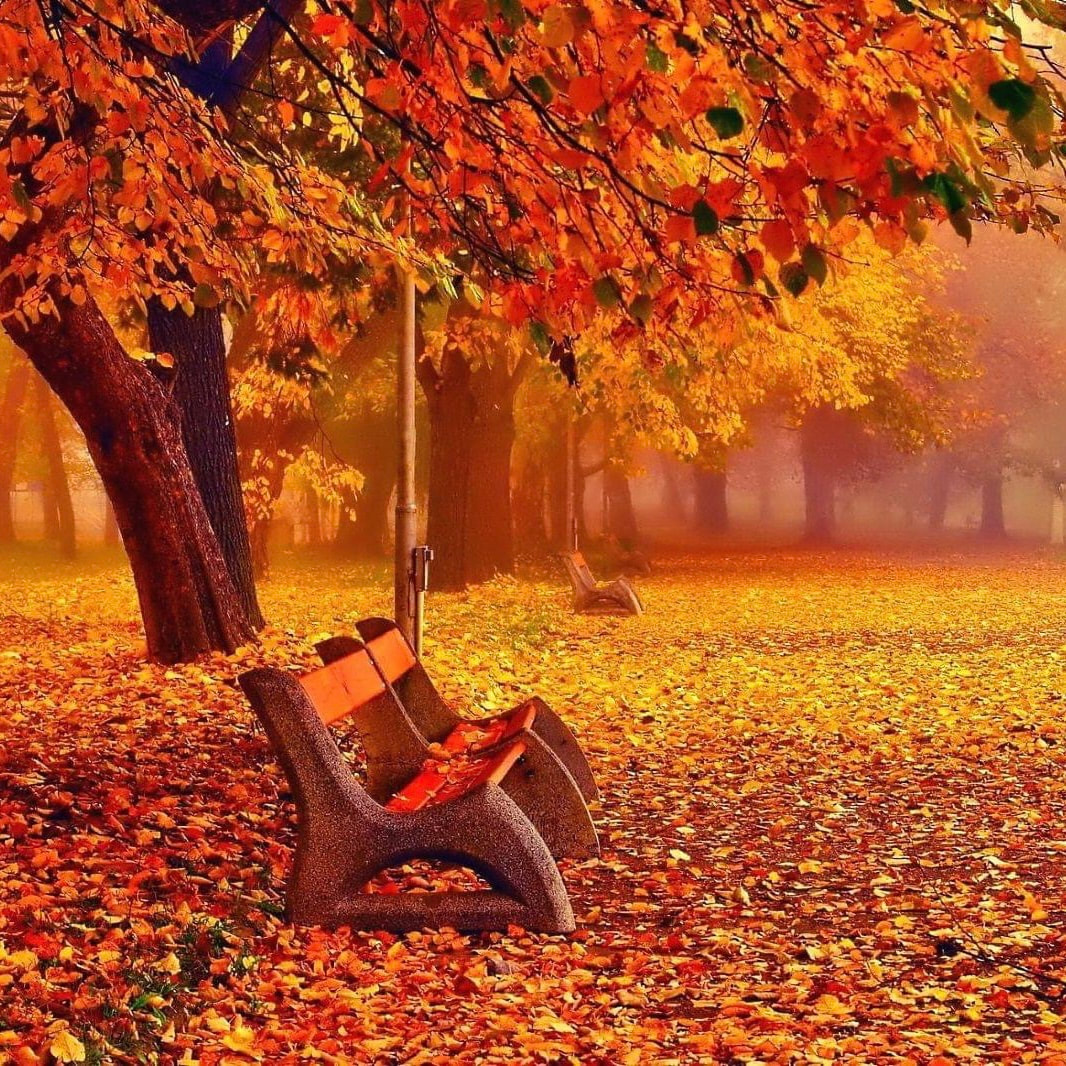 I took the theme of fall in this pic and ran with it. I used the gorgeous 49 and Market ArtOptions Spice collection to make this card that says "Thankful For You". Thanks so much for stopping in to read about my card. Don't forget to stop by the Inspiration Station and post your take on the pic for a chance to win a prize.
Nicole 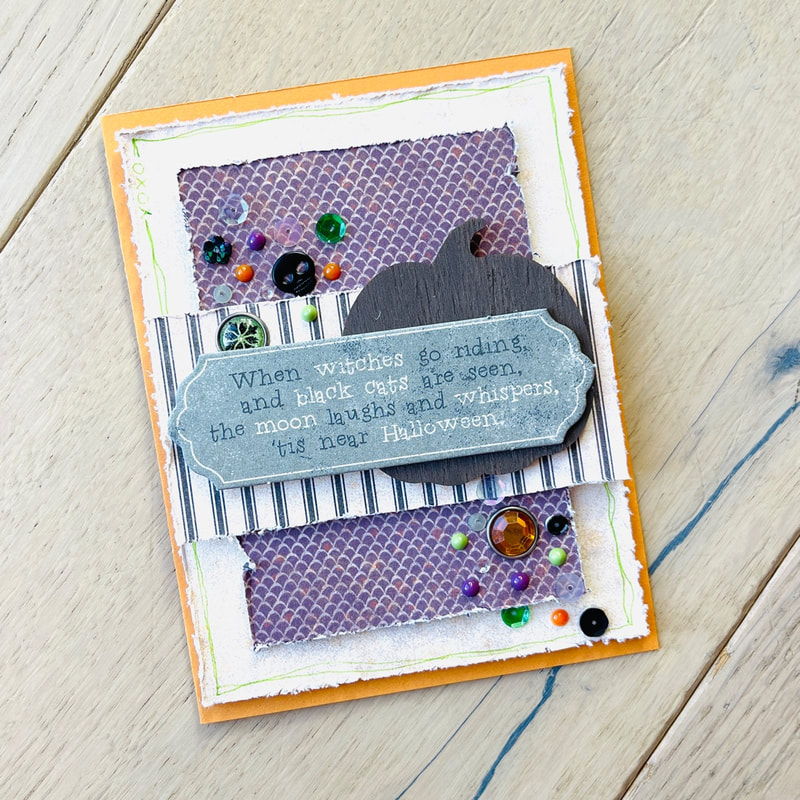 Hey all! Nicole here with a fun Halloween card for the new challenge over at Inspiration Station! Inspiration Station is a blog where you create a project based on an inspiration picture, then you can enter your picture on the blog for a chance to win a prize. Your project can be a card, a scrapbook layout, or even home decor, anything that is made by you! Here is this month's inspiration pic: 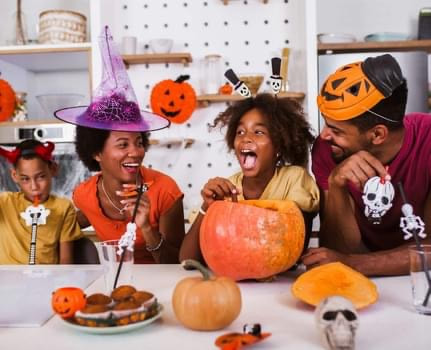 Of course I took the Halloween theme and ran with it! I created a card with some very old Close To My Heart Halloween collection. I then added some more by dropping some Nuvo in different colors and using the Inky Dinky Do, Road Trip, and Maize Dayz sequins from SpiegelMom Scraps! Here is one more look at my card: Thanks for popping on to read about my card! Don't forget to check out the Inspiration Station and play along for your chance to win a prize.
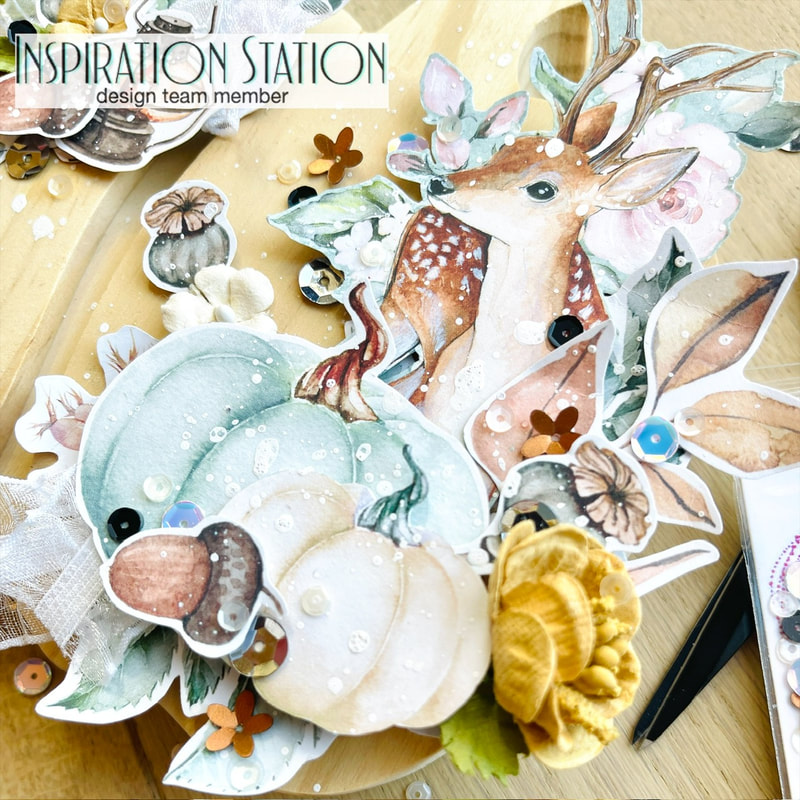
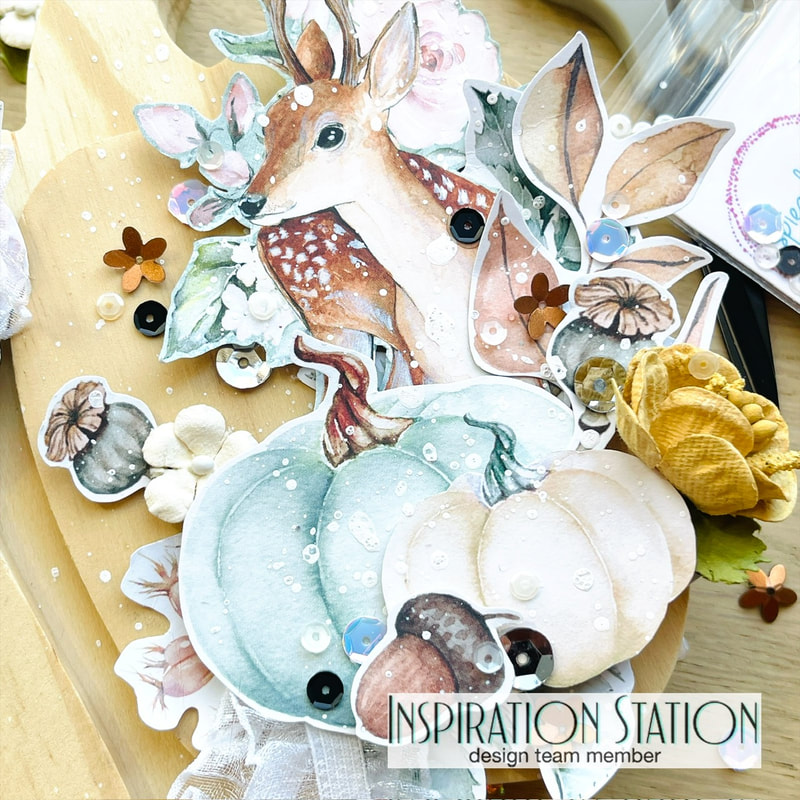
Until next time, Nicole 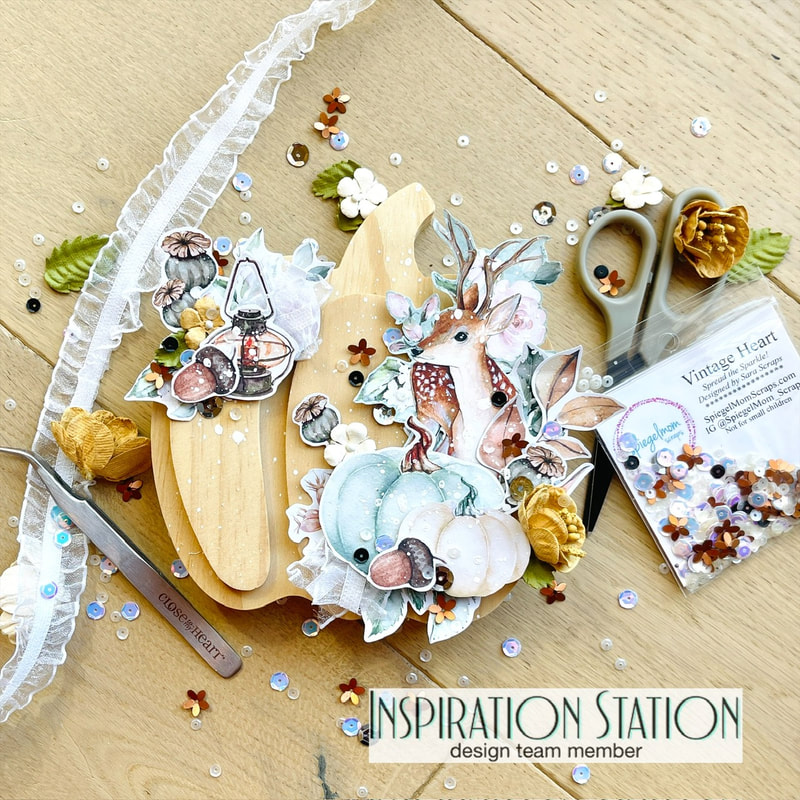 I'm back today with my project for the Inspiration Station, where you create a project based on the inspiration pic and enter it for your chance to win a prize! This is the inspiration pic for this month: 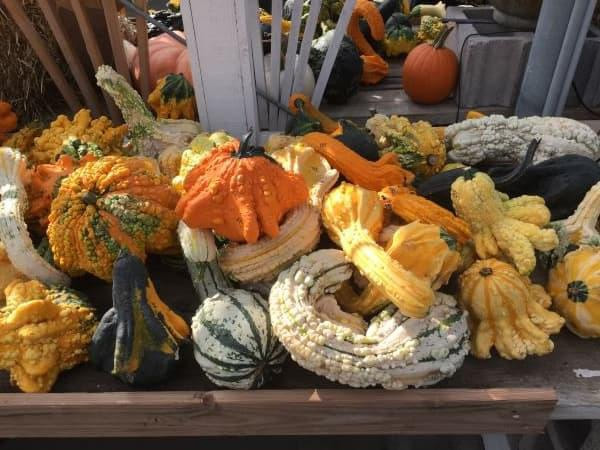 After seeing this pic I decided to go pumpkin (surprise I know!)!!! I grabbed this little wooden pumpkin that I had waiting to have it's own project and the Old Manor collection from Mintay and got to work. I knew right away I wanted to use this deer with pumpkins towards it's legs so I fussy cut some out of the cards included with the collection. I then attached to the pumpkin using foam tape and glue. 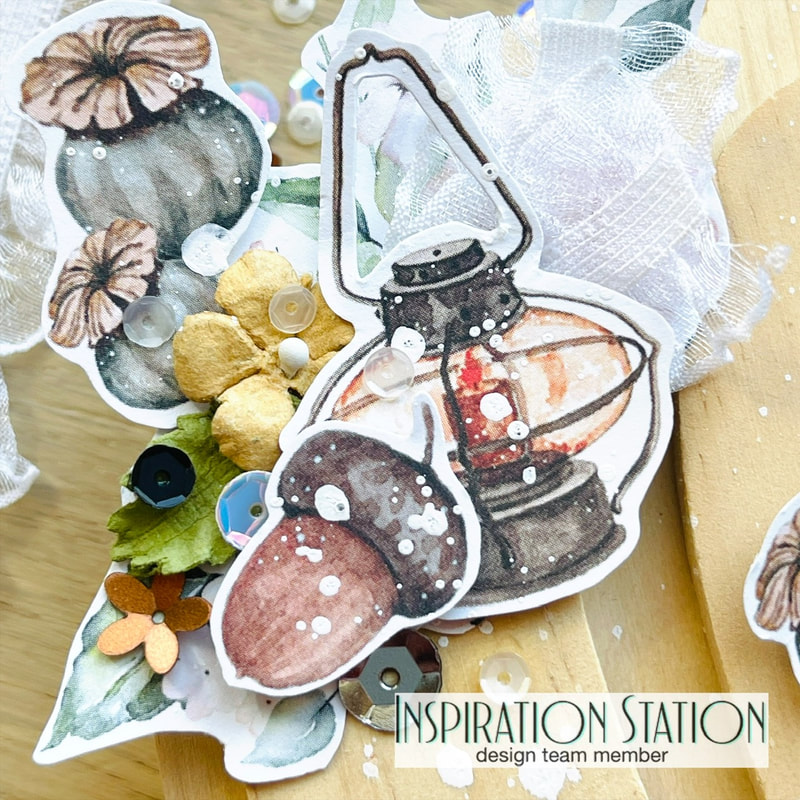 Then I wanted to add another little cluster up here in the left corner of my pumpkin so I decided to add some florals and a lantern. 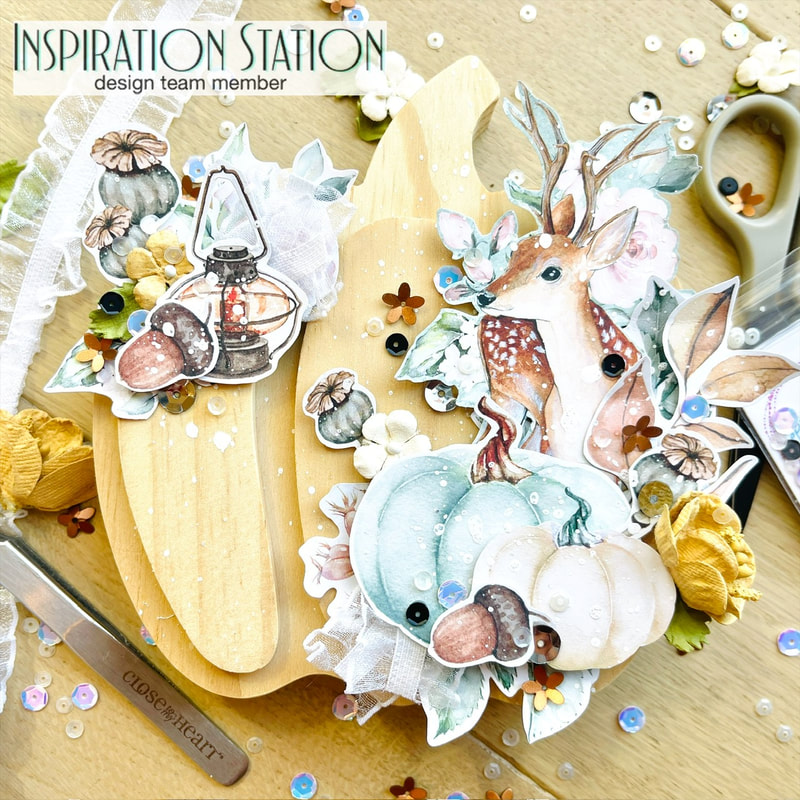 To finish off my pumpkin I added some Vintage Heart sequins from SpiegelMom Scraps, ribbon, white splatters and some beautiful flowers from 49 & Market.
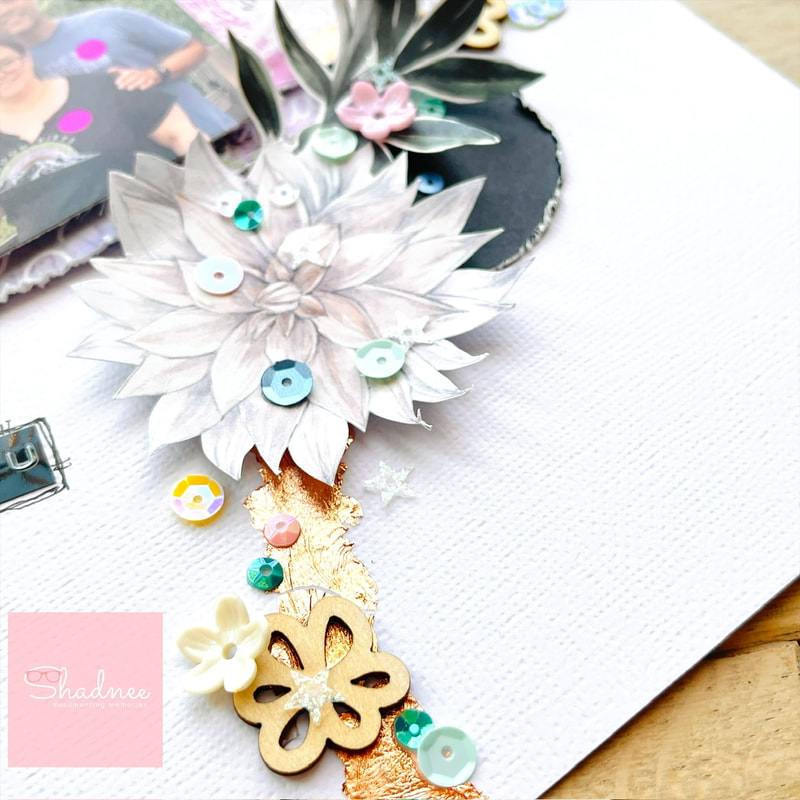
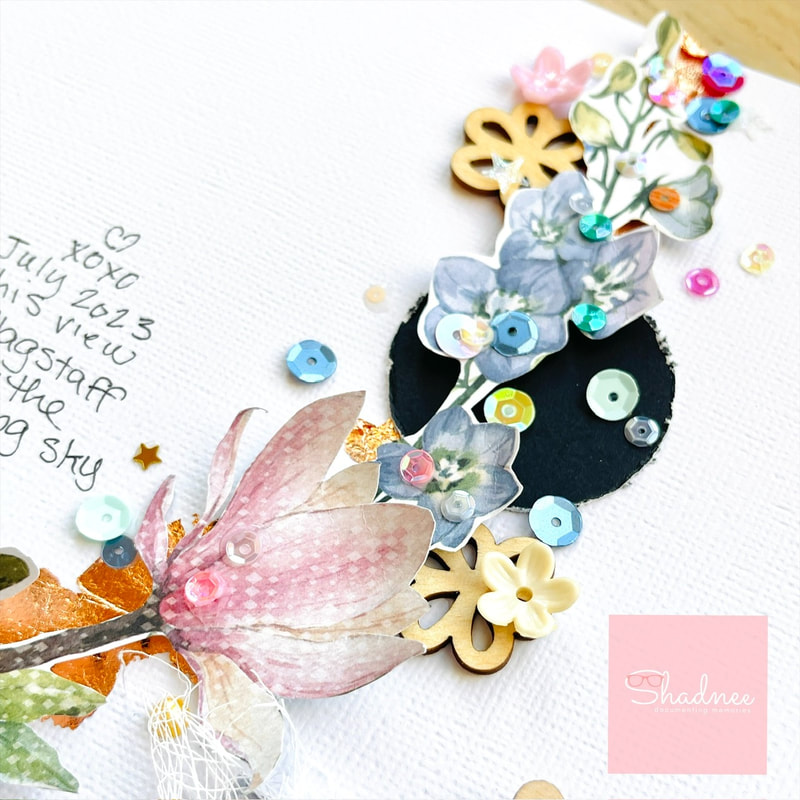
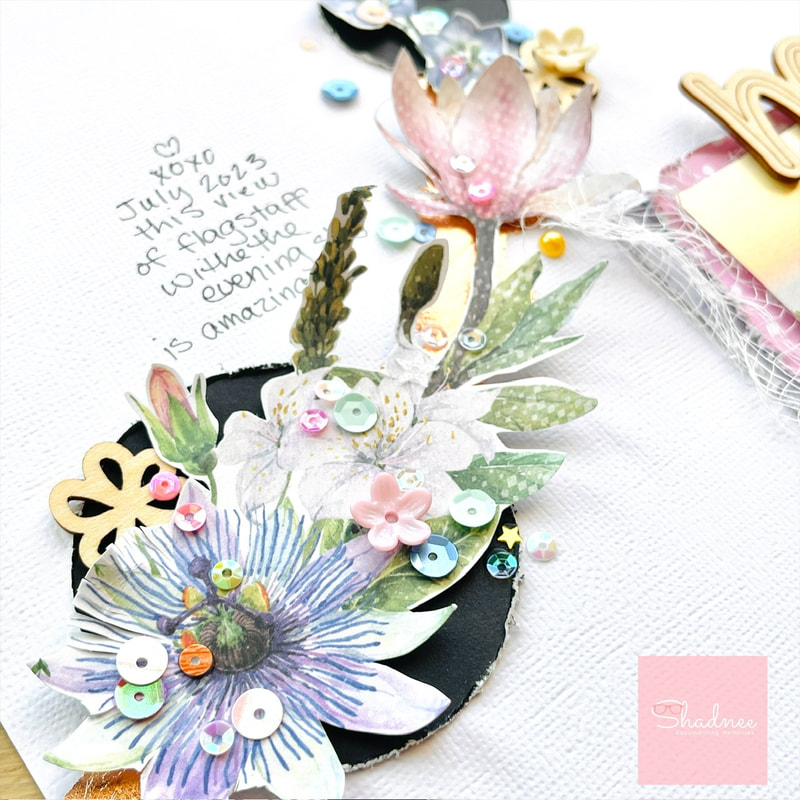
Thanks so much for stopping in today to read about my pumpkin! Don't forget to check out everyone else's projects up on the Inspiration Station and enter your own for a chance to win a prize! I will see you back here next month for another project for Inspiration Station! 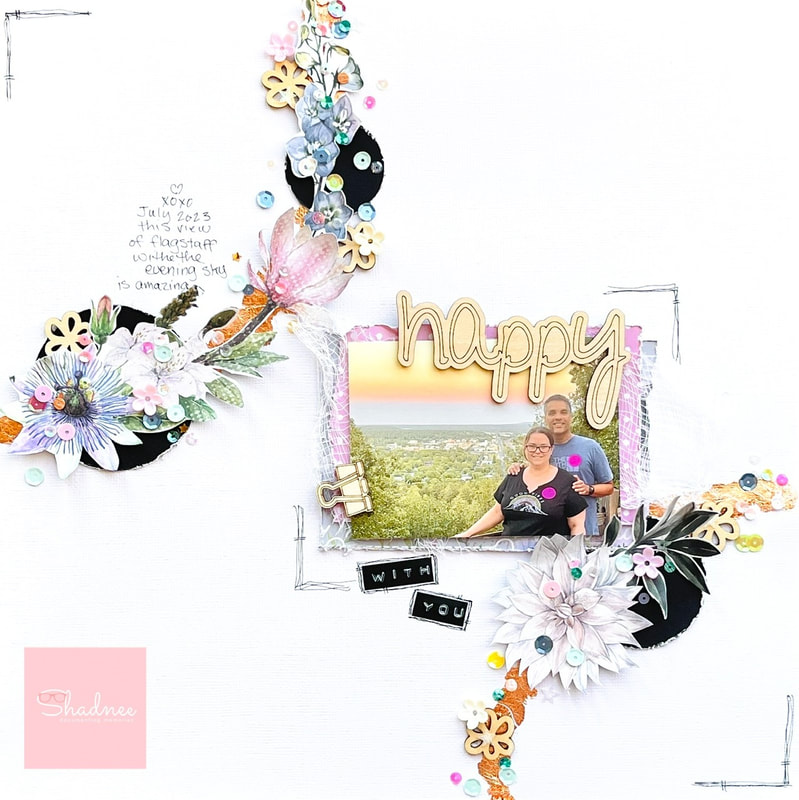 Hey all, Nicole here with a layout share for you. I'm using lots of little bits from Shadnee's Etsy shop to make this page pop with embellishing! The base of the page is made with the August Tea Times kit from Scrapbooking Coach. I had fussy cut some flowers out of one of the patterned papers from the Scrapbooking Coach kit and had them sitting on my desk just shouting to be used. So I decided to make some partial wreaths with them and the gold foil from the kit as well. I also had some black circles from another layout that were leftover and on my desk, so I incorporated them as well! I then used little wood veneer flowers, resin flowers, and beautiful sequins from Shadnee's Etsy to add more interest to the wreath areas. 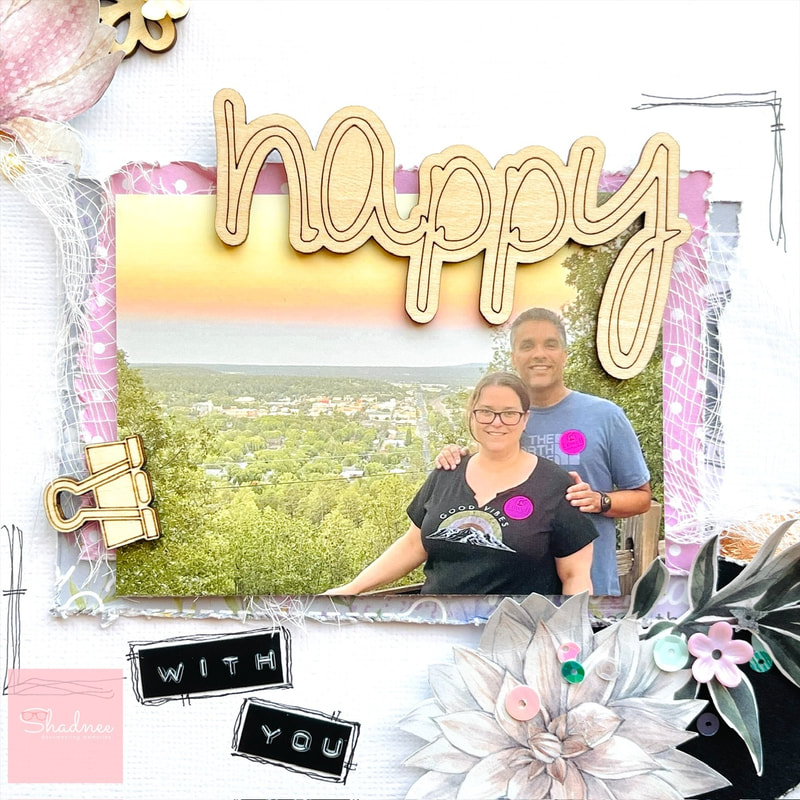 I layered up my photo with paper from the Tea Times kit, then I added a little wooden veneer binder clip and the title "happy" from Shadnee's Etsy shop as well.
Thanks so much for stopping in to read about my layout! I have links to all the products below if you are interested in purchasing! Until next time, Nicole Shadnee's Etsy Shop Wood Veneer Flowers Resin Flowers Sequins Binder Clips Wood Veneer Happy Title Tea Times Kit from Scrapbooking Coach (Affiliate Link - I make a small commission off your purchase through this link, but you don't pay any extra) 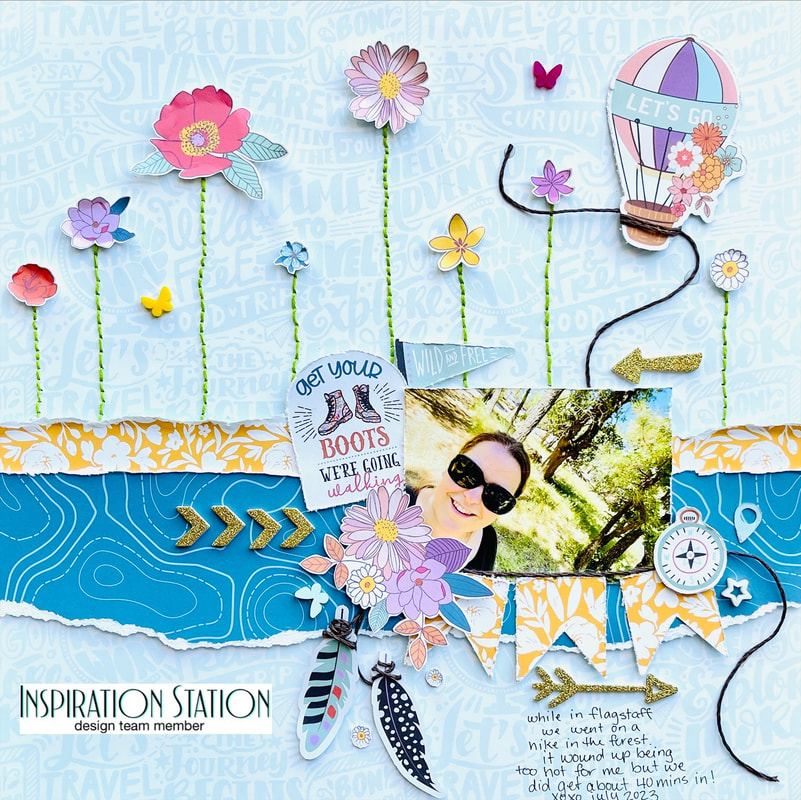 Hey all, I'm back with another post for Inspiration Station Challenge Blog! Inspiration Station is a blog where you create a project based on the inspiration picture that month. You can then post your project to the blog to be entered to win a prize. Here is this month's inspiration pic: 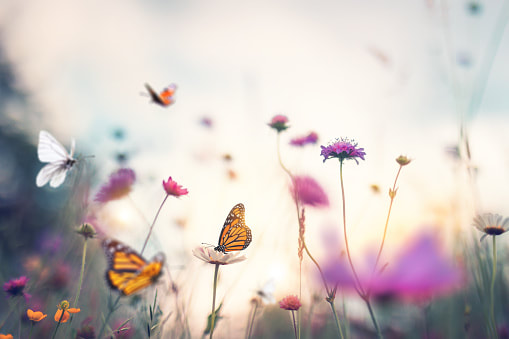 For my project I made a scrapbook page of a hike I went on recently. I based my page off the inspiration pic by placing some flowers with long sewn stems on my page and I also tried to use similar colors, keeping with the summer and nature theme. I used the July Hip Kit Club kit to make this page.
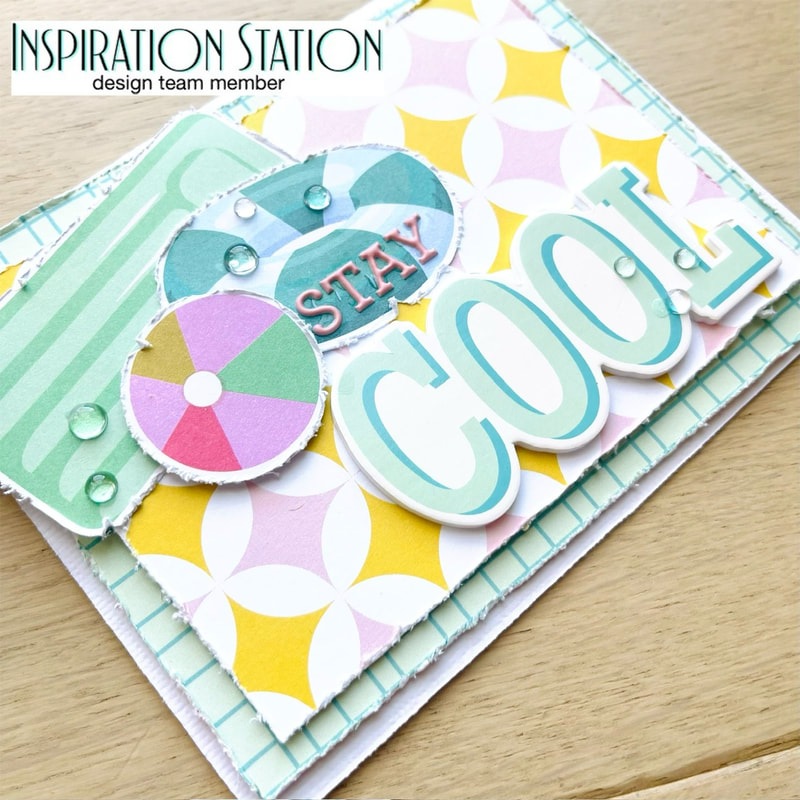
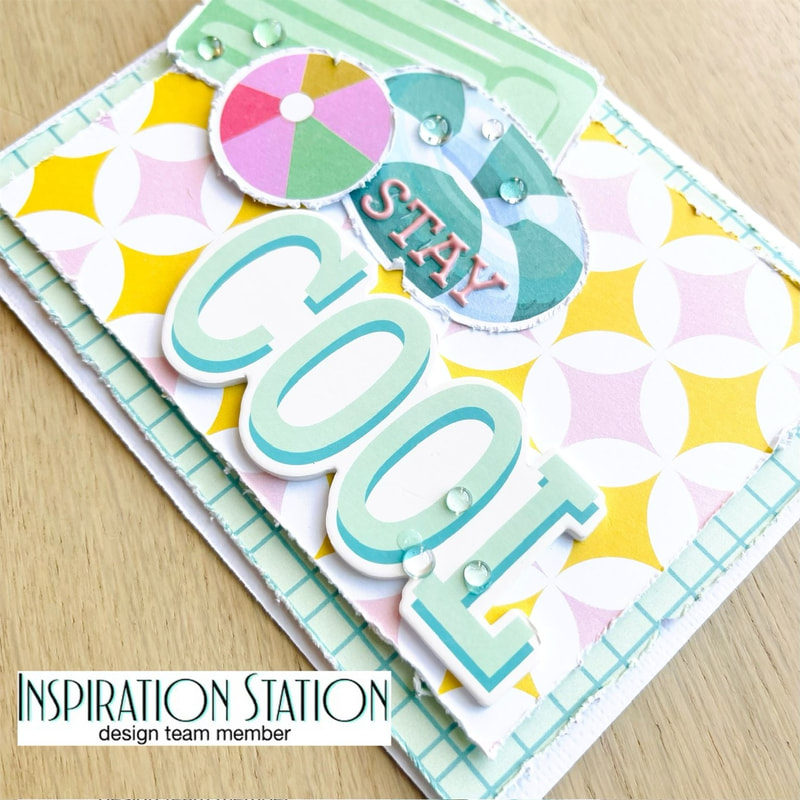
Thanks so much for popping by to read about my layout. Don't forget to check out the Inspiration Station and submit your own project for a chance to win a prize! Til next time, Nicole 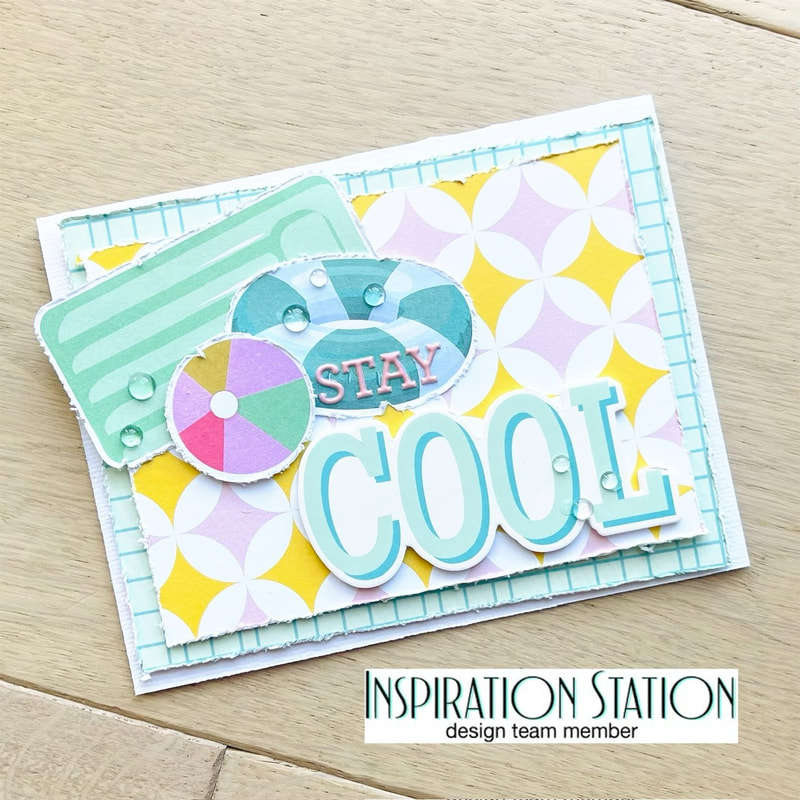 Hey all! I'm here with my project that I made from the inspiration picture over at the Inspiration Station Challenge Blog! The Inspiration Station in a blog where you can make a project based on the inspiration pic and then upload for a chance to win a prize! Here is this month's inspiration: 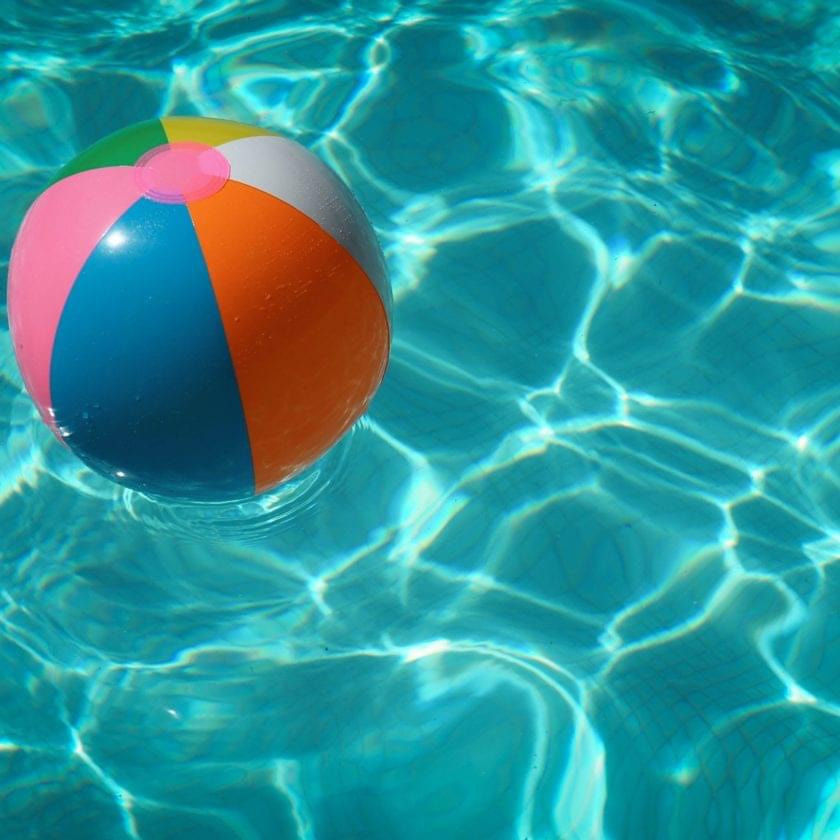 I used the "Sunshiny Day" Page Kit from {Not} Just for Boys Kit Club to make this card. I went with the sentiment "Stay Cool" to keep with the summery theme. Then I finished with some clear Finishing Touches from NJFB as well to add the look of bubbles. Don't forget to head over to Inspiration Station Challenge Blog to enter your project in this month's drawing for a fun prize. Thanks for stopping in to read about my card!
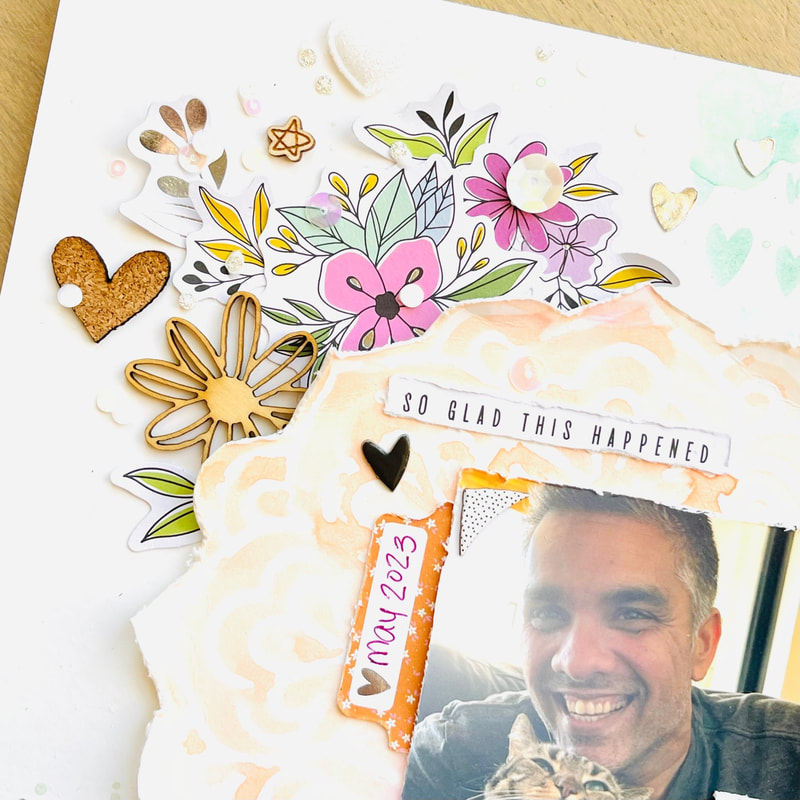
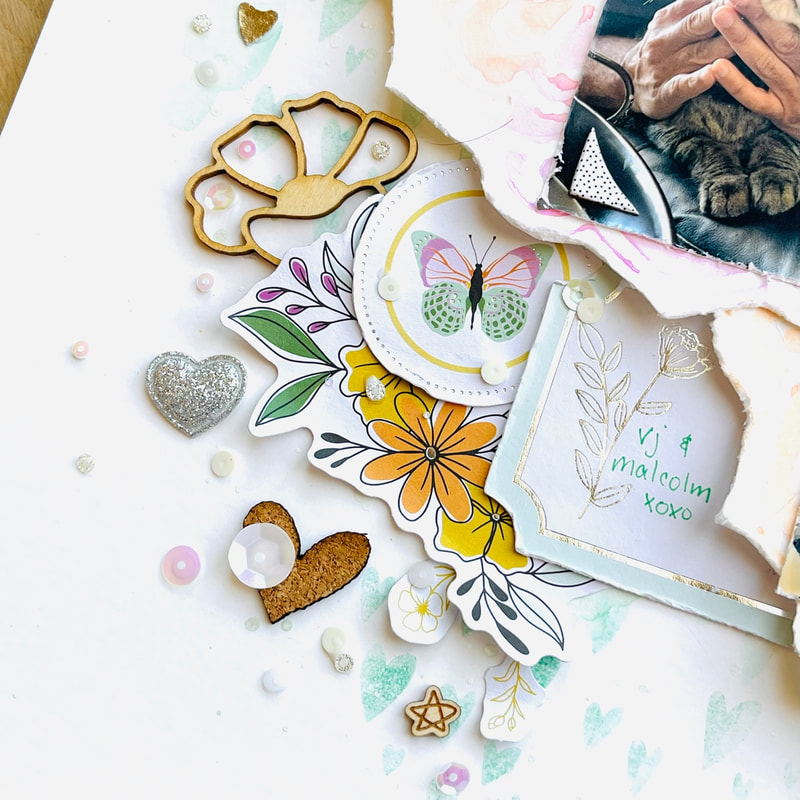
Until next time, Nicole 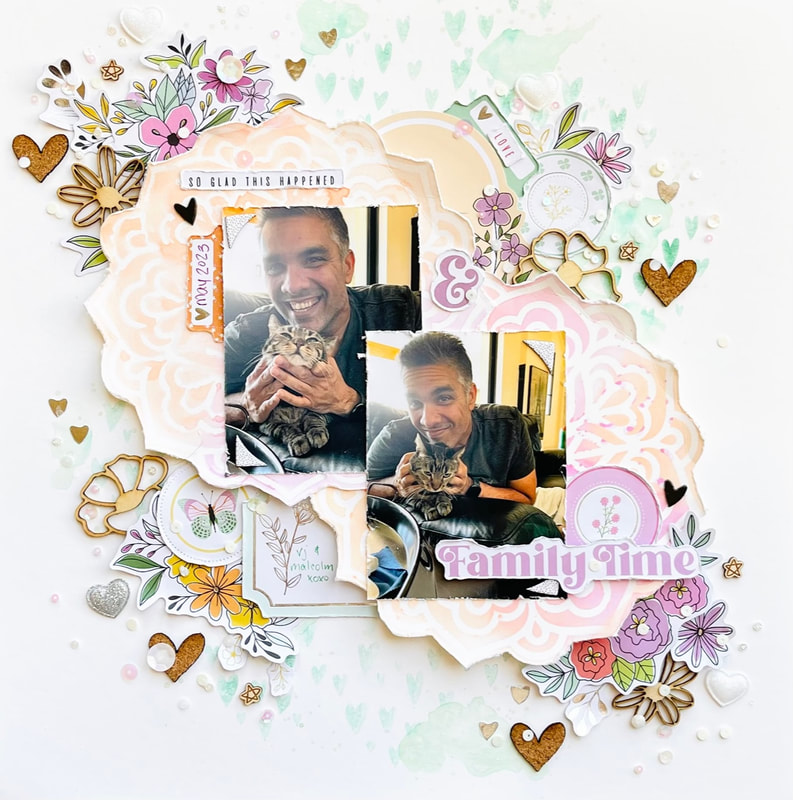 Hey all! Today I'm using a bunch of goodies from Shadnee's Etsy Shop to embellish this page I made of my hubby and our cat, Malcolm. I started this page by using the Hip Kit Club May Color Kit to make these orange and pink mandala pieces. 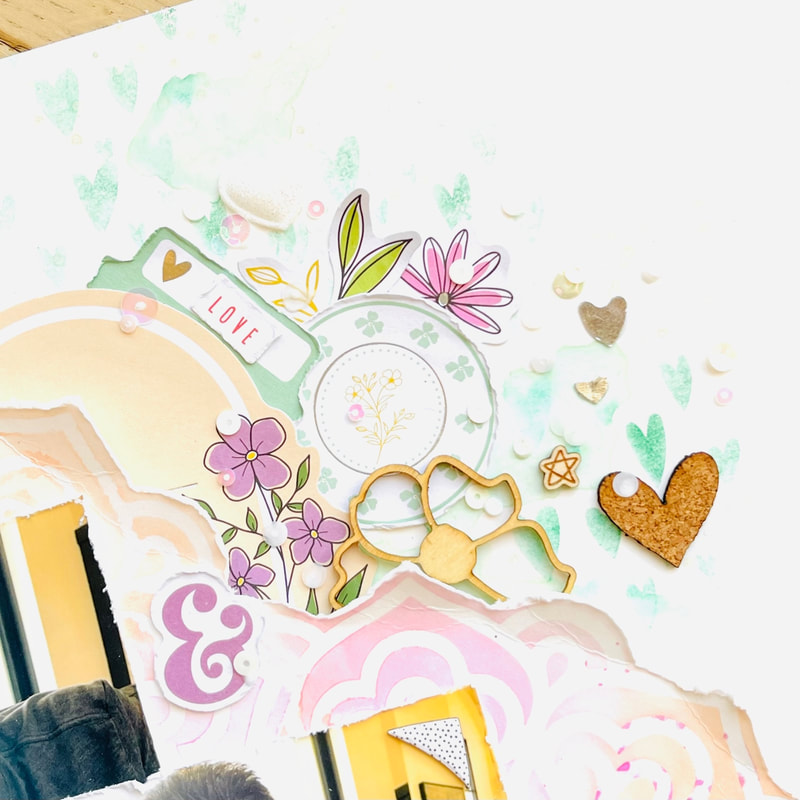 I then used a stamp from a previous Hip Kit Club to make the background with a green ink from my stash, and I added some of the green shimmers from the May Color Kit to add a washed out effect to my background. I then added clusters of elements from my Hip Kit and started to bring in the amazing goodies from Shadnee. One of the first things I added was these cute little cork hearts. They are amazing because they are also sticky on the back, but also so cute! I then added some of the cute little handdrawn star wood veneer and some glittery, puffy hearts. To finish my clusters I added Vintage Pearl Sequins, also from Shadnee! 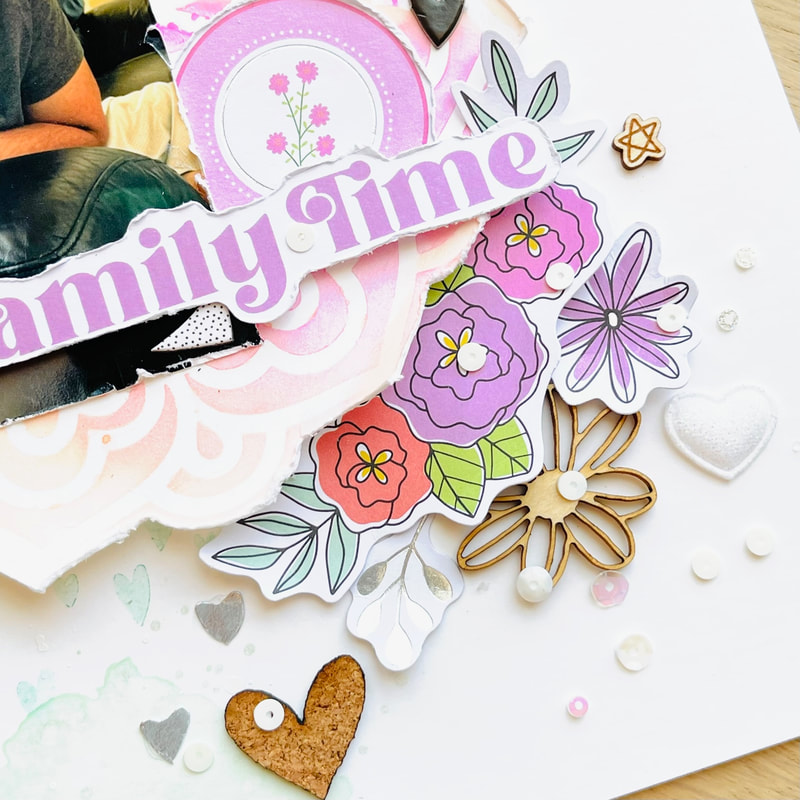 I added the title "Family Time" which is so perfect for these photos of my cat getting forced affection. I also added the date and some journaling.
I hope you liked this page and it gives you some inspiration for your next project. Don't forget to check out Shadnee's Etsy because she really has almost anything you need for your next layout! Until next time, Nicole |

Shaker ElementHello all! I am currently working on a mini album of a snow play trip we took in January. I wanted to put all kinds of different elements into it so I thought it would be a perfect time to add a shaker box. So first off I decided to use a snowflake cut file from The Cut Shoppe for this element and the first thing I did was cut some of the inside elements out to make the visible area bigger. Then I glued a piece of scrap page cover to the snowflake. I glued a bigger piece and once it was dry I then cut it down to just my shaker area. I then cut my foam dots in half to box it in.
So my snowflake is ready for my dodads! First I placed my snowflake on top of where I wanted it and took a mental note of where the shaker part would be. Then I placed a little pile of sequins and confetti where it will go.
I then pulled all those little backings off my foam dots and placed my snowflake where is supposed to go and viola, I had a beautiful little shaker snowflake! I hope you enjoyed this tutorial, please let me know in the comments if there is something you would like to learn for scrapbooking!
Archives
April 2023
Categories
All
|


 RSS Feed
