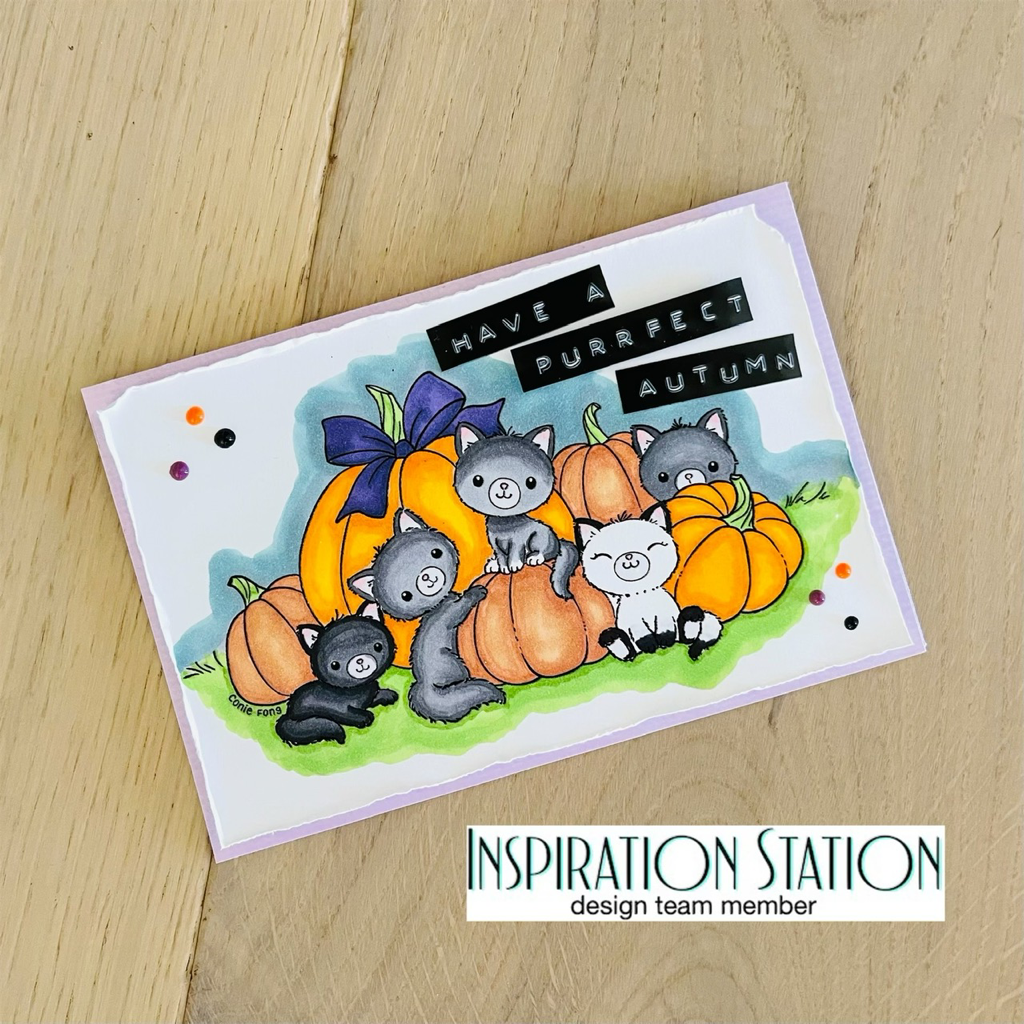
 Hello all, today I’m sharing a cute card I made for the Inspiration Station Challenge Blog! The Inspiration Station is a blog that challenges you to create a project based on a picture. You can see this weeks picture below! We have also teamed up with Conie Fong Art https://www.etsy.com/shop/ConieFongArt who makes this adorable printable art above and many others! She is offering 25% off for the Inspiration Station, just use code INSPIRATIONSTATION25 For my card I choose this cute kitty art and colored with copics. I’m not a pro at coloring with copics and I do t have many but I’m liking the way it turned out. I choose the kitties to go with the inspiration pictures animals. And then I tried to color based on the colors in the photo as well. I then added some Nuvo drops in purple, orange, and black! Please make sure to stop by the Inspiration Station to submit your project for a chance to win a prize here: https://inspirationstationchallenge.blogspot.com/?m=1 Thanks for stopping by, Nicole 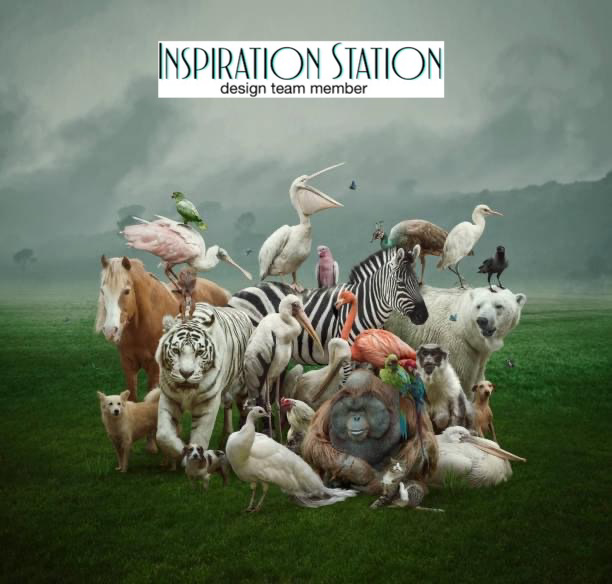
2 Comments
8/1/2022 03:27:47 pm
Great card Nicole and your coloring is fantastic! I love the punny sentiment on the old style labels. Thanks for a wonderful team project for The Inspiration Station Challenge! 8/14/2022 11:47:15 pm
What a super cute card,beautifully coloured and great sentiment too. Leave a Reply. |

Shaker ElementHello all! I am currently working on a mini album of a snow play trip we took in January. I wanted to put all kinds of different elements into it so I thought it would be a perfect time to add a shaker box. So first off I decided to use a snowflake cut file from The Cut Shoppe for this element and the first thing I did was cut some of the inside elements out to make the visible area bigger. Then I glued a piece of scrap page cover to the snowflake. I glued a bigger piece and once it was dry I then cut it down to just my shaker area. I then cut my foam dots in half to box it in.
So my snowflake is ready for my dodads! First I placed my snowflake on top of where I wanted it and took a mental note of where the shaker part would be. Then I placed a little pile of sequins and confetti where it will go.
I then pulled all those little backings off my foam dots and placed my snowflake where is supposed to go and viola, I had a beautiful little shaker snowflake! I hope you enjoyed this tutorial, please let me know in the comments if there is something you would like to learn for scrapbooking!
Archives
April 2023
Categories
All
|


 RSS Feed
