GUMBALL MACHINE CARD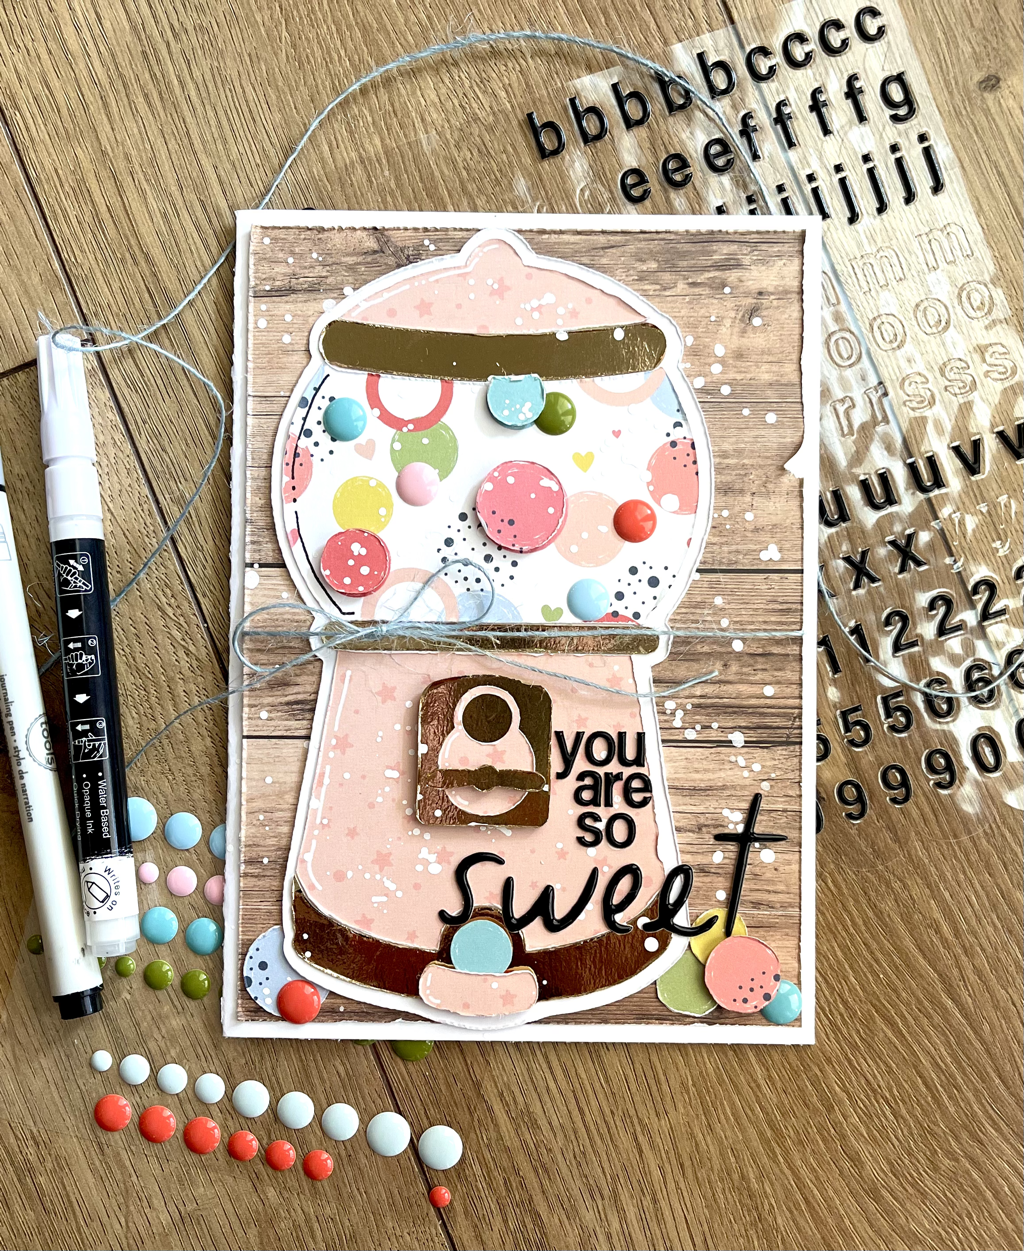 Hello friends! Today I’m sharing a card that I made with a new Gumball Machine cutfile from Craft Fix Designs. This is one of the sweetest and cutest cutfiles I have ever worked with! I used just plain white card stock to cut the backing piece, a patterned paper from Echo Park Paper from my February Hip Kit to do the main machine and the reverse for the glass bowl of bubble gum, and then gold card stock for the metal parts. For the card itself I used a wood grain paper from my {Not} Just for Boys Kit Club stash and white card stock. 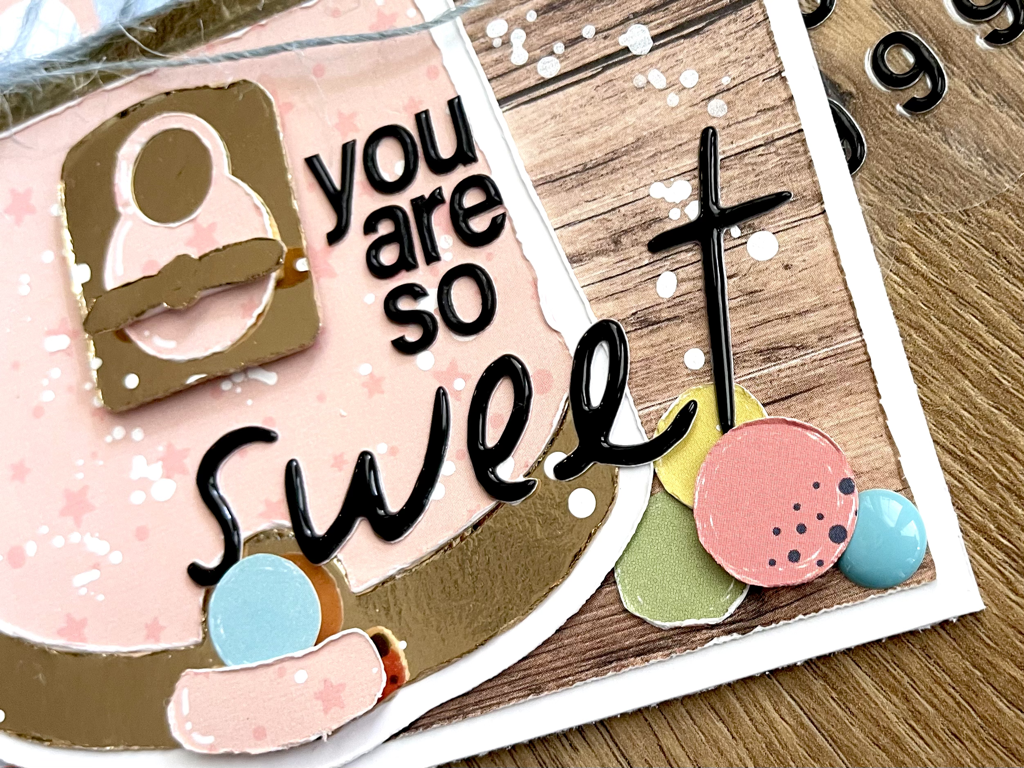 After I cut and assembled the machine I fussy cut little circles from the same Echo Park patterned paper for some random gum balls. I also used some pop dots to pop some up in the glass bowl. 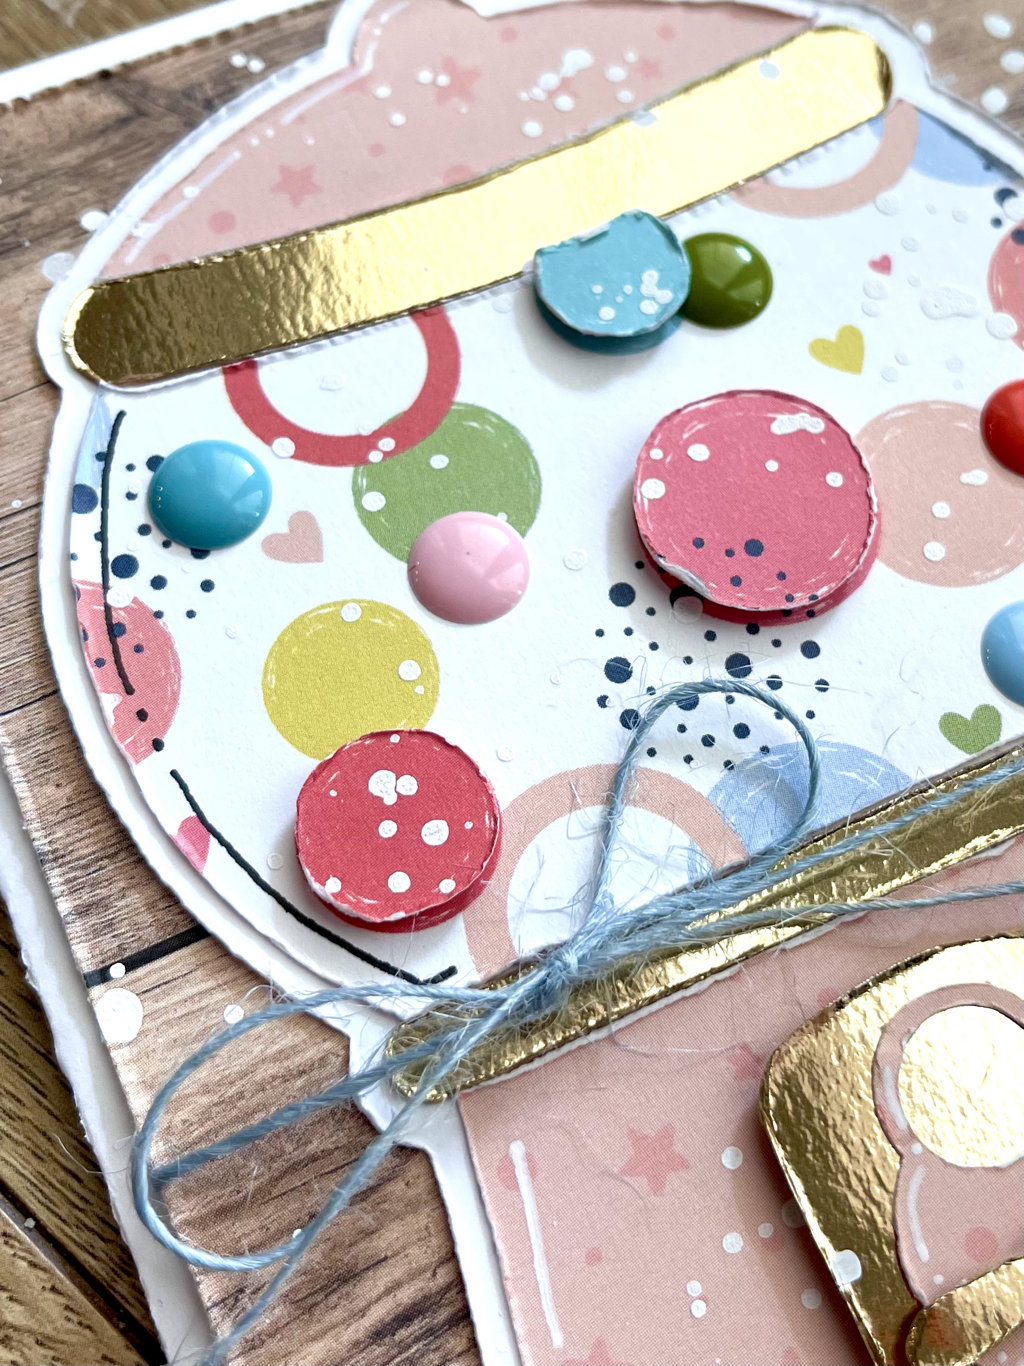 I made a small outline on the left of all the parts of the machine in either black or white for a little something extra, splattered with watered down white acrylic paint, added some epoxy dots here and there, tied a blue ribbon around my card, and finished with my sentiment.
I love the way this turned out and I can’t wait til I make something else with this super cute cutfile! Here are some links to all the companies I discussed above! Happy shopping! Craft Fix Designs Hip Kit Club Echo Park Paper {Not} Just for Boys Kit Club
0 Comments
EVERYDAY LIFE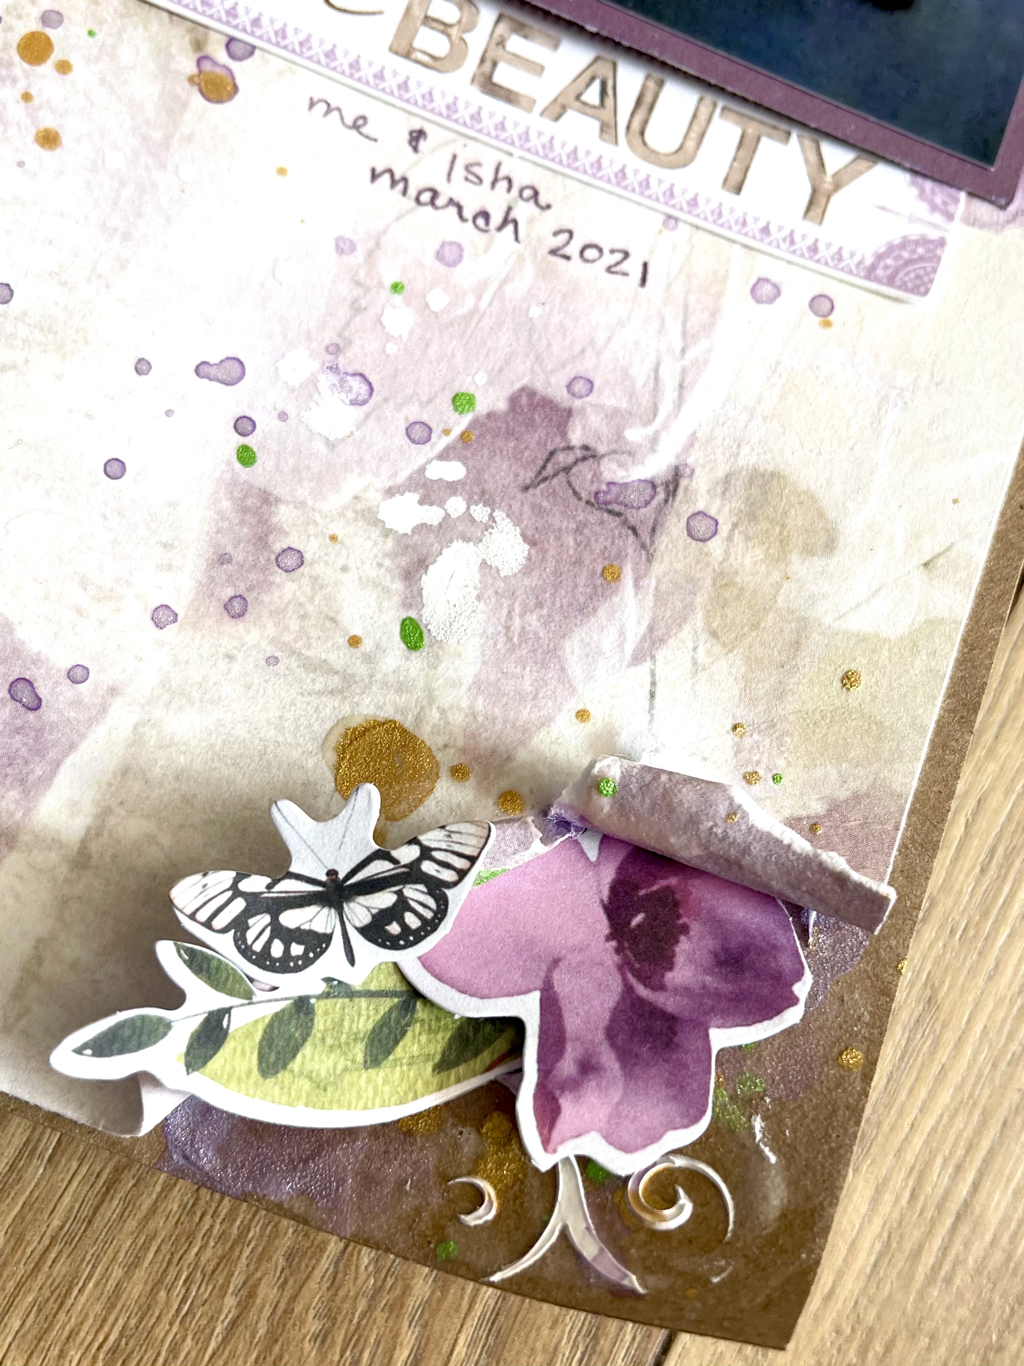 Hello friends! I have this fun layout featuring the beautiful February Hip Kit Club and this amazing watercolor floral cutfile from Craft Fix Designs. The subject is an ordinary moment with my wonderful mama 😍🥰 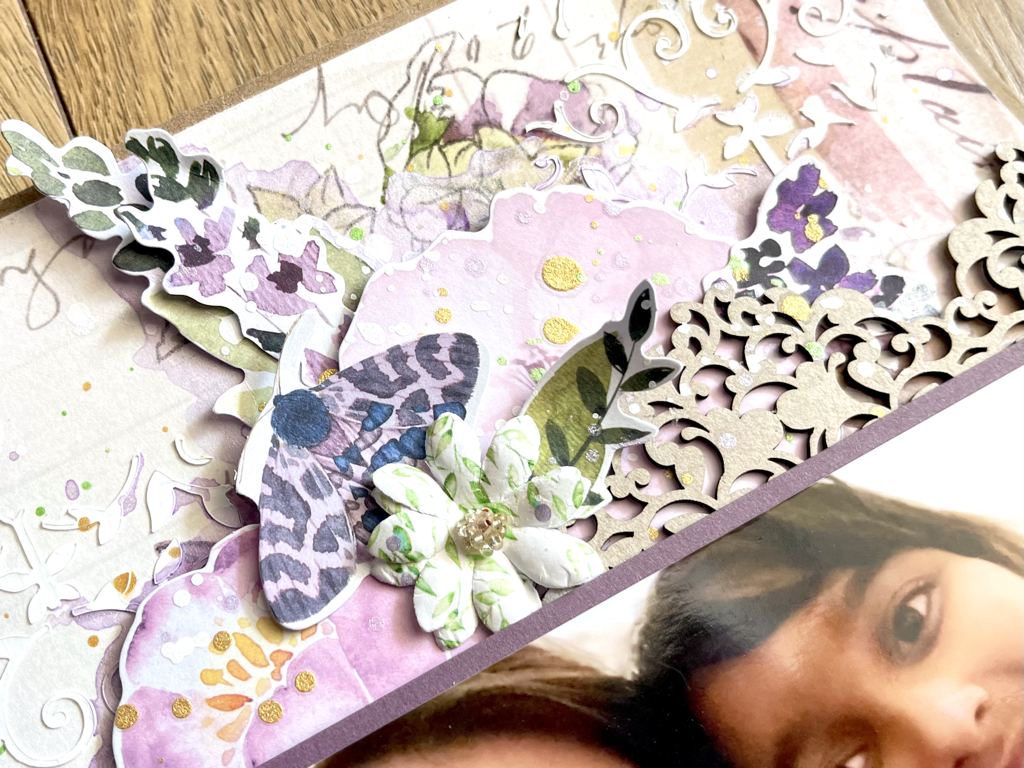 First thing I did was cut the watercolor flowers and the leaves that comes with it. I then assembled the flowers. I paper pieced my layout with my photo. I cut little circles of another floral paper to use in the corner of my project. 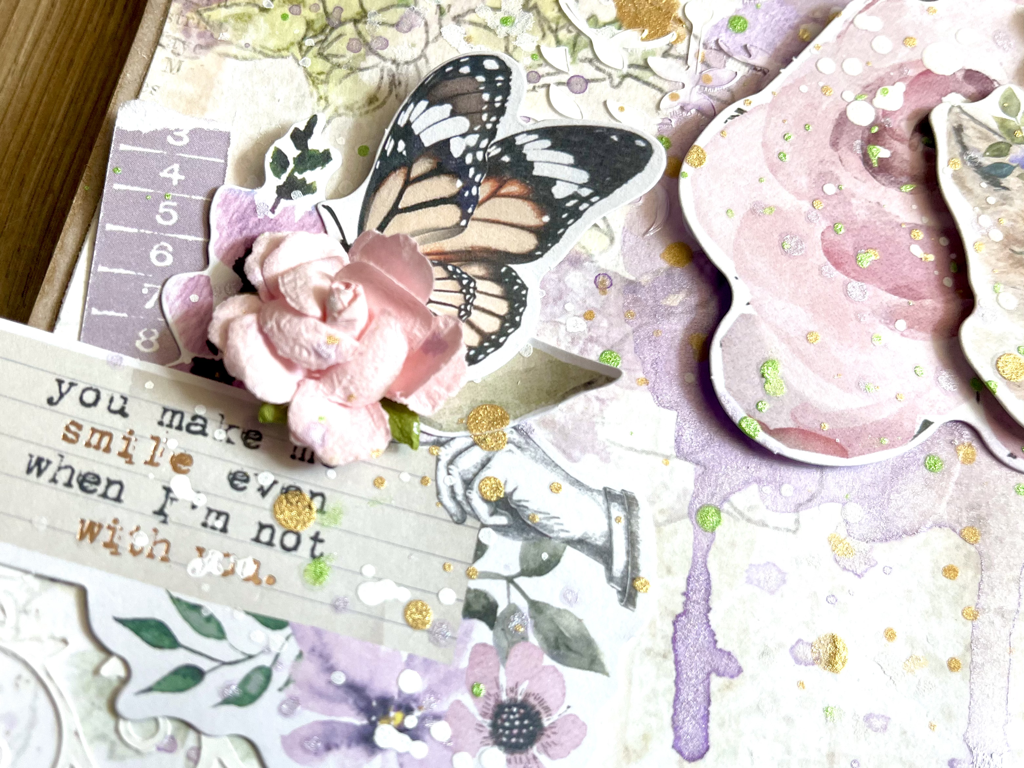 I put together the rest of my layout and added some white splatters. I used some chipboard stickers from the kit and yellow epoxy dots. I found myself with this beautiful layout when I was finished! 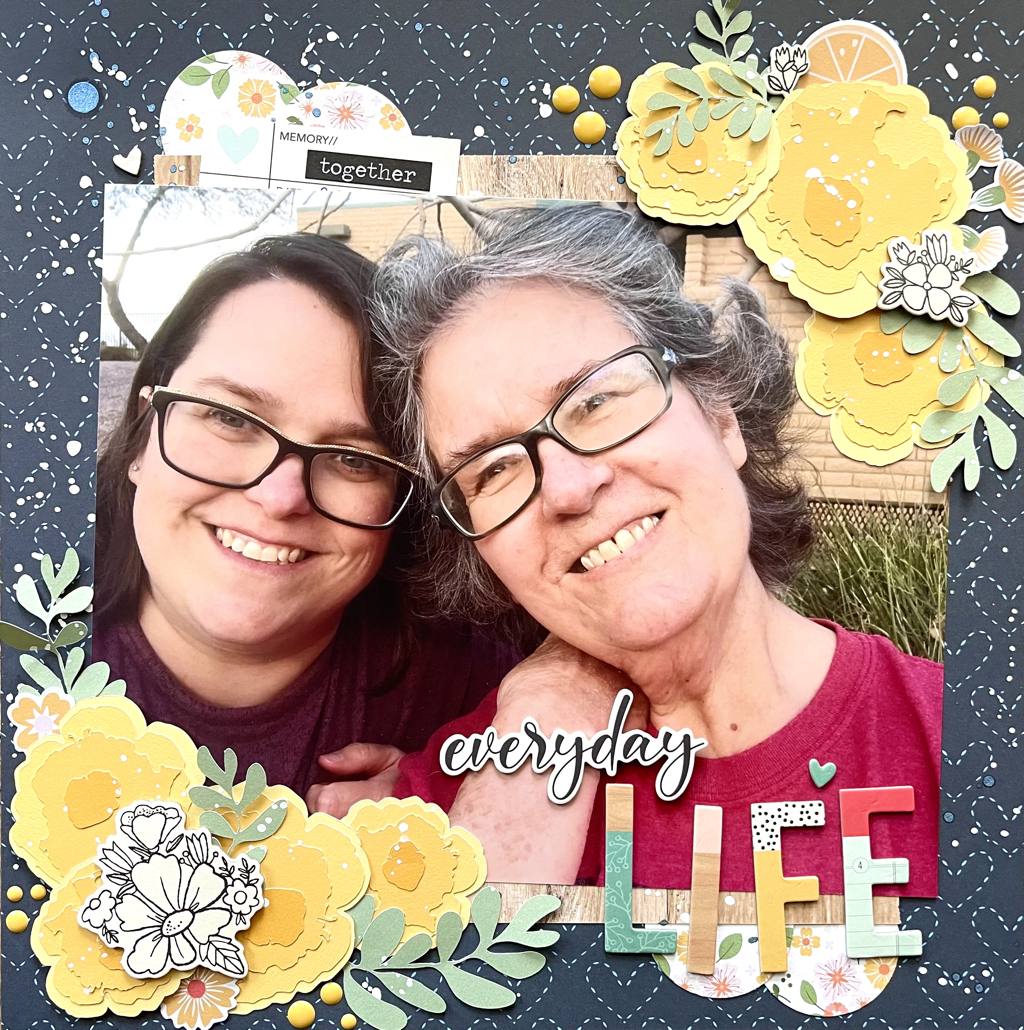 Thank you for popping on and reading about my layout. You can find the products I used below!
Craft Fix Designs Hip Kit Club LOVE THIS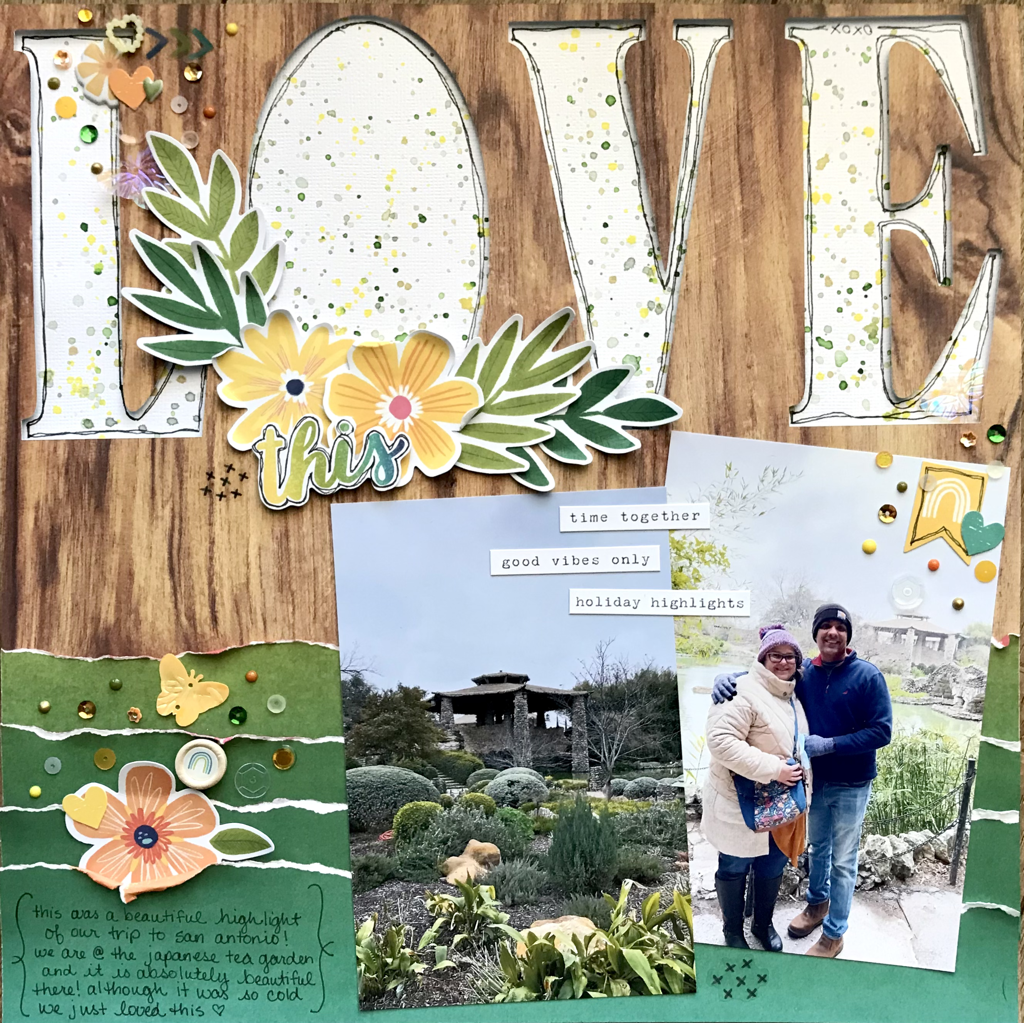 Hello fellow scrappers! Today I have this layout documenting the Japanese Tea Garden visit in San Antonio. It features the absolutely gorgeous Sunkissed collection from Cocoa Vanilla Studios. Since there was a lot of green at the garden I focused on those colors and added in some yellow and orange pops. I started this layout with a sketch posted in The 30 Days of Sketches with Cristy’s Beautiful Life.  I used my Cricut to cut out the LOVE out of the top part of my wood grain paper. Then I used a patterned paper from the collection that had an ombré effect and ripped the green to make the bottom part of the layout. After I placed my pics started the fun part! 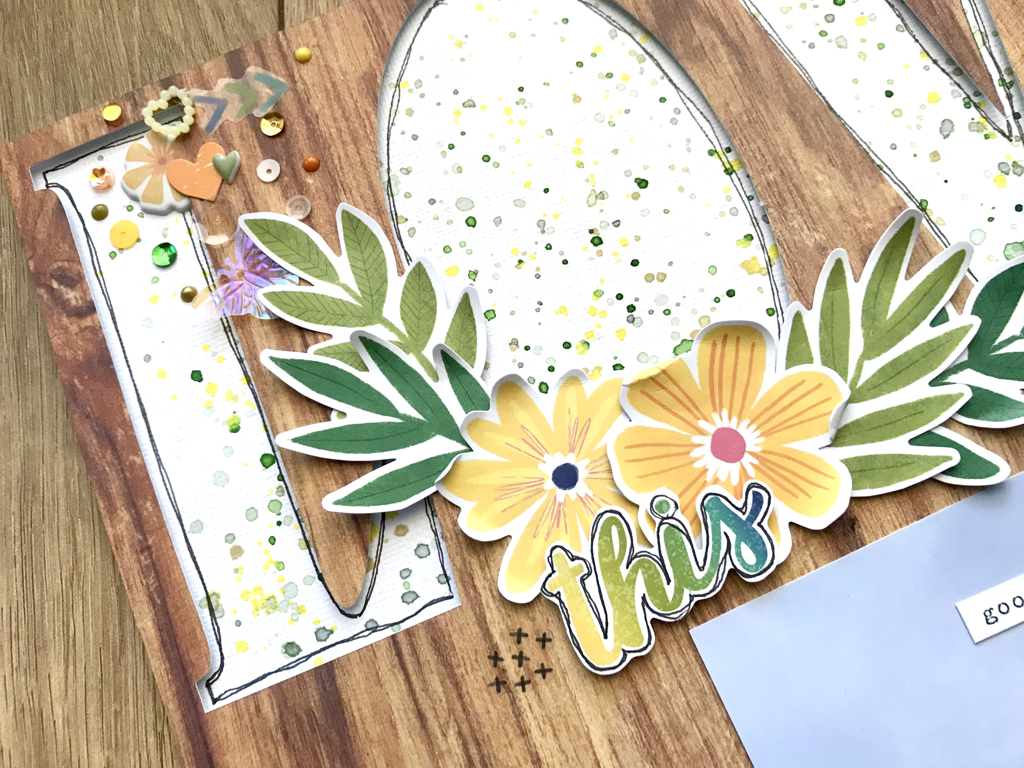 To make the background in the LOVE cutout I used a textured piece of white card stock and splattered watered down Distress Inks. I popped up the wood off the splattered paper. I used the following ink colors: Mowed Lawn, Bundled Sage, Iced Spruce, Antique Linen, and Squeezed Lemonade. 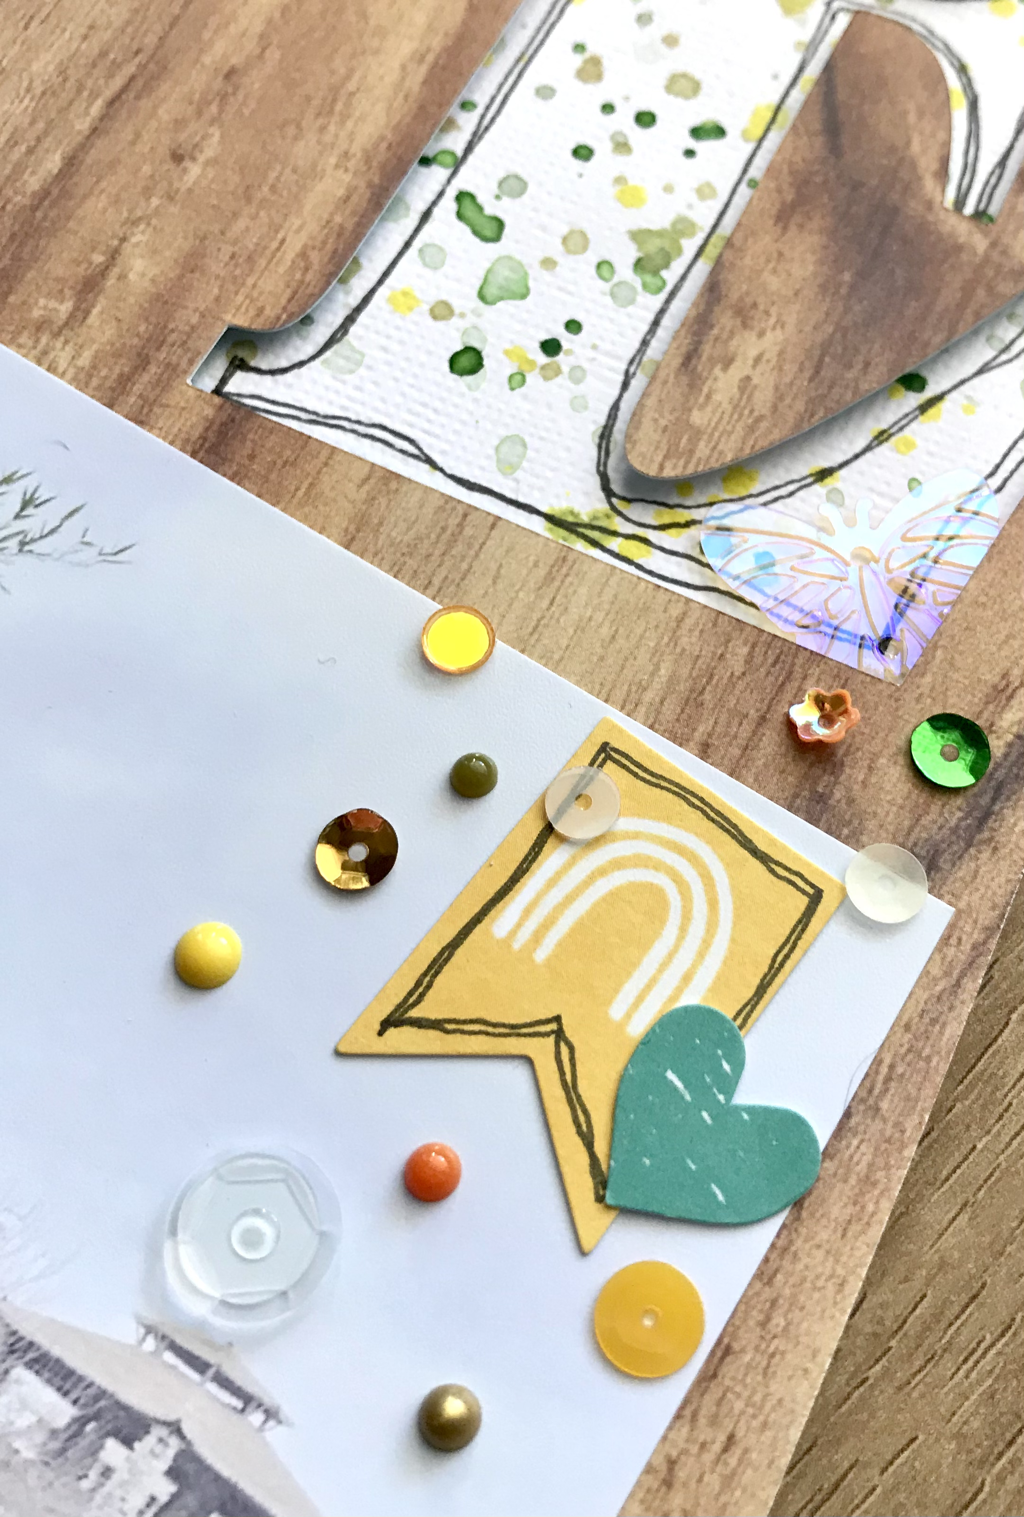 I grouped various sequins from my stash as well as some Nuvo drops mixed in. 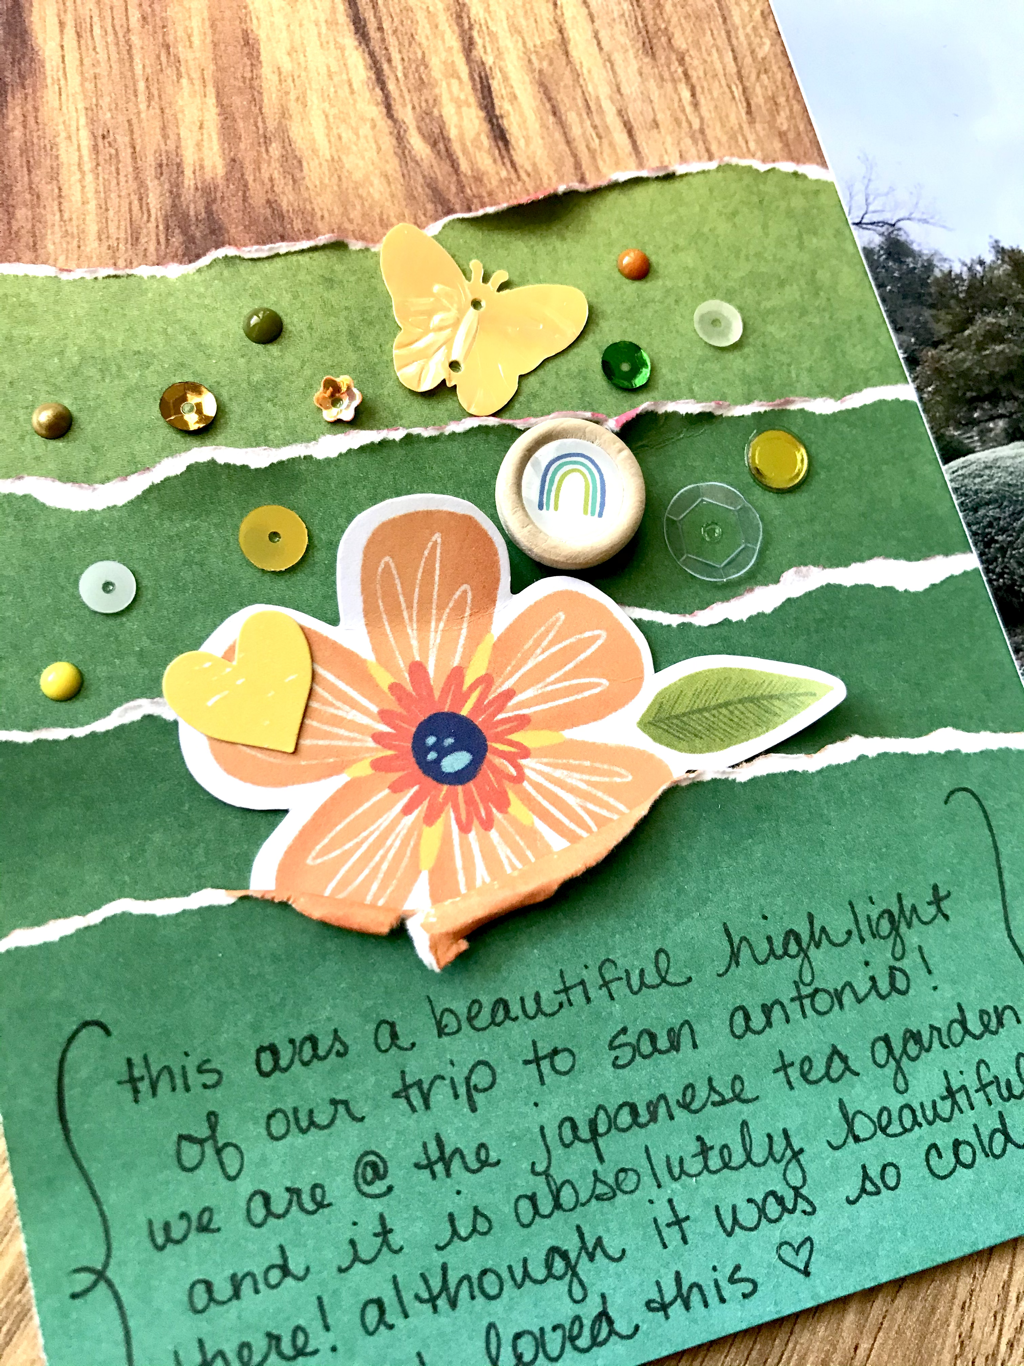 I added flowers, ephemera, and stickers from my kit. I drew some outlines of the LOVE letters and finished up with journaling 🖤
Thank you so much for stopping to look at my process on this layout. I bought this beautiful Sunkissed collection from My Little Scrapbook Store. HOPPY EASTER Hello friends! I have this fun Easter card to show you today featuring a fun cutfile from Craft Fix Designs using the Daisy Meadows collection from Close to my heart. I am also announcing that I have been chosen to be on the Craft Fix Designs design team. I haven’t officially started but I did create this card just for fun! 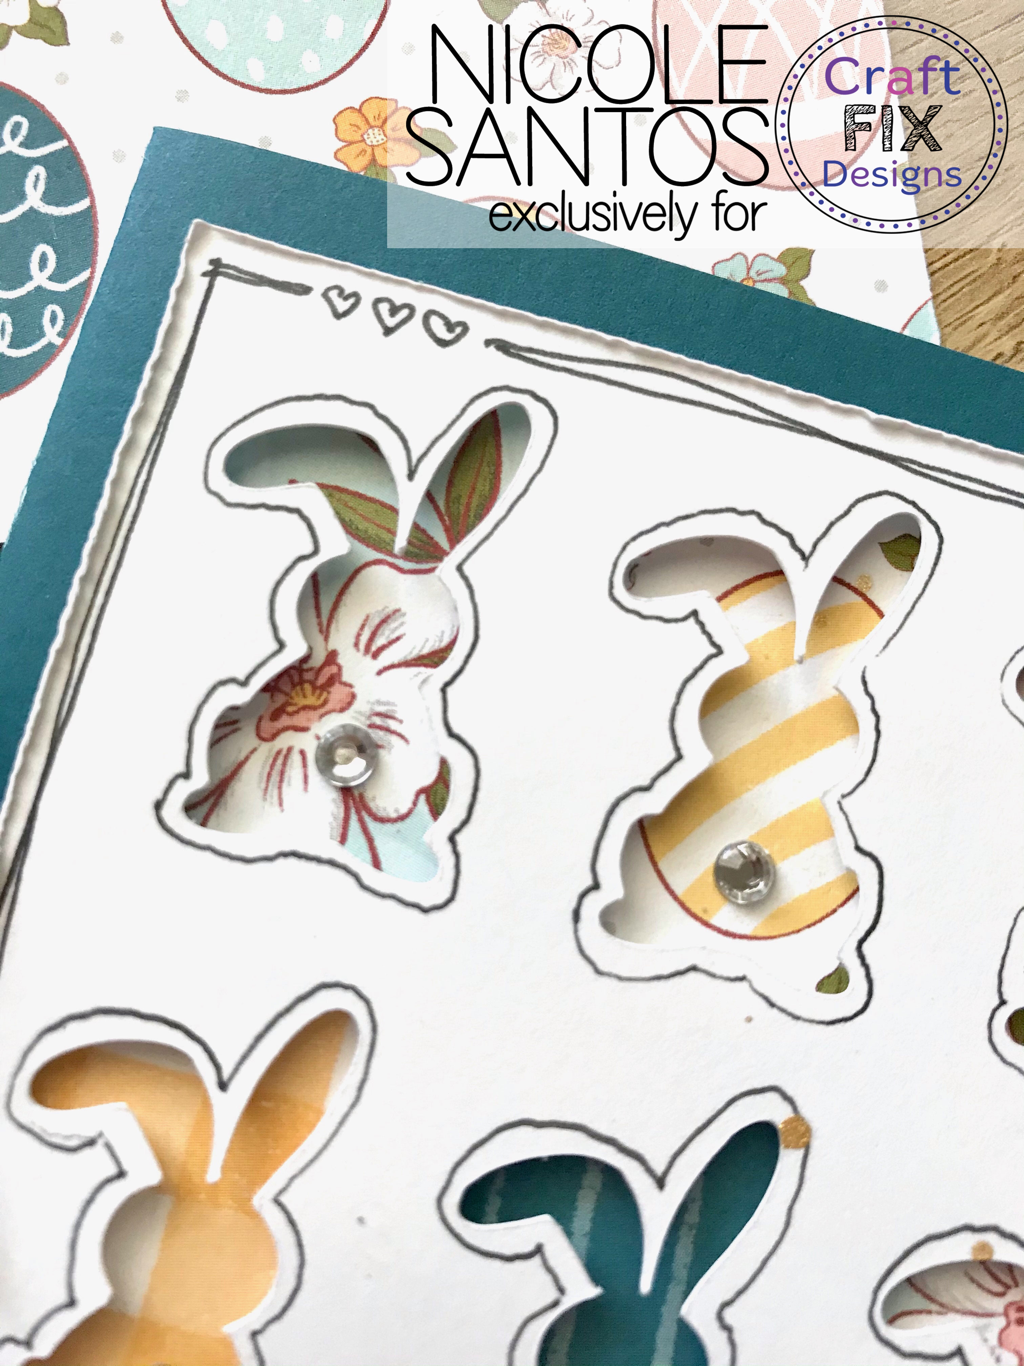 The first thing I did was cut out the bunny card from Craft Fix Designs and backed it using pop dots with patterned paper from Daisy Meadows. Then I used a little bling to make the bunny tails. 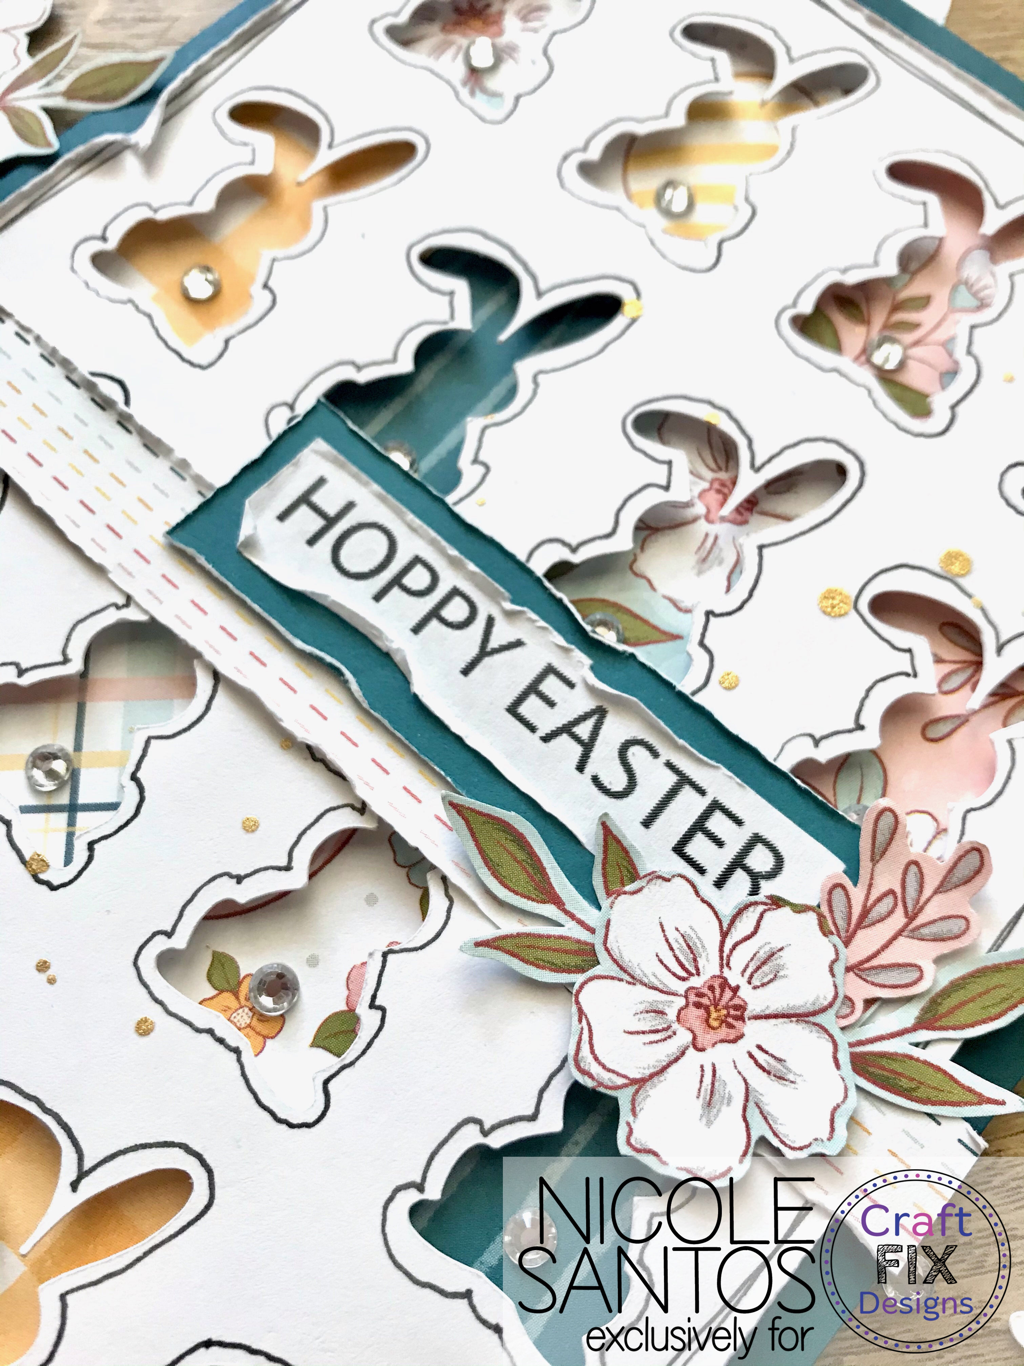 I then used the print and cut feature of my Cricket for the “Hoppy Easter” sentiment. I matted it with the same color card stock as my card, Peacock from Close to My Heart. I then fussy cut the flowers and leaves from the Daisy Meadows patterned papers and arranged around the sentiment. 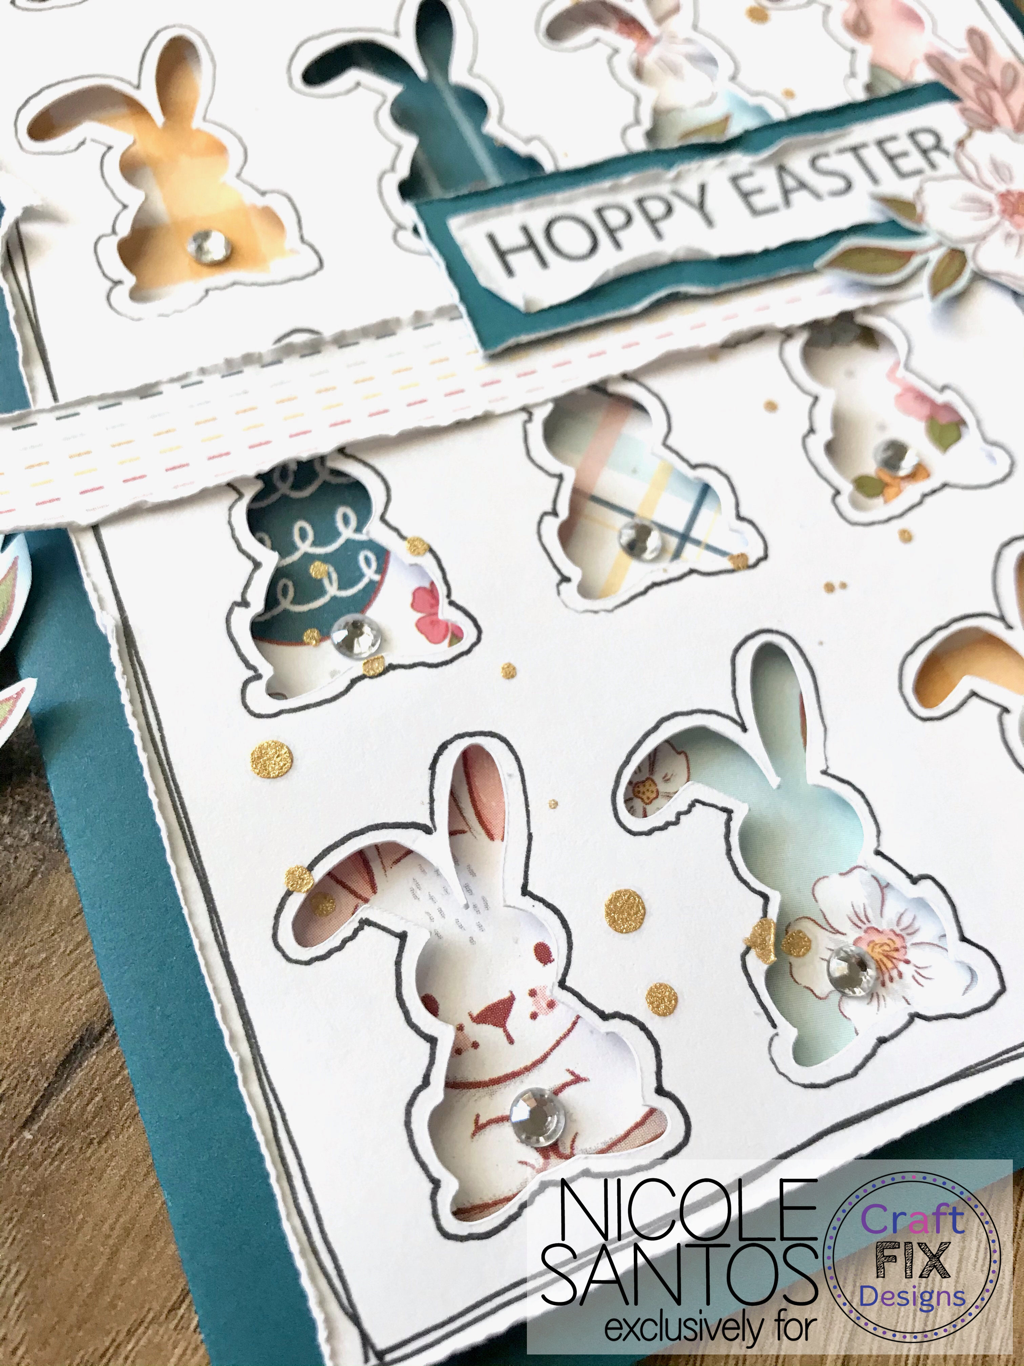 To finish my card I splattered gold from my Jen Hadfield Gold Spray all over the card. I attached to my Peacock card and it’s ready to be mailed to somebunny special!
Thank you for popping on to read about this cute card, I hope it inspires you to get crafty too. You can find the links to the products I used below. Craft Fix Designs Bunny Greeting Card (use code BUNNYHOP for 25% off your entire order until 3/19!!!): https://craftfixdesigns.com/collections/greeting-cards/products/bunny-5-x-7-greeting-card-with-multiple-sentiments-and-accessories Close to My Heart Daisy Meadows collection: https://cuzwelovetoscrap.closetomyheart.com/retail/search.aspx?searchvalue=mar21 Close to My Heart Clear Sparkles: https://cuzwelovetoscrap.closetomyheart.com/Retail/Product.aspx?ItemID=9384&ci=6770 Jen Hadfield Gold Spray: https://notjustforboyskitclub.com/collections/mixed-media/products/gold-mist |

Shaker ElementHello all! I am currently working on a mini album of a snow play trip we took in January. I wanted to put all kinds of different elements into it so I thought it would be a perfect time to add a shaker box. So first off I decided to use a snowflake cut file from The Cut Shoppe for this element and the first thing I did was cut some of the inside elements out to make the visible area bigger. Then I glued a piece of scrap page cover to the snowflake. I glued a bigger piece and once it was dry I then cut it down to just my shaker area. I then cut my foam dots in half to box it in.
So my snowflake is ready for my dodads! First I placed my snowflake on top of where I wanted it and took a mental note of where the shaker part would be. Then I placed a little pile of sequins and confetti where it will go.
I then pulled all those little backings off my foam dots and placed my snowflake where is supposed to go and viola, I had a beautiful little shaker snowflake! I hope you enjoyed this tutorial, please let me know in the comments if there is something you would like to learn for scrapbooking!
Archives
April 2023
Categories
All
|


 RSS Feed
