MY FAVORITE Here is a fun layout I made with lots of mixed media, a stencil from Kreative Cuts kit , and lots of goodies from my Not Just For Boys kit. Please check out the link below for the YouTube video.
0 Comments
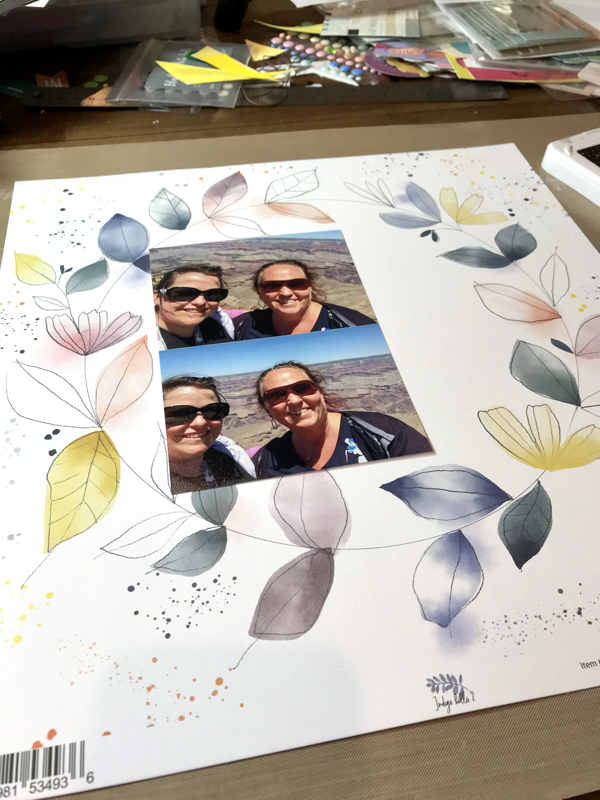
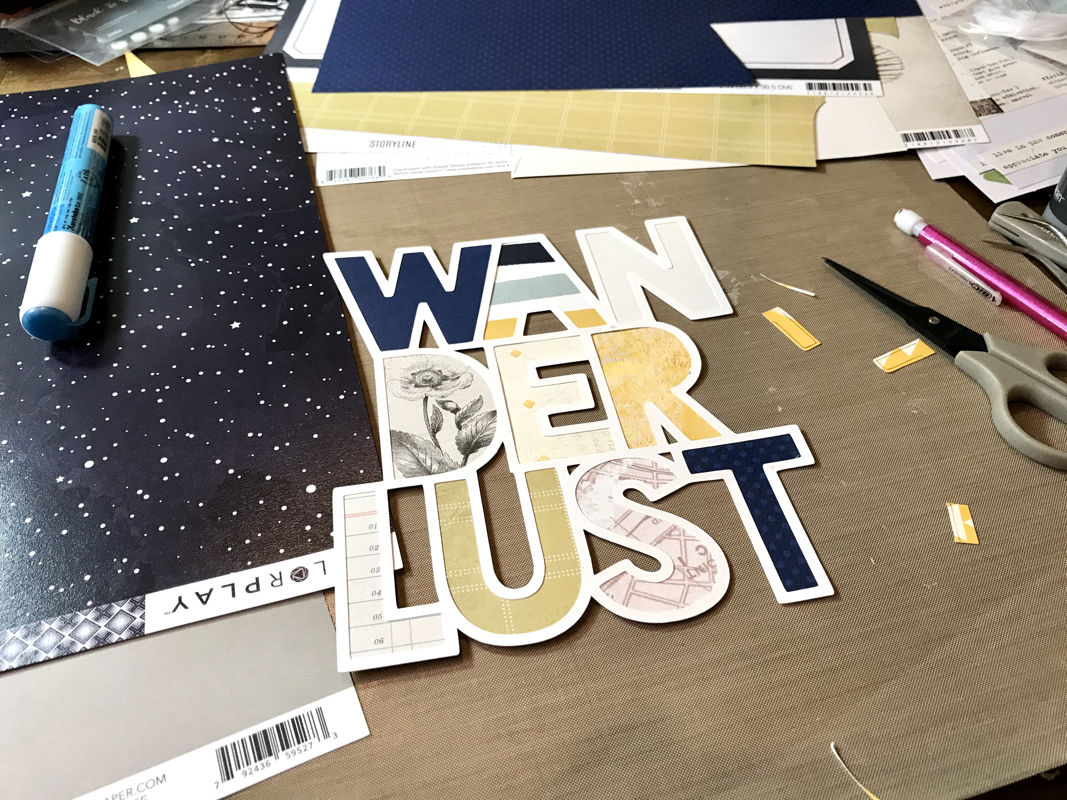
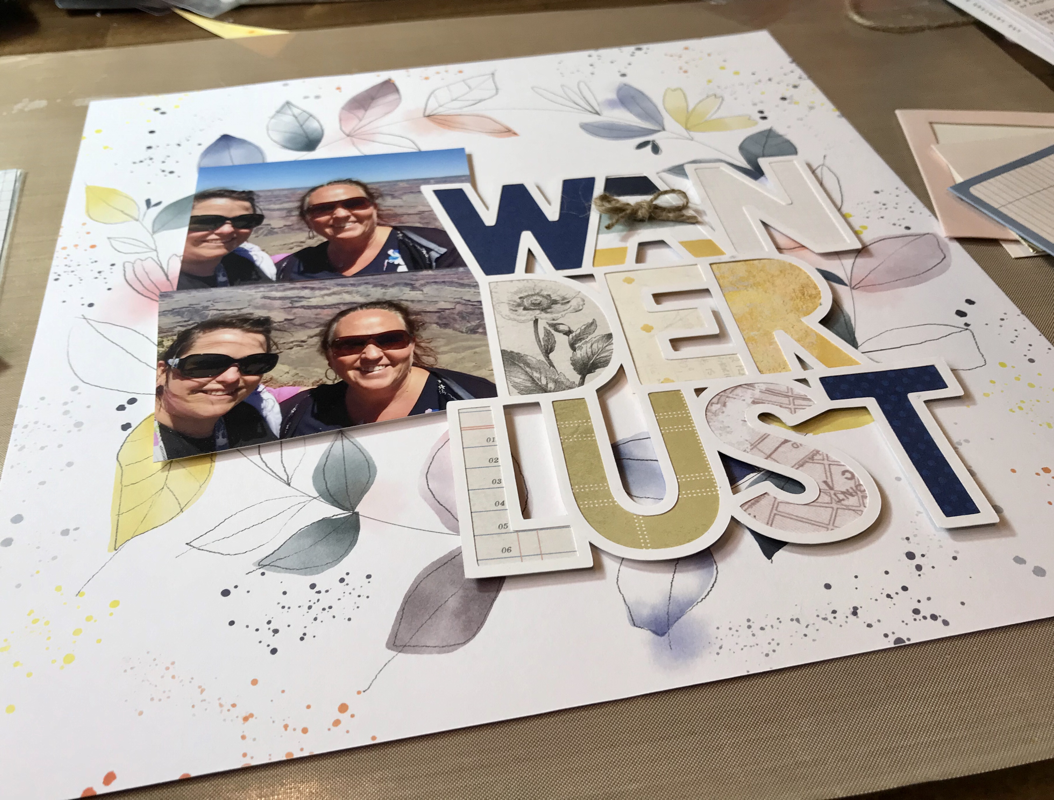
Wanderlust Here is a layout of me and my bestie at the Grand Canyon that I made with my Not Just For Boys August kit with some add ons and scraps from previous kits. I started with this background wreath paper and my pics, which I thought the colors paired perfectly! Then I decided to use this precut cutfile, WANDERLUST, from a previous kit and back with all kinds of yellows, blues, and neutrals. Then I started piecing it together. 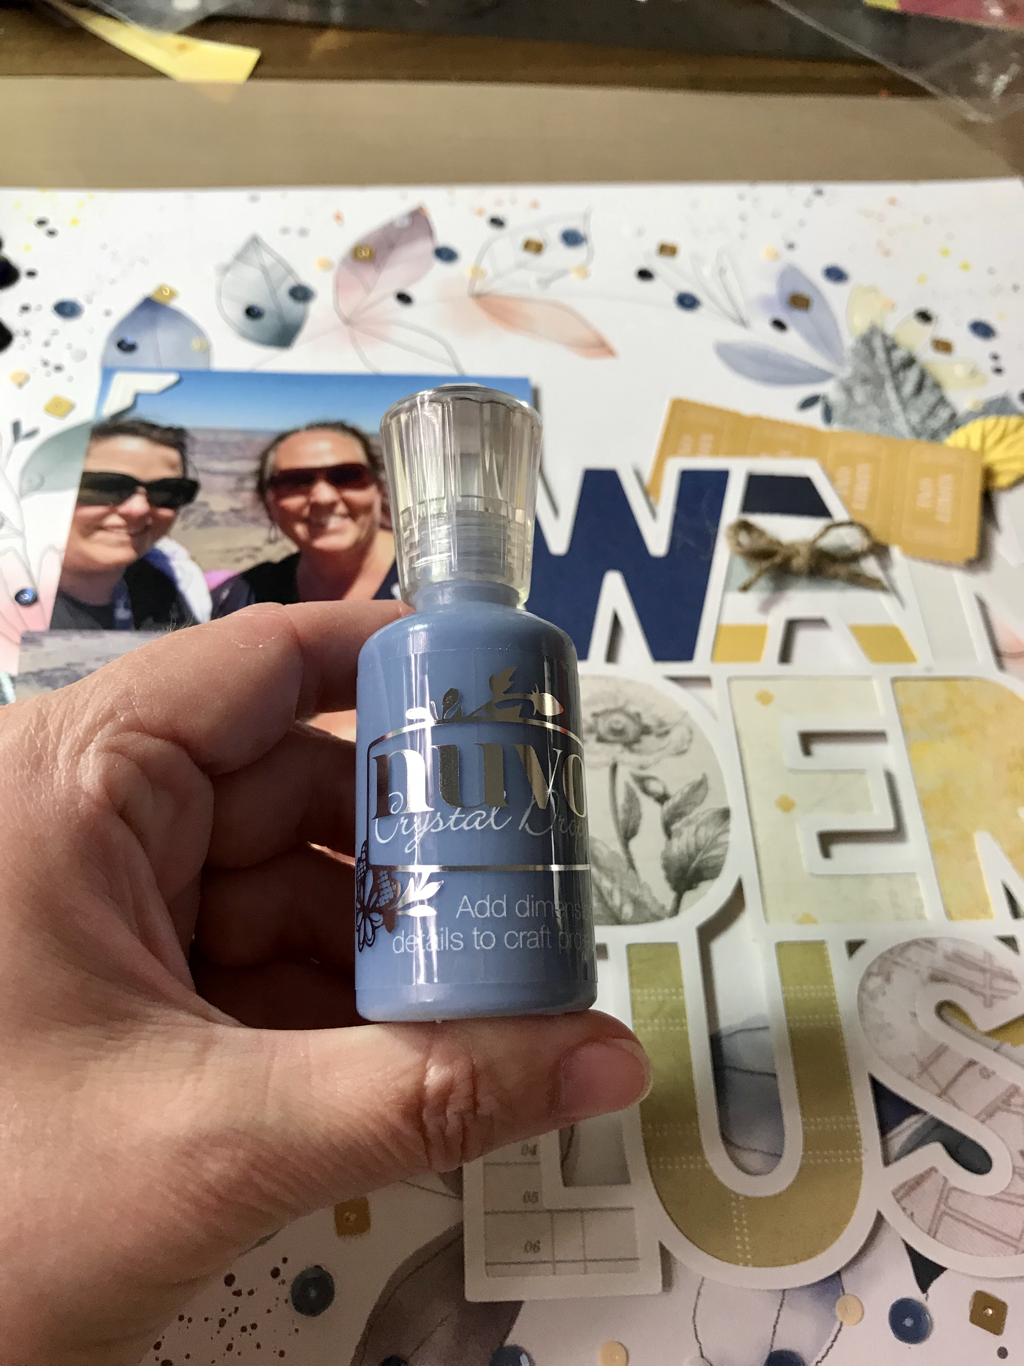 After I went through my ephemera and placing with the picks and the title cutfile on my page, I then went through and used the add on sequins completely around the wreath. I then used these Nuvo drops (which I also added on to my kit) in three little clusters around my page. To finish I added journaling! Here is the finished page again! Thank you for reading and see the link to Not Just For Boys Kit Club here: https://notjustforboyskitclub.com/ 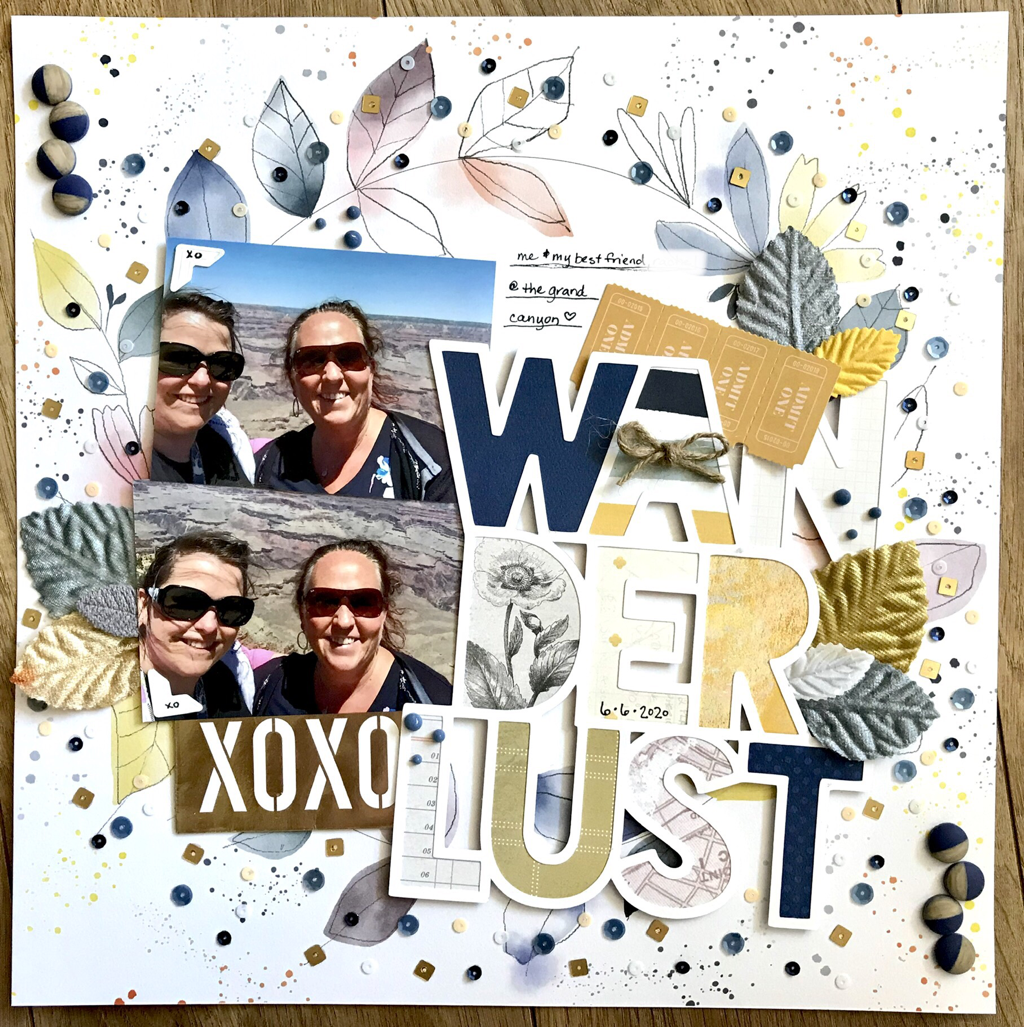 ugh. whatever Here is a bright page to document teenagers at the Grand Canyon. Please see my process video below of how it came to be. Thank you 😊 |

Shaker ElementHello all! I am currently working on a mini album of a snow play trip we took in January. I wanted to put all kinds of different elements into it so I thought it would be a perfect time to add a shaker box. So first off I decided to use a snowflake cut file from The Cut Shoppe for this element and the first thing I did was cut some of the inside elements out to make the visible area bigger. Then I glued a piece of scrap page cover to the snowflake. I glued a bigger piece and once it was dry I then cut it down to just my shaker area. I then cut my foam dots in half to box it in.
So my snowflake is ready for my dodads! First I placed my snowflake on top of where I wanted it and took a mental note of where the shaker part would be. Then I placed a little pile of sequins and confetti where it will go.
I then pulled all those little backings off my foam dots and placed my snowflake where is supposed to go and viola, I had a beautiful little shaker snowflake! I hope you enjoyed this tutorial, please let me know in the comments if there is something you would like to learn for scrapbooking!
Archives
April 2023
Categories
All
|


 RSS Feed
