LOVE THIS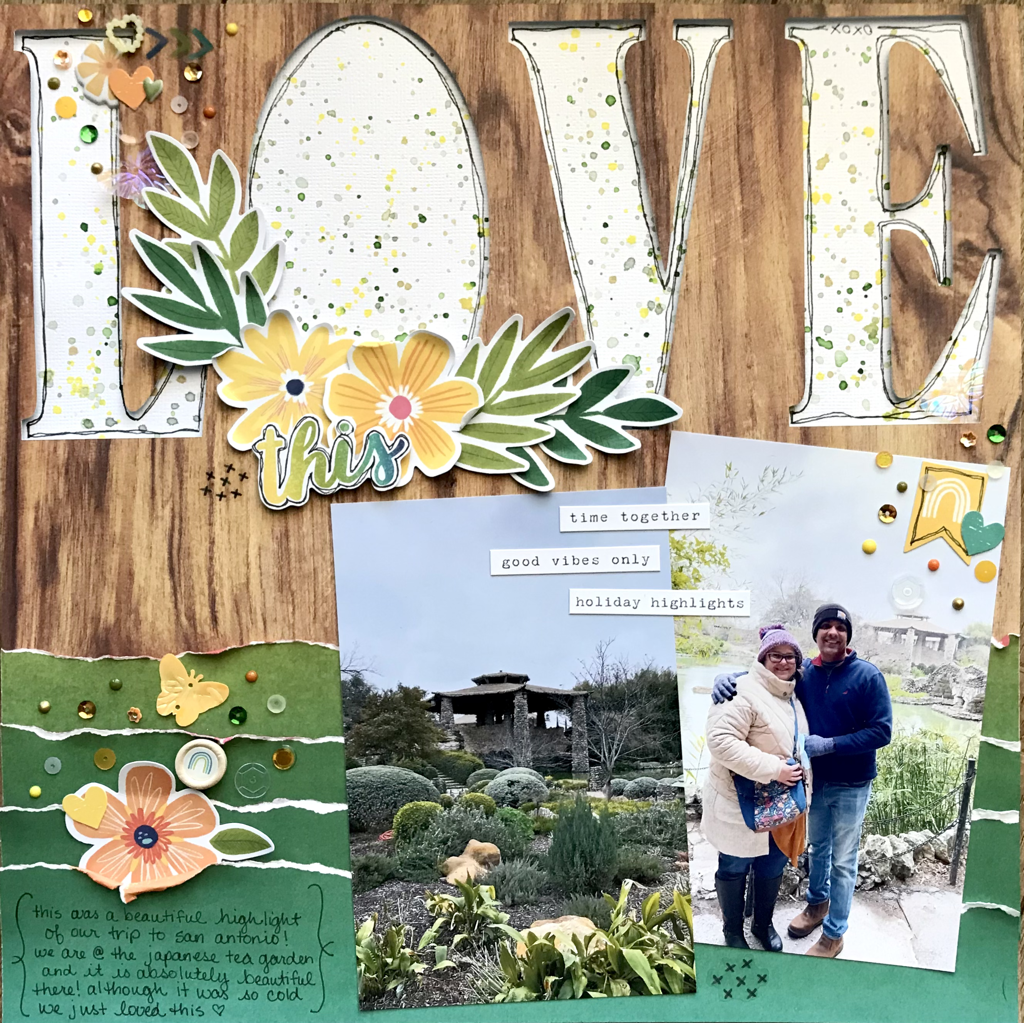 Hello fellow scrappers! Today I have this layout documenting the Japanese Tea Garden visit in San Antonio. It features the absolutely gorgeous Sunkissed collection from Cocoa Vanilla Studios. Since there was a lot of green at the garden I focused on those colors and added in some yellow and orange pops. I started this layout with a sketch posted in The 30 Days of Sketches with Cristy’s Beautiful Life. 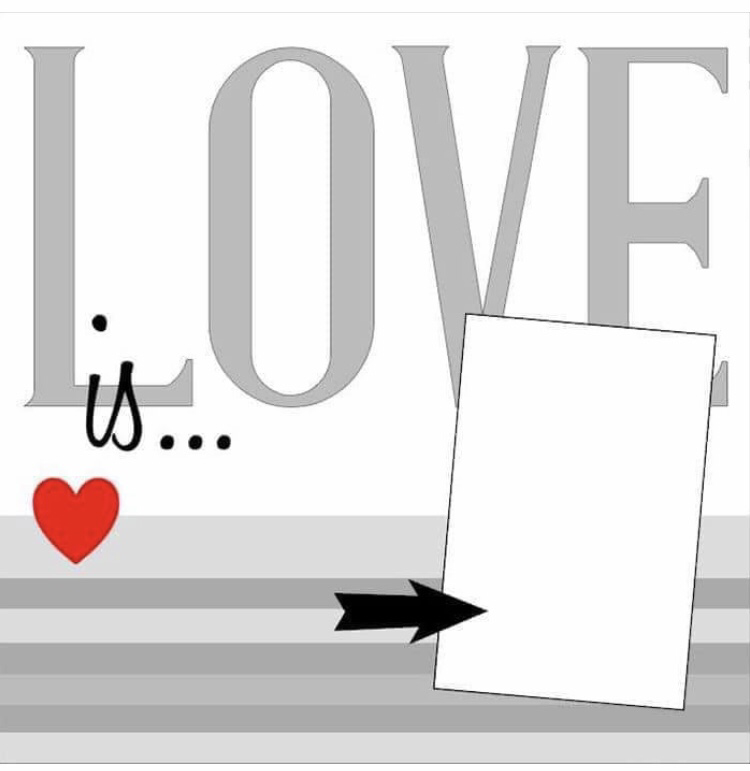 I used my Cricut to cut out the LOVE out of the top part of my wood grain paper. Then I used a patterned paper from the collection that had an ombré effect and ripped the green to make the bottom part of the layout. After I placed my pics started the fun part! 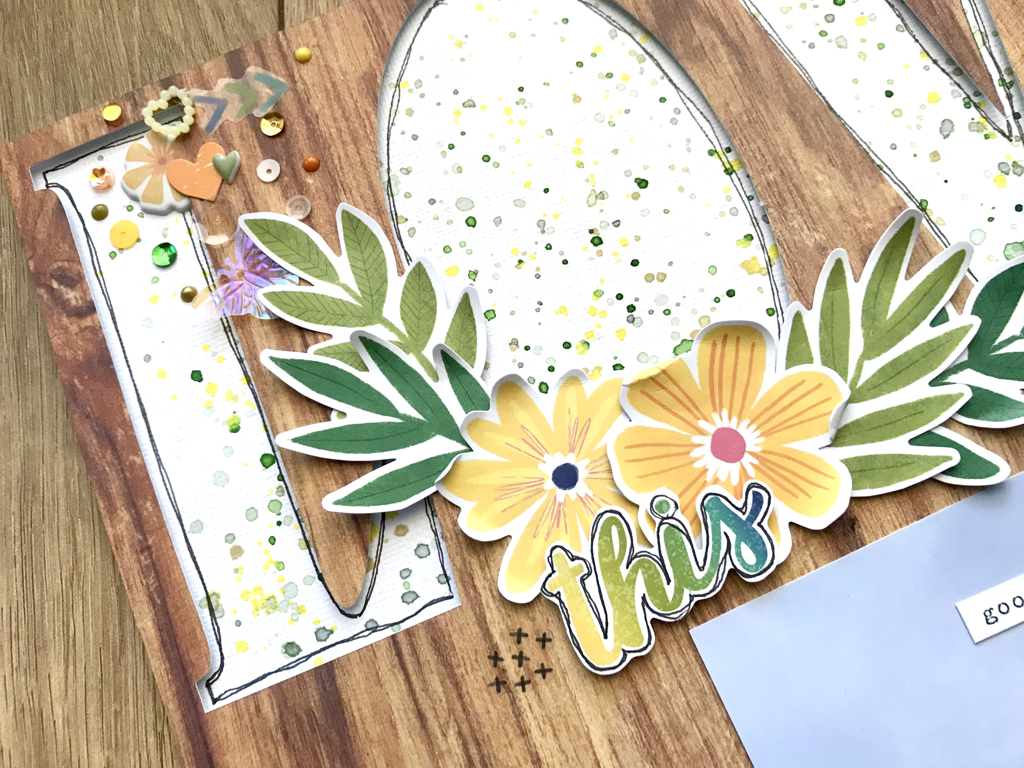 To make the background in the LOVE cutout I used a textured piece of white card stock and splattered watered down Distress Inks. I popped up the wood off the splattered paper. I used the following ink colors: Mowed Lawn, Bundled Sage, Iced Spruce, Antique Linen, and Squeezed Lemonade. 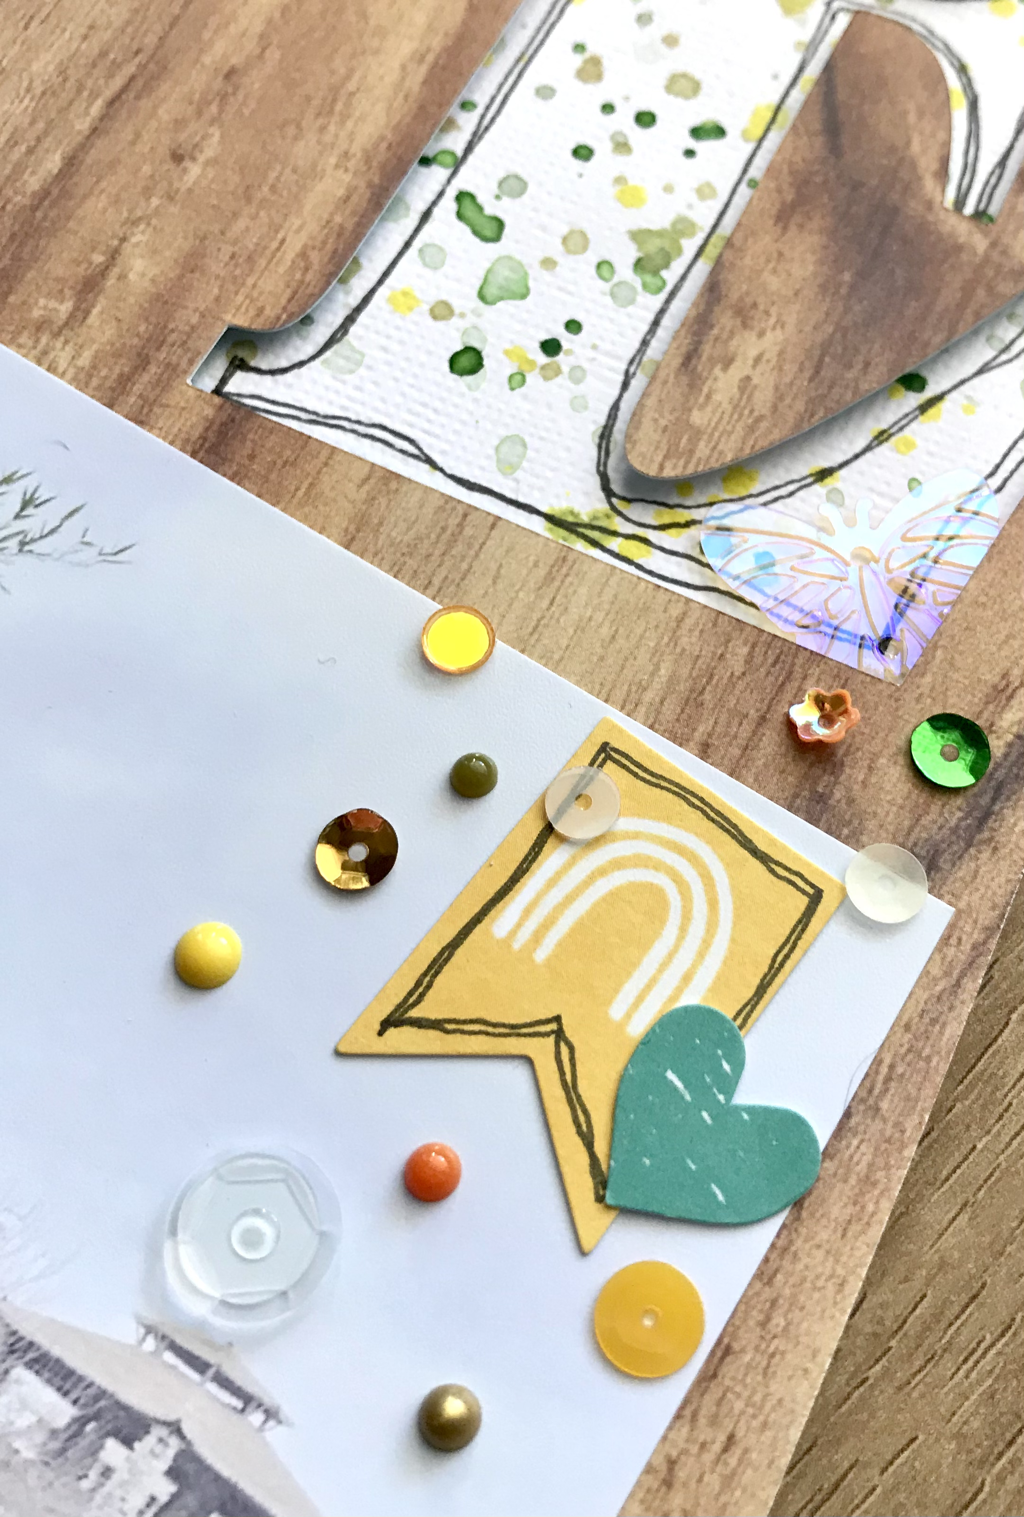 I grouped various sequins from my stash as well as some Nuvo drops mixed in. 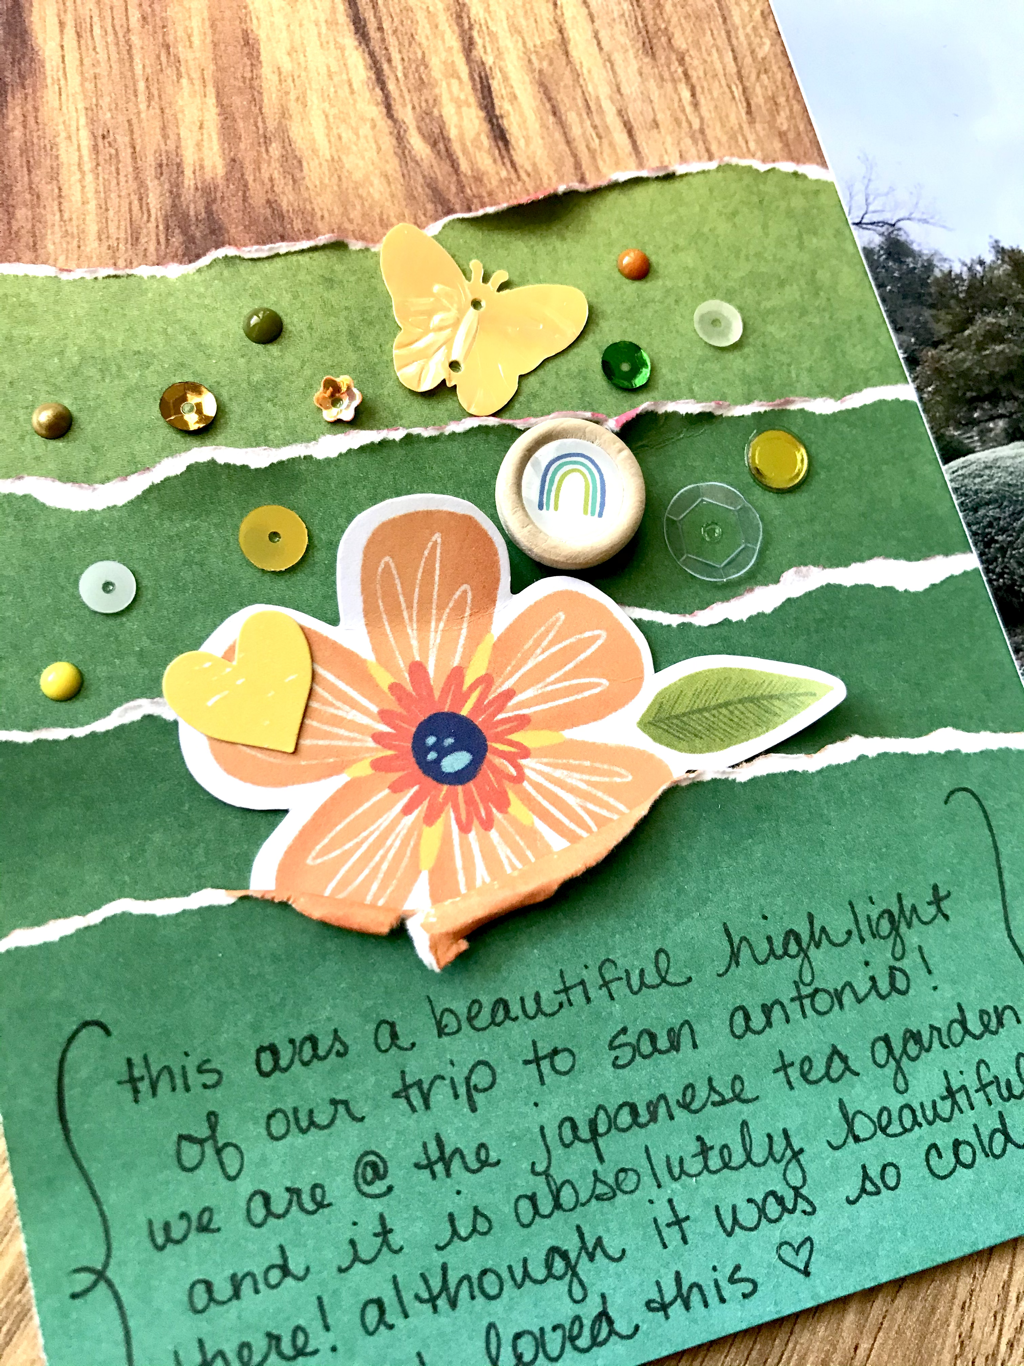 I added flowers, ephemera, and stickers from my kit. I drew some outlines of the LOVE letters and finished up with journaling 🖤
Thank you so much for stopping to look at my process on this layout. I bought this beautiful Sunkissed collection from My Little Scrapbook Store.
0 Comments
Leave a Reply. |

Shaker ElementHello all! I am currently working on a mini album of a snow play trip we took in January. I wanted to put all kinds of different elements into it so I thought it would be a perfect time to add a shaker box. So first off I decided to use a snowflake cut file from The Cut Shoppe for this element and the first thing I did was cut some of the inside elements out to make the visible area bigger. Then I glued a piece of scrap page cover to the snowflake. I glued a bigger piece and once it was dry I then cut it down to just my shaker area. I then cut my foam dots in half to box it in.
So my snowflake is ready for my dodads! First I placed my snowflake on top of where I wanted it and took a mental note of where the shaker part would be. Then I placed a little pile of sequins and confetti where it will go.
I then pulled all those little backings off my foam dots and placed my snowflake where is supposed to go and viola, I had a beautiful little shaker snowflake! I hope you enjoyed this tutorial, please let me know in the comments if there is something you would like to learn for scrapbooking!
Archives
April 2023
Categories
All
|


 RSS Feed
