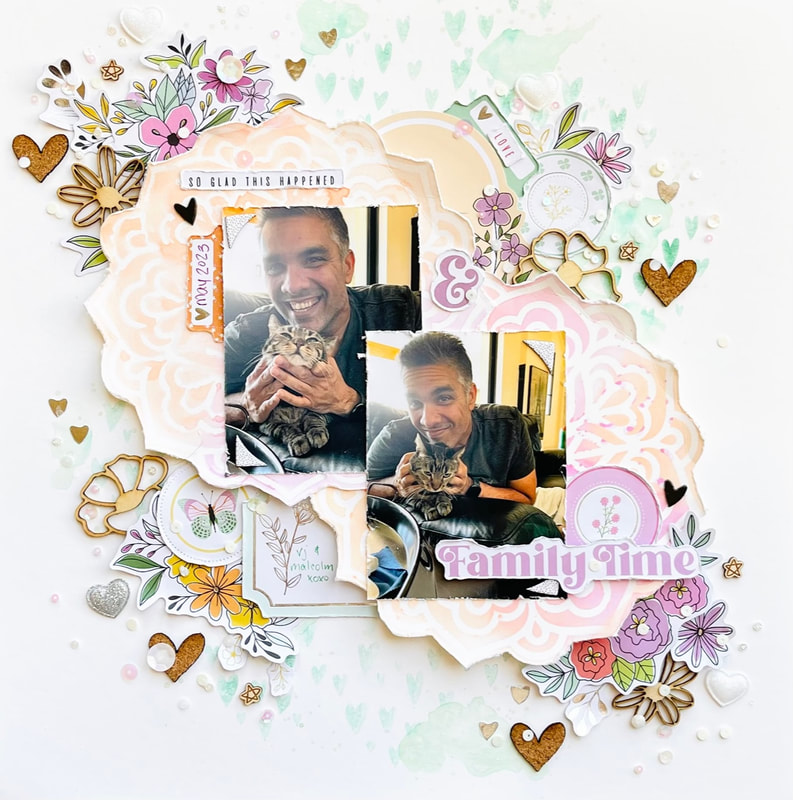
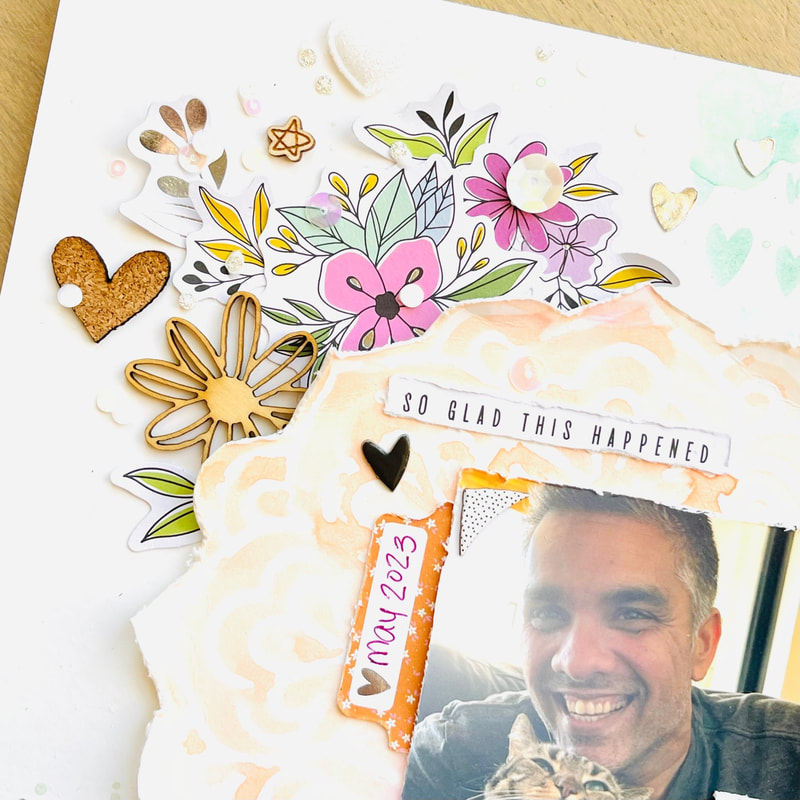
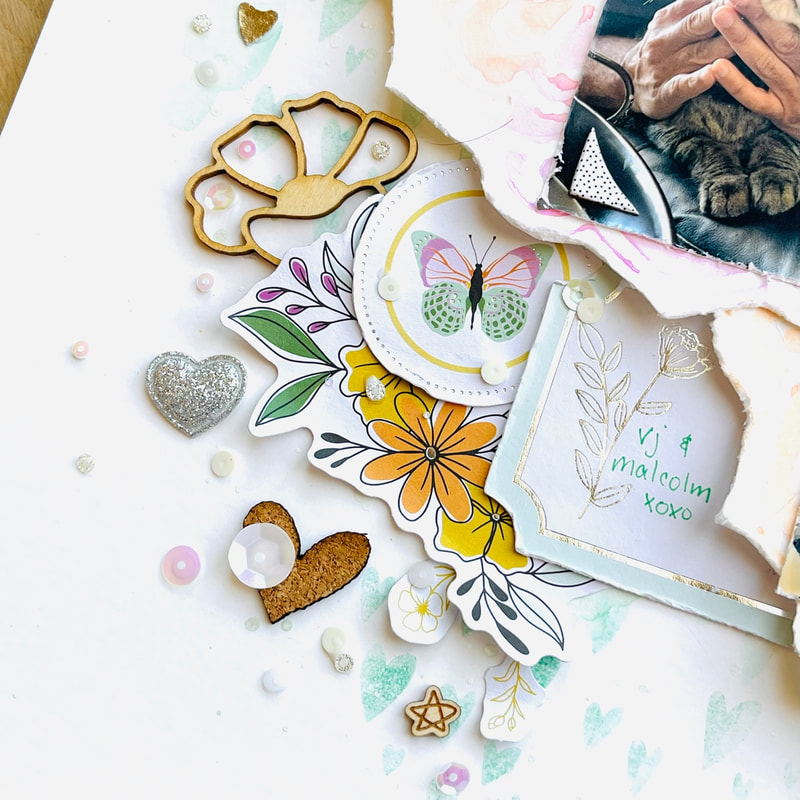
 Hey all! Today I'm using a bunch of goodies from Shadnee's Etsy Shop to embellish this page I made of my hubby and our cat, Malcolm. I started this page by using the Hip Kit Club May Color Kit to make these orange and pink mandala pieces. 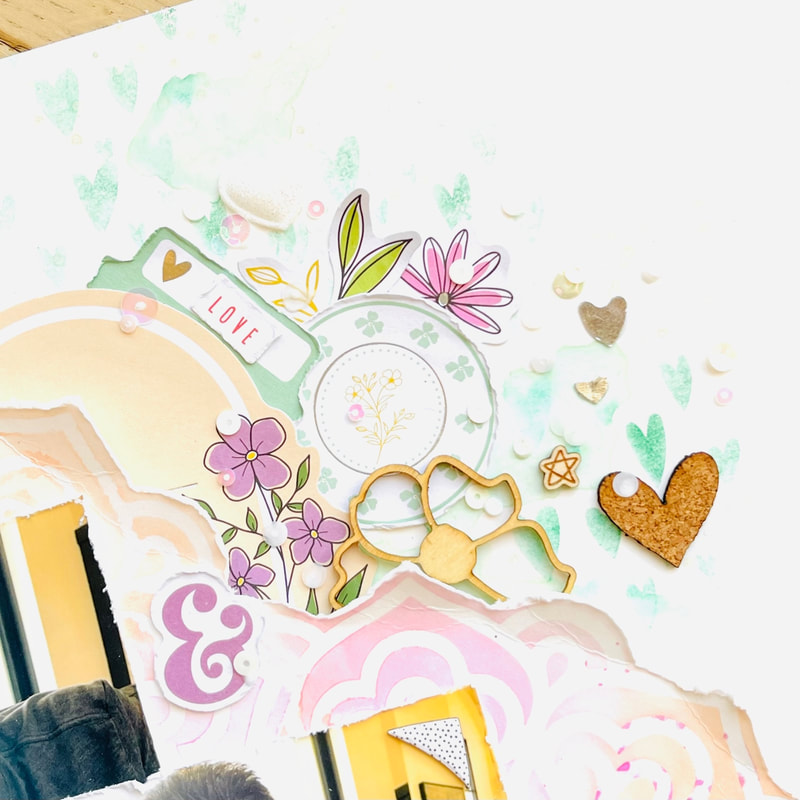 I then used a stamp from a previous Hip Kit Club to make the background with a green ink from my stash, and I added some of the green shimmers from the May Color Kit to add a washed out effect to my background. I then added clusters of elements from my Hip Kit and started to bring in the amazing goodies from Shadnee. One of the first things I added was these cute little cork hearts. They are amazing because they are also sticky on the back, but also so cute! I then added some of the cute little handdrawn star wood veneer and some glittery, puffy hearts. To finish my clusters I added Vintage Pearl Sequins, also from Shadnee! 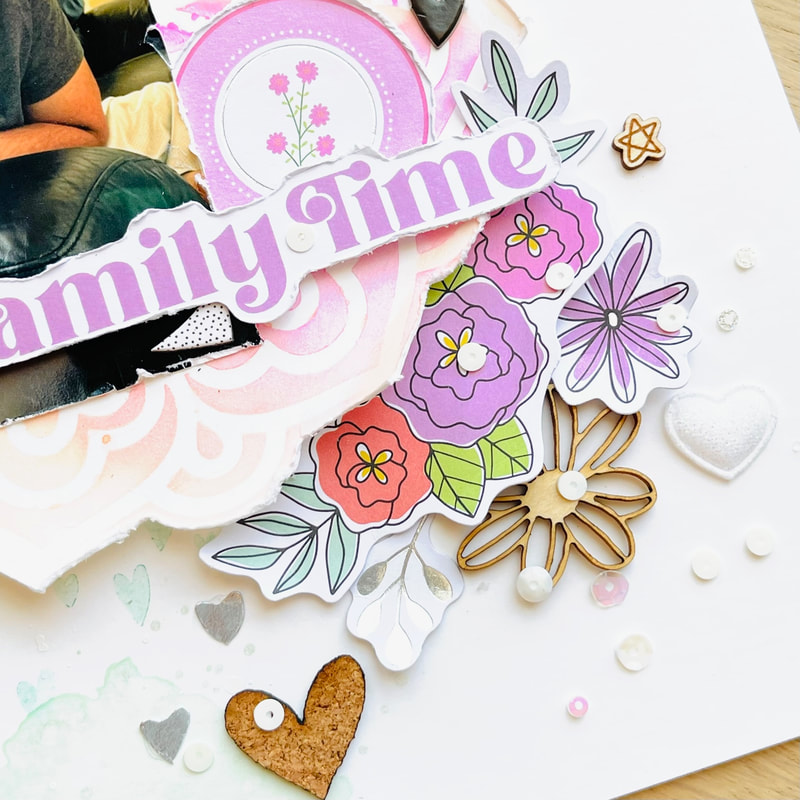 I added the title "Family Time" which is so perfect for these photos of my cat getting forced affection. I also added the date and some journaling.
I hope you liked this page and it gives you some inspiration for your next project. Don't forget to check out Shadnee's Etsy because she really has almost anything you need for your next layout! Until next time, Nicole
0 Comments
Leave a Reply. |

Shaker ElementHello all! I am currently working on a mini album of a snow play trip we took in January. I wanted to put all kinds of different elements into it so I thought it would be a perfect time to add a shaker box. So first off I decided to use a snowflake cut file from The Cut Shoppe for this element and the first thing I did was cut some of the inside elements out to make the visible area bigger. Then I glued a piece of scrap page cover to the snowflake. I glued a bigger piece and once it was dry I then cut it down to just my shaker area. I then cut my foam dots in half to box it in.
So my snowflake is ready for my dodads! First I placed my snowflake on top of where I wanted it and took a mental note of where the shaker part would be. Then I placed a little pile of sequins and confetti where it will go.
I then pulled all those little backings off my foam dots and placed my snowflake where is supposed to go and viola, I had a beautiful little shaker snowflake! I hope you enjoyed this tutorial, please let me know in the comments if there is something you would like to learn for scrapbooking!
Archives
April 2023
Categories
All
|


 RSS Feed
