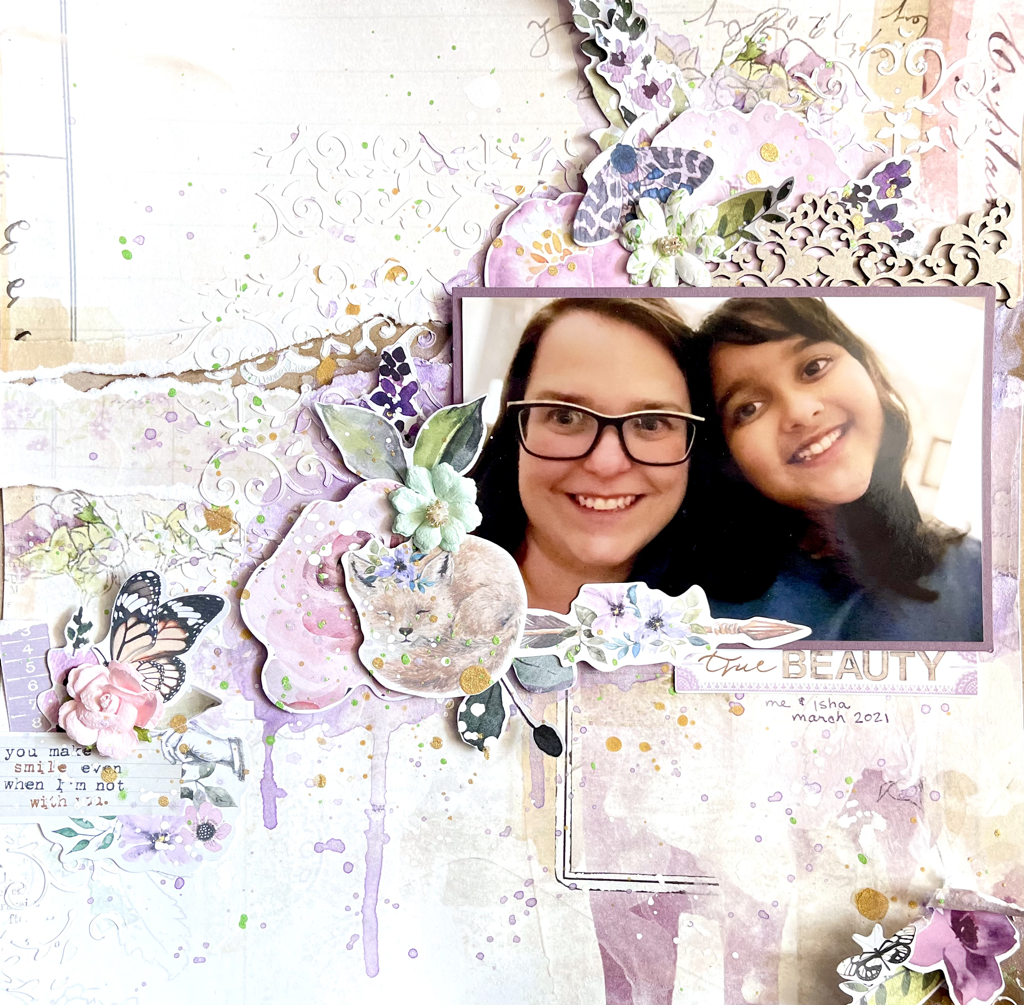
 This is the first page that I am making with the beautiful April Limited Edition Kit from My Creative Scrapbook. This was my favorite paper out of the kit. It is from 49 and market. I wanted to try to use both sides so I tore it up and rearranged it on a piece of 12x12 Kraft card stock. It turns out you can get a good look at what was on the reverse of this paper but I love how it turned out anyway! 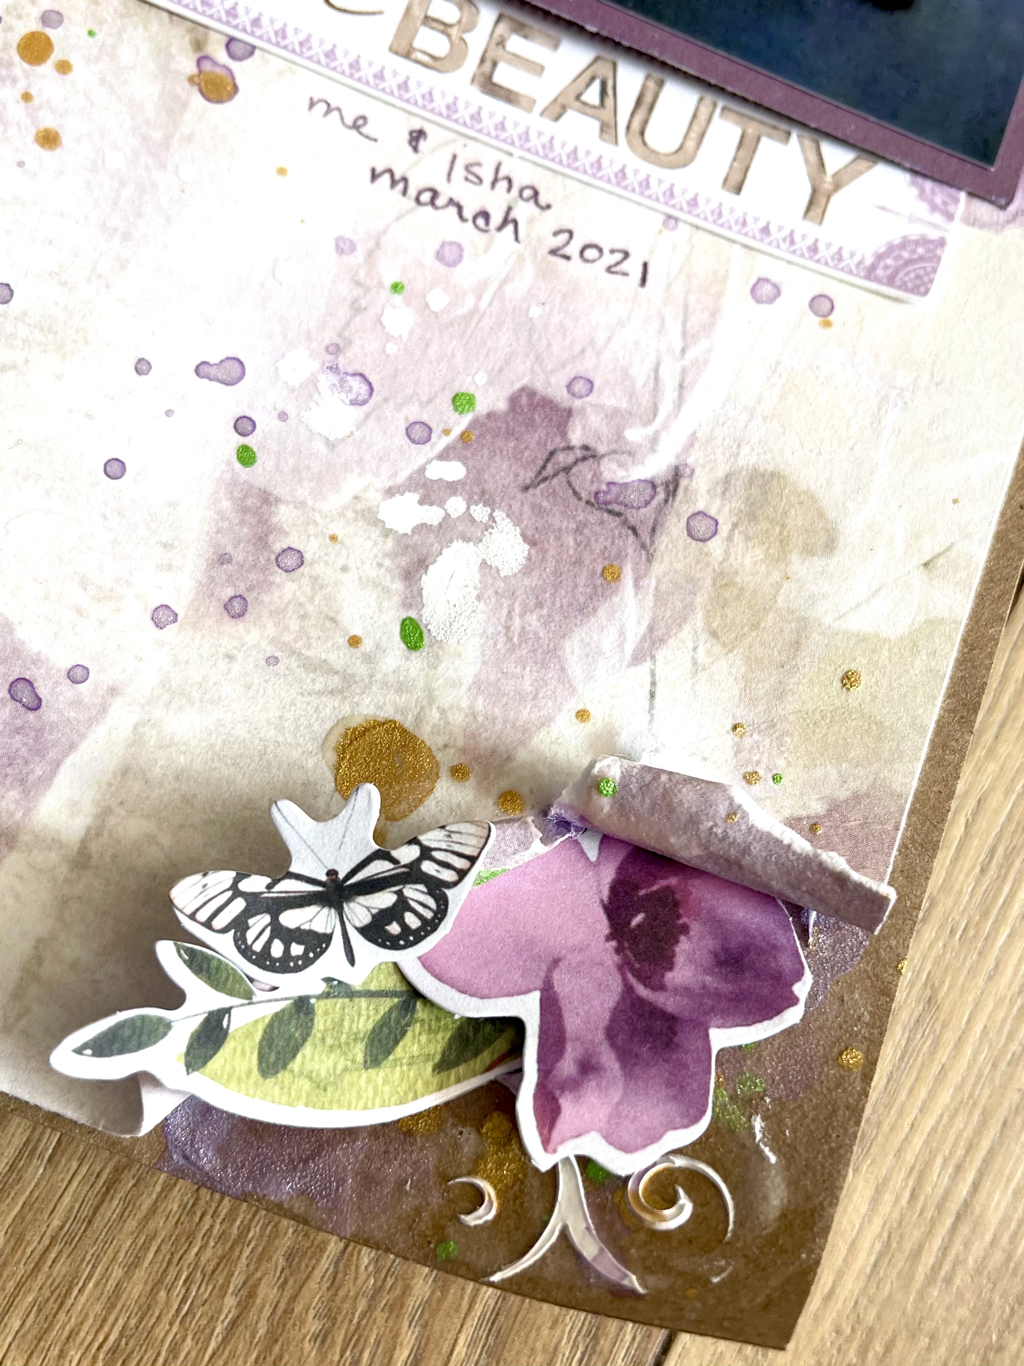 I also ripped a bit in the corner to add I little interest here. I primed my paper with clear gesso and then I used Vicki Boutin molding paste (I got this paste in one of my {Not} Just for Boys kits) through the Prima stencil that came with the kit. I then arranged my photo, a piece of scroll chipboard, and Prima florals from the kit. 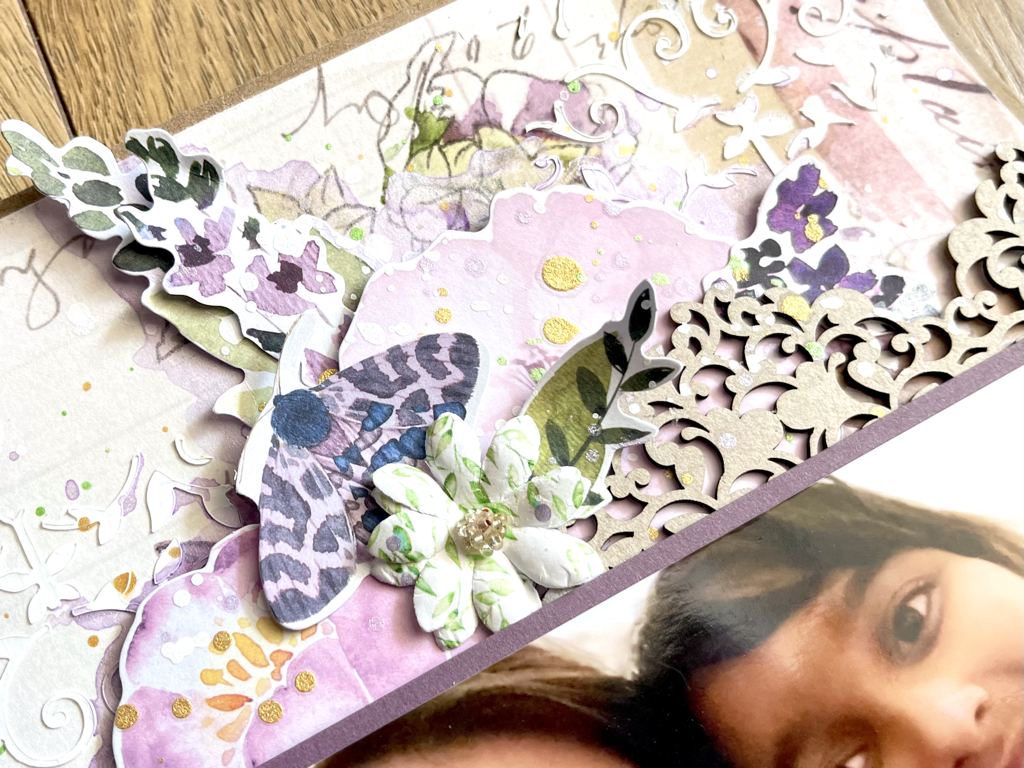 When all my elements were down I made sure to go through the edges of the design with Precious Posey Shimmerz Inklings (I got this from my Hip Kit Club color kit, and it goes with this page beautifully) which helped to make the elements really pop. I also went through with splatters if the Precious Posey, making sure to cover my photo. 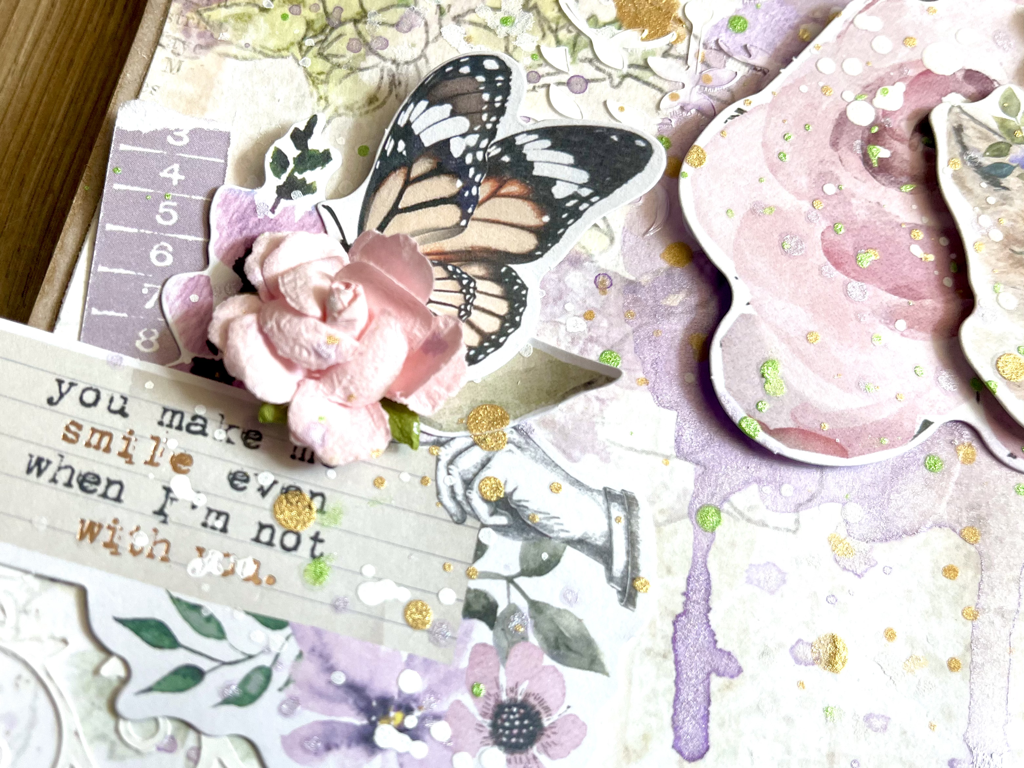 I finished with lots of splatters of white, gold, and green all around the page. I welcome your questions in the comments section. Thank you for popping in to check out my True Beauty page and be sure to check out My Creative Scrapbook.
0 Comments
Leave a Reply. |

Shaker ElementHello all! I am currently working on a mini album of a snow play trip we took in January. I wanted to put all kinds of different elements into it so I thought it would be a perfect time to add a shaker box. So first off I decided to use a snowflake cut file from The Cut Shoppe for this element and the first thing I did was cut some of the inside elements out to make the visible area bigger. Then I glued a piece of scrap page cover to the snowflake. I glued a bigger piece and once it was dry I then cut it down to just my shaker area. I then cut my foam dots in half to box it in.
So my snowflake is ready for my dodads! First I placed my snowflake on top of where I wanted it and took a mental note of where the shaker part would be. Then I placed a little pile of sequins and confetti where it will go.
I then pulled all those little backings off my foam dots and placed my snowflake where is supposed to go and viola, I had a beautiful little shaker snowflake! I hope you enjoyed this tutorial, please let me know in the comments if there is something you would like to learn for scrapbooking!
Archives
April 2023
Categories
All
|


 RSS Feed
