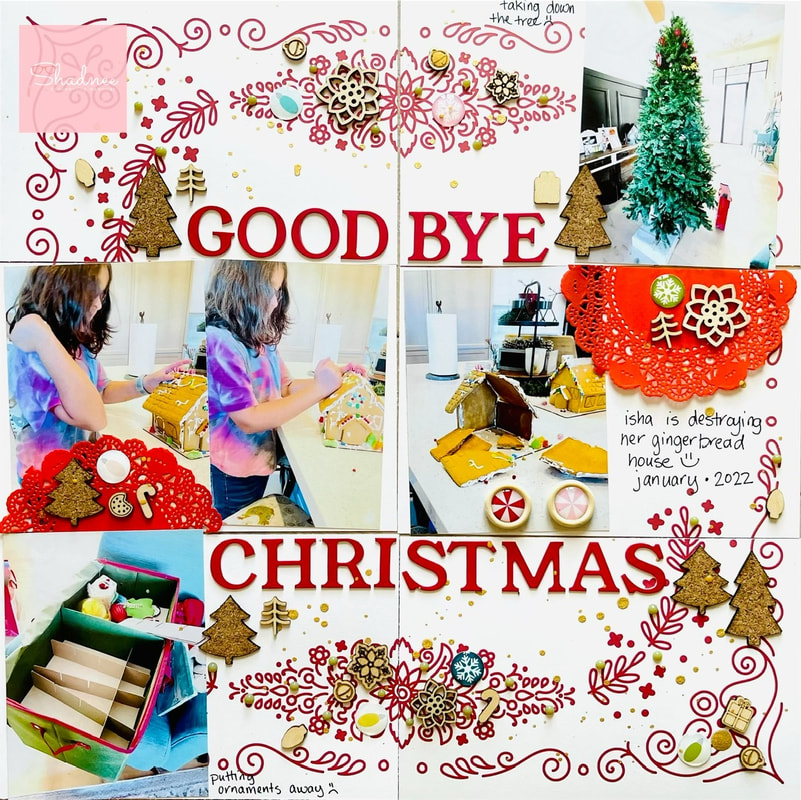
 This year I decided to document a sad event...the taking down of Christmas :( I have never documented this before but thought that I would this time. I'm documenting in a pocket page style althought I'm just using one sheet of patterned paper from my Hip Kit Club and a bunch of embellishments from Shadnee's Etsy Shop. 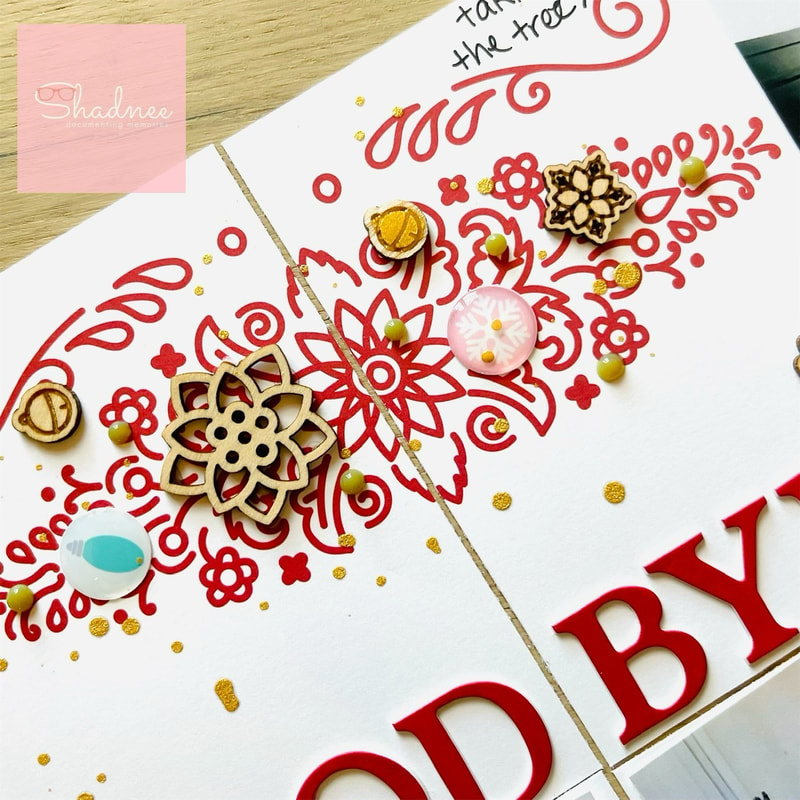 The first thing I worked on was the two upper pockets. I started my title here with "GOODBYE" then I added wood veneer and epoxy dots from Shadnee's Etsy Shop. I have linked the exact products at the end of this blog post.  Part of putting away Christmas includes the gingerbread houses. Well my youngest decided that she just needed to destroy her house first! I documented this in the middle pockets. I added a split doily in both pockets and more wood veneer and epoxy dots. 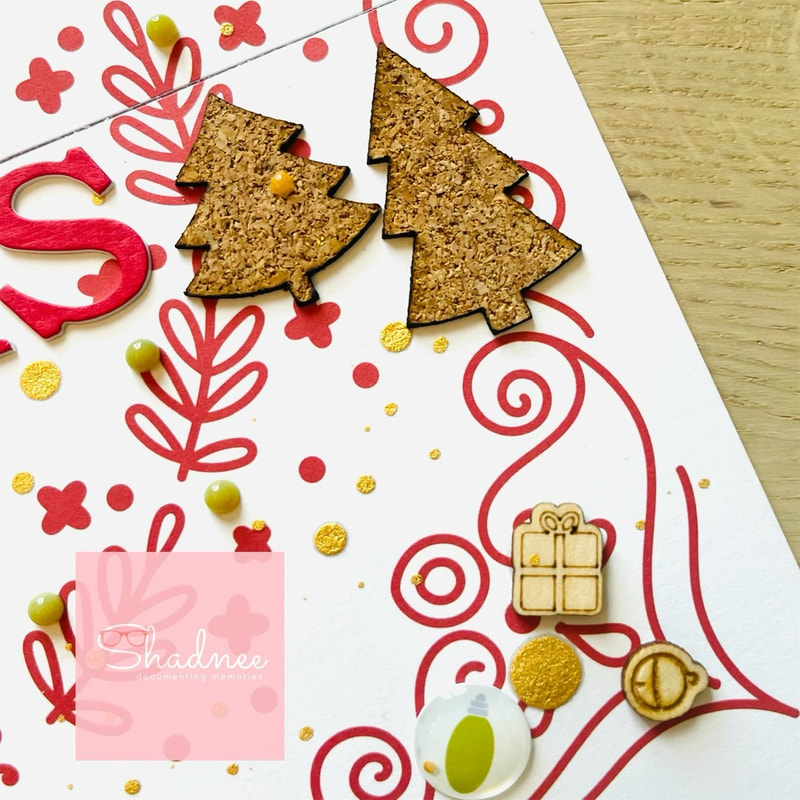 In my bottom pockets I finished off my title: "CHRISTMAS". I added some cork trees to my page as well as (you guessed it) more wood veneer and epoxy dots. I then finished the whole page with gold splatters and olive colored Nuvo drops.
I had some fun using all my wonderful embellishments from Shadnee's Etsy Shop and I hope you enjoyed reading about my process. As promised you can find links to all of the products below. Thanks for stopping by, Nicole Christmas Sprinkles Wood Veneer Tiny Jingle Bell Sprinkles Wood Veneer Poinsettias Wood Veneer Snowflake Epoxy Sprinkles Christmas Lights Epoxy Sprinkles Red Peppermint Epoxy Buttons Coral Peppermint Epoxy Buttons Bright Red Doilies Cork Christmas Trees
0 Comments
Leave a Reply. |

Shaker ElementHello all! I am currently working on a mini album of a snow play trip we took in January. I wanted to put all kinds of different elements into it so I thought it would be a perfect time to add a shaker box. So first off I decided to use a snowflake cut file from The Cut Shoppe for this element and the first thing I did was cut some of the inside elements out to make the visible area bigger. Then I glued a piece of scrap page cover to the snowflake. I glued a bigger piece and once it was dry I then cut it down to just my shaker area. I then cut my foam dots in half to box it in.
So my snowflake is ready for my dodads! First I placed my snowflake on top of where I wanted it and took a mental note of where the shaker part would be. Then I placed a little pile of sequins and confetti where it will go.
I then pulled all those little backings off my foam dots and placed my snowflake where is supposed to go and viola, I had a beautiful little shaker snowflake! I hope you enjoyed this tutorial, please let me know in the comments if there is something you would like to learn for scrapbooking!
Archives
April 2023
Categories
All
|


 RSS Feed
