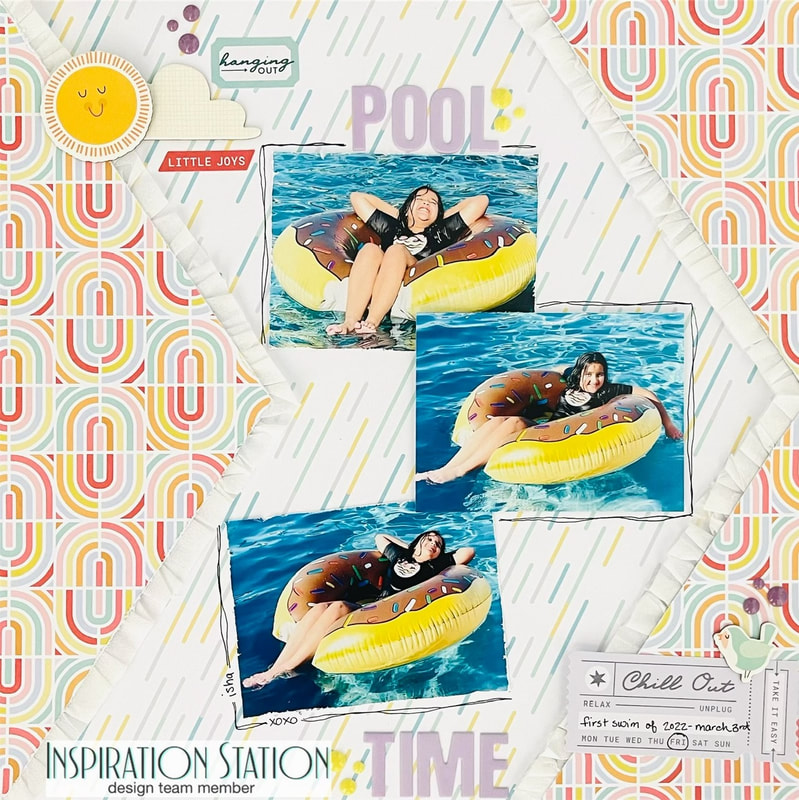
 Hello friends, I'm back for the third Monday Inspiration Station Challenge Blog post! I made this layout above with the inspiration photo in mind (see below)! Since the picture is of a little girl jumping in a puddle after it just rained with her rainbow colored umbrella I thought that this paper matched perfectly. The main background paper looks like raindrops and the other part of the background looks like rainbows! I am documenting my daughter getting in the pool for the first time this year...it was heated, and she had a great time. I used my March Hip Kit Club Kit to make my layout and I am scraplifting from Danielle de Konink from the Scrap Squad Facebook group Scraplift #12. Below is the inspriation picture from Inspiration Station Challenge Blog. The Inspiration Station posts a picture of everyday life and we create a project with the photo as inspiration. You can play along too, enter your project on the blog, and be entered for a chance to win a prize! 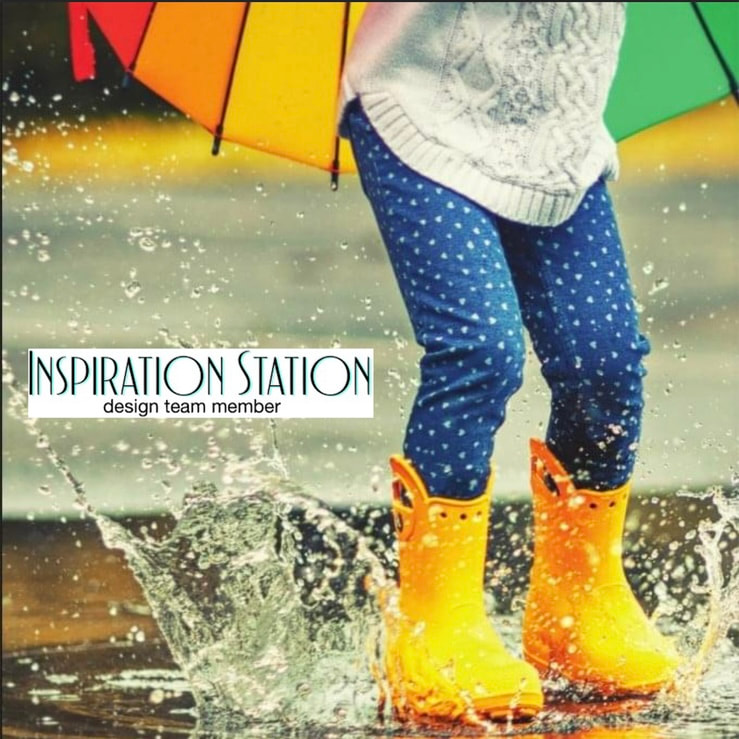 Thank you so much for coming on to look at my project for the Inspiration Station! Be sure to play along on their blog too!
Nicole Santos
2 Comments
4/18/2022 04:47:34 am
Nicole, this is a lovely layout and great match to the photo! Thanks for another wonderful team project for The Inspiration Station Challenge. 4/18/2022 08:51:38 am
I just love this page your Daughter looks like she was having so much fun! Great memory record. x Leave a Reply. |

Shaker ElementHello all! I am currently working on a mini album of a snow play trip we took in January. I wanted to put all kinds of different elements into it so I thought it would be a perfect time to add a shaker box. So first off I decided to use a snowflake cut file from The Cut Shoppe for this element and the first thing I did was cut some of the inside elements out to make the visible area bigger. Then I glued a piece of scrap page cover to the snowflake. I glued a bigger piece and once it was dry I then cut it down to just my shaker area. I then cut my foam dots in half to box it in.
So my snowflake is ready for my dodads! First I placed my snowflake on top of where I wanted it and took a mental note of where the shaker part would be. Then I placed a little pile of sequins and confetti where it will go.
I then pulled all those little backings off my foam dots and placed my snowflake where is supposed to go and viola, I had a beautiful little shaker snowflake! I hope you enjoyed this tutorial, please let me know in the comments if there is something you would like to learn for scrapbooking!
Archives
April 2023
Categories
All
|


 RSS Feed
