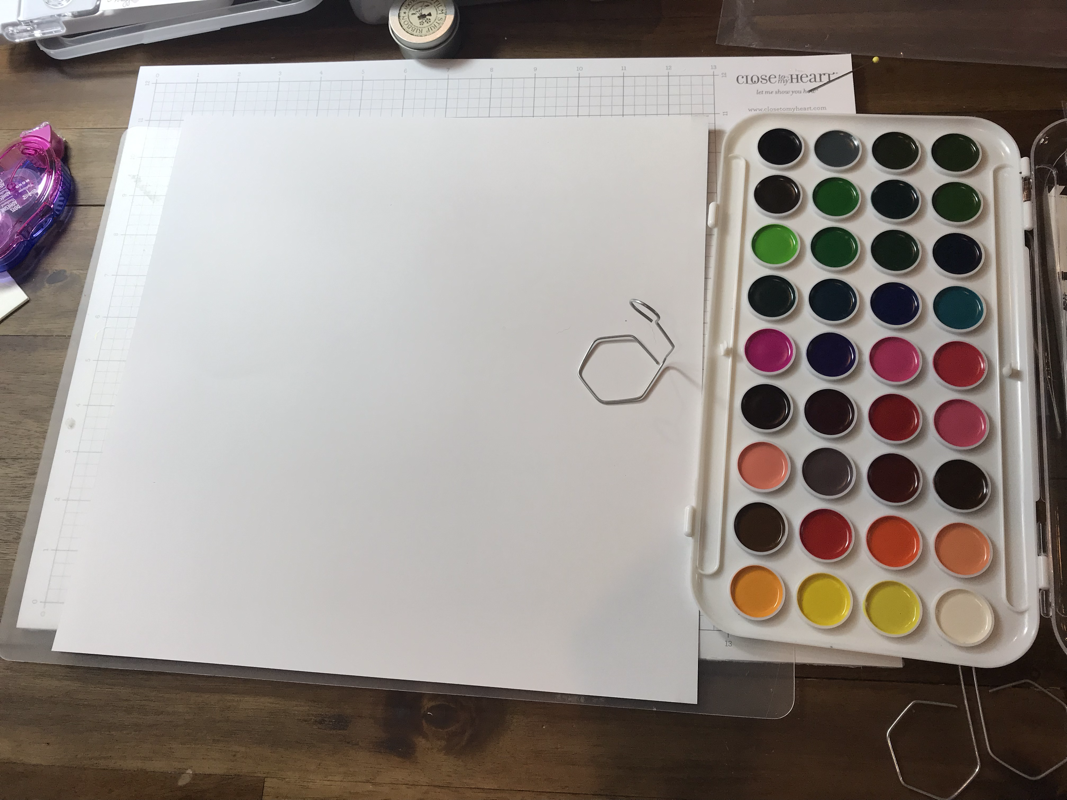
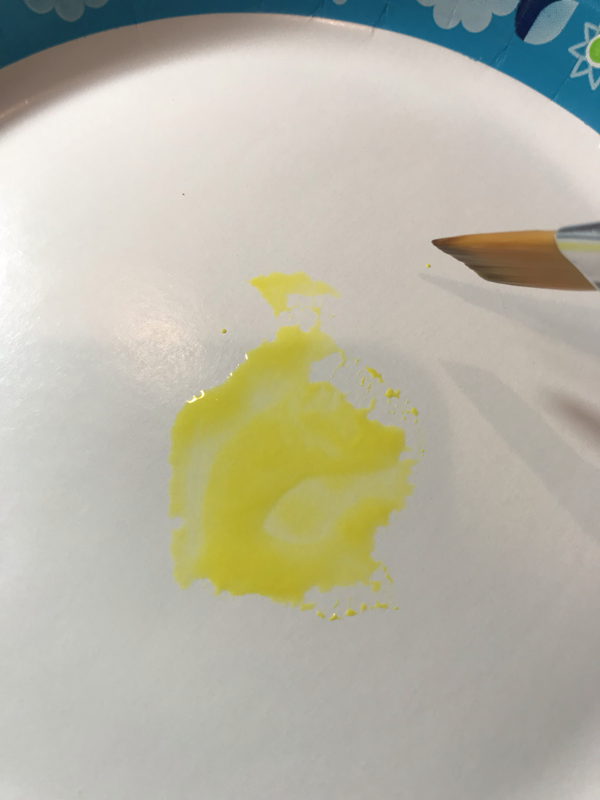
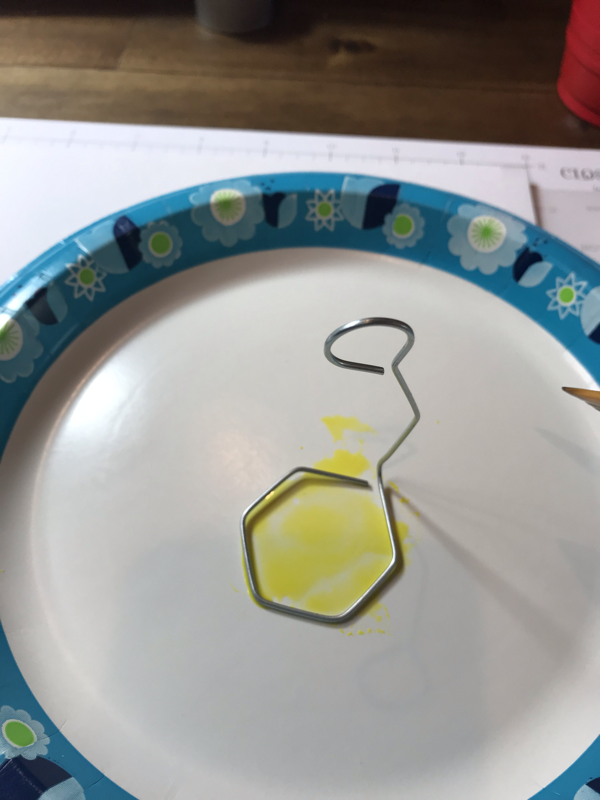
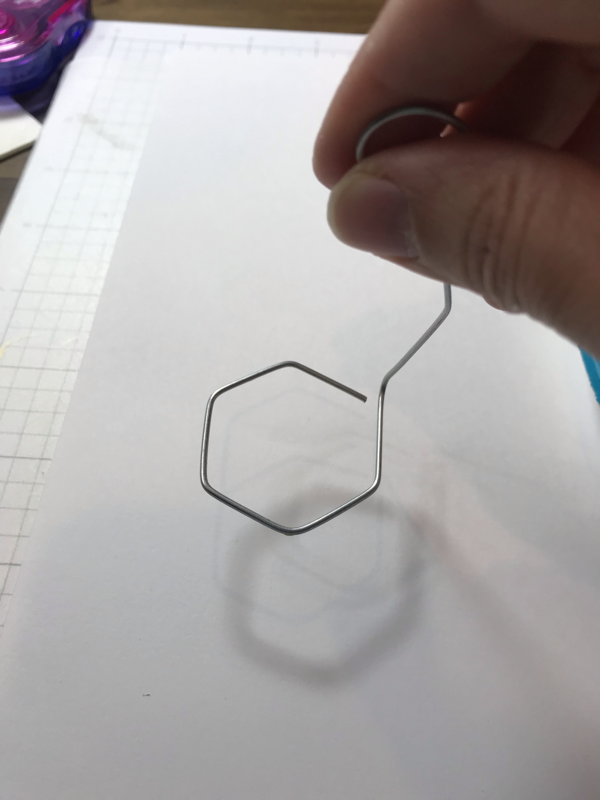
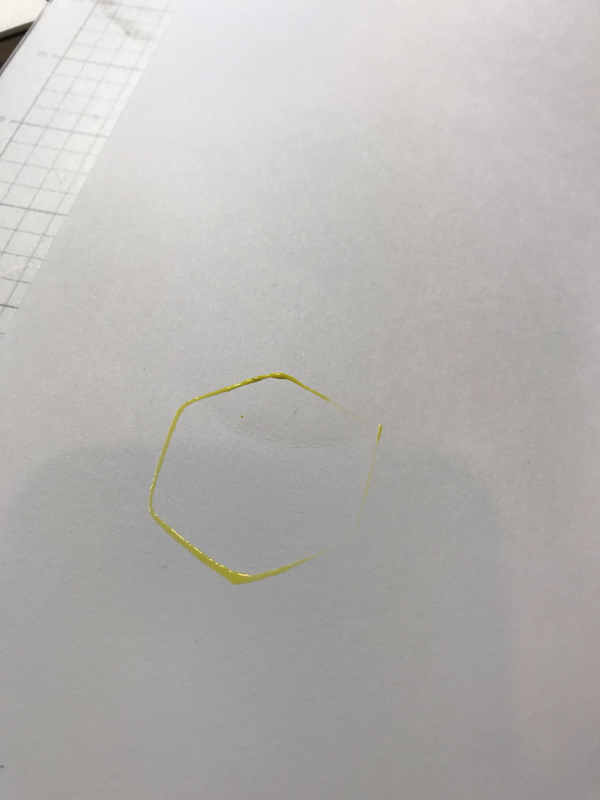
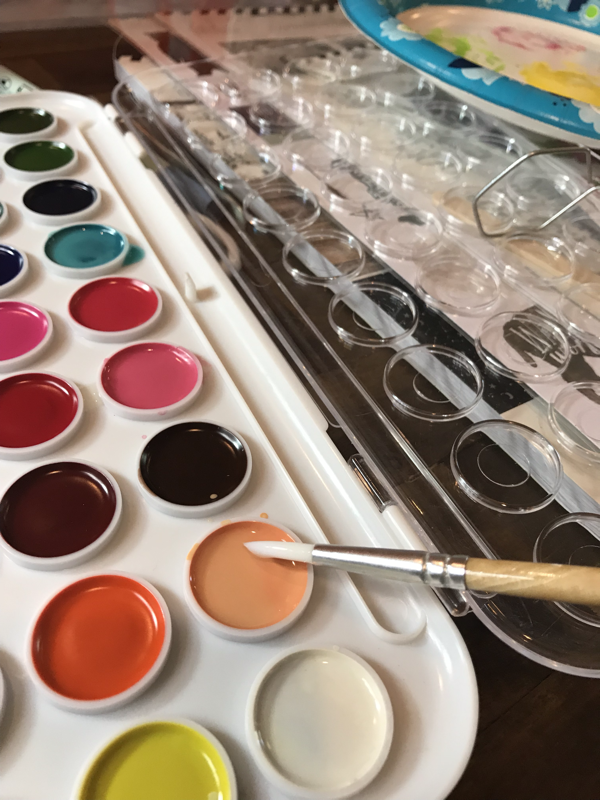
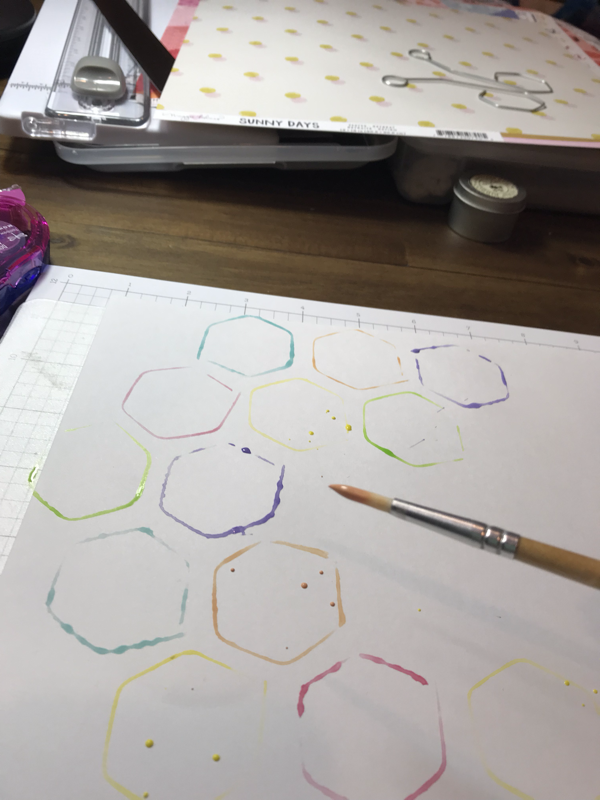
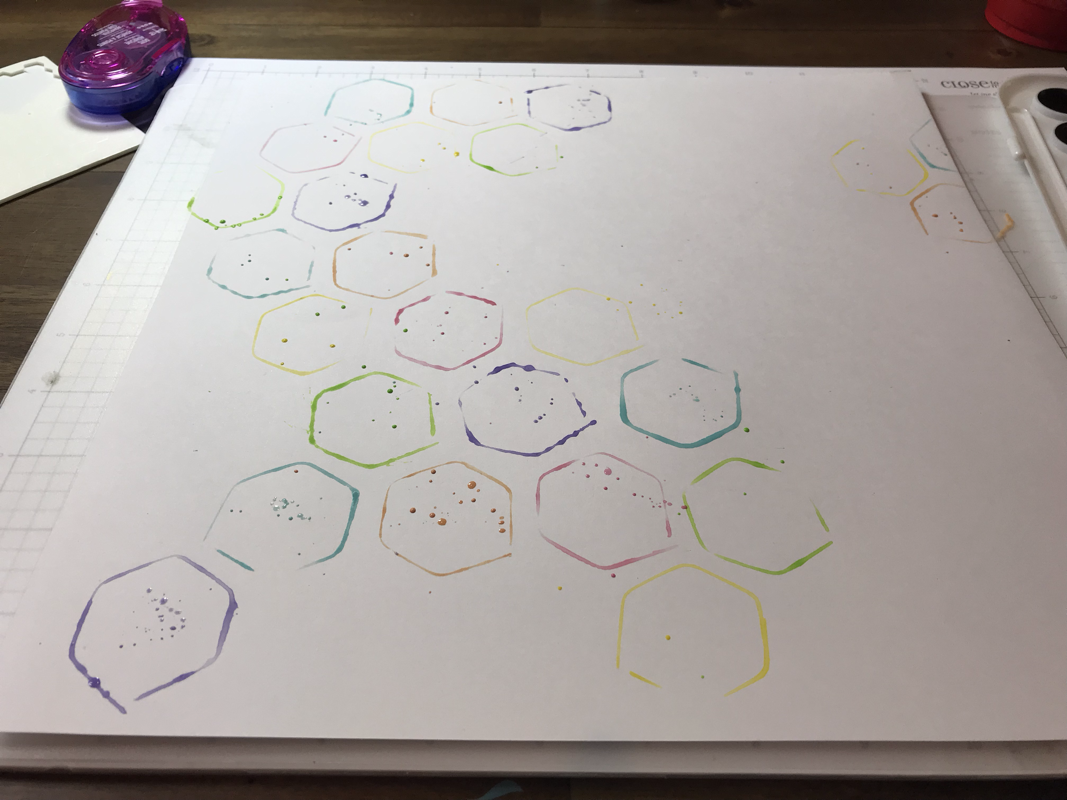
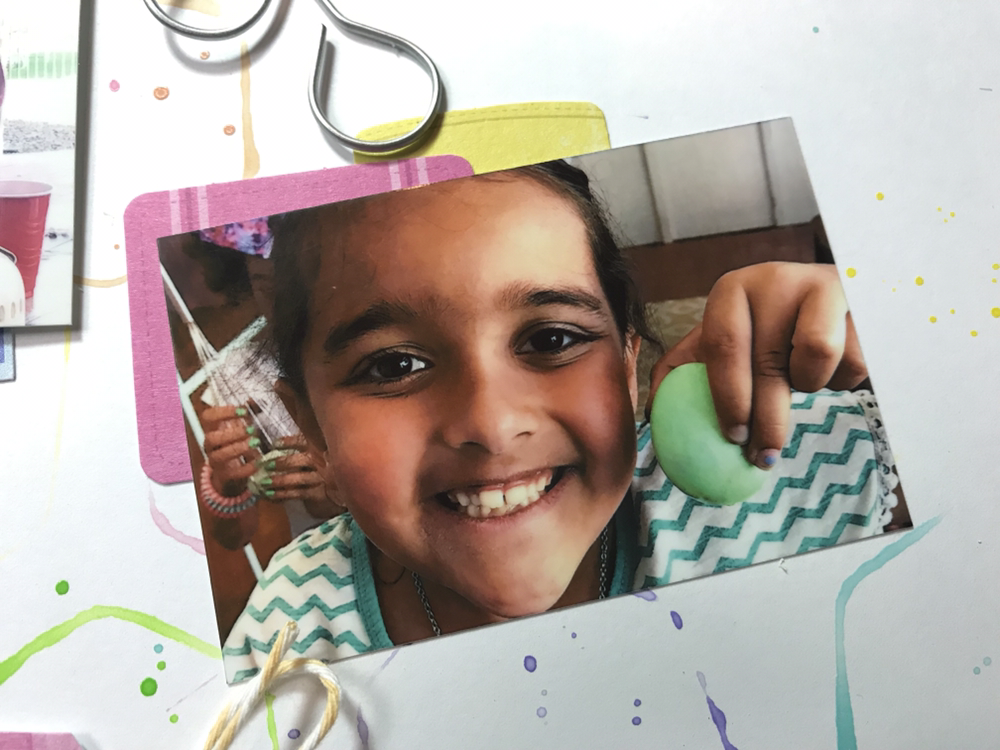
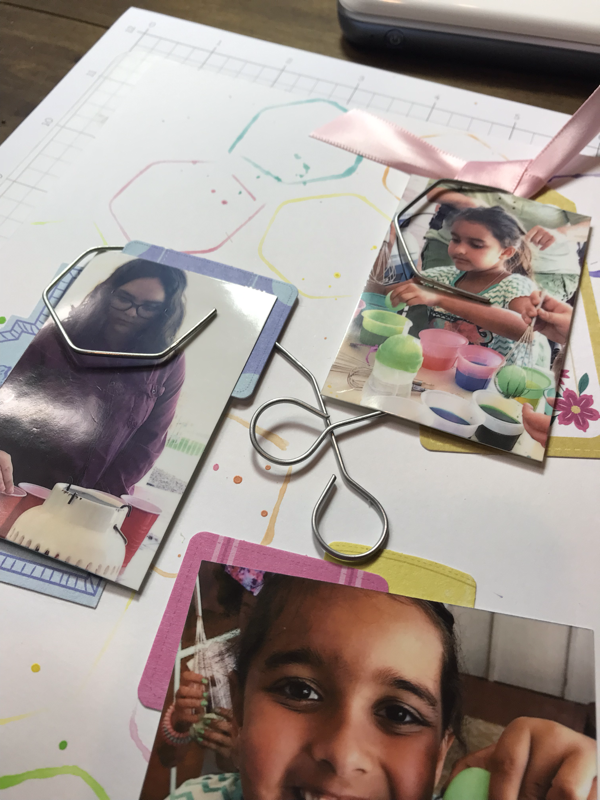
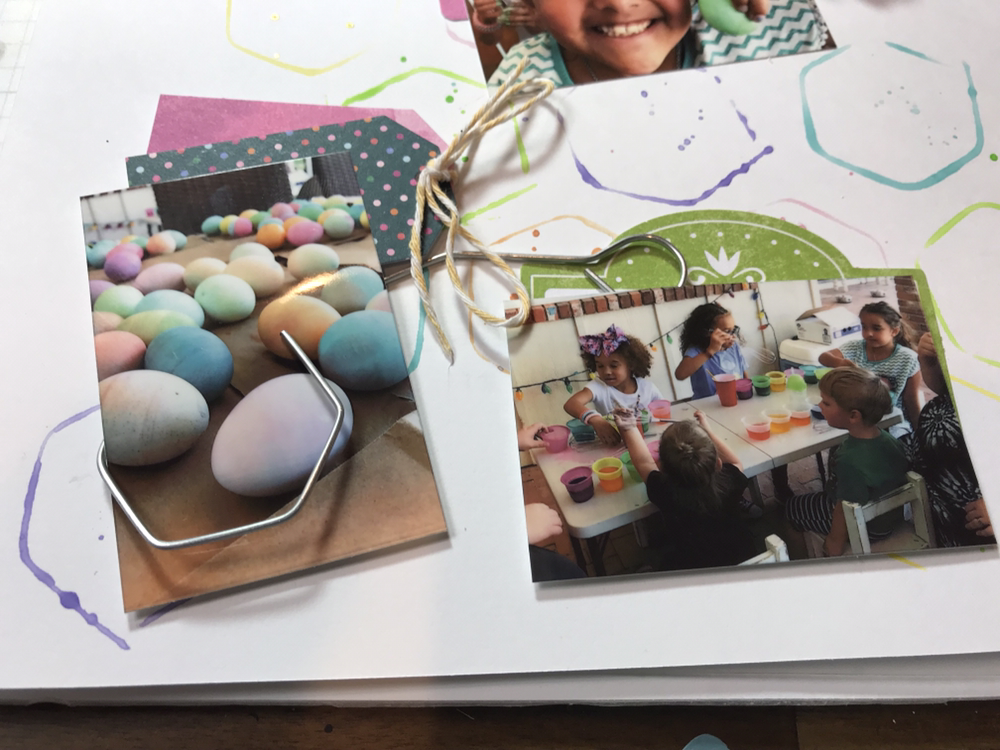
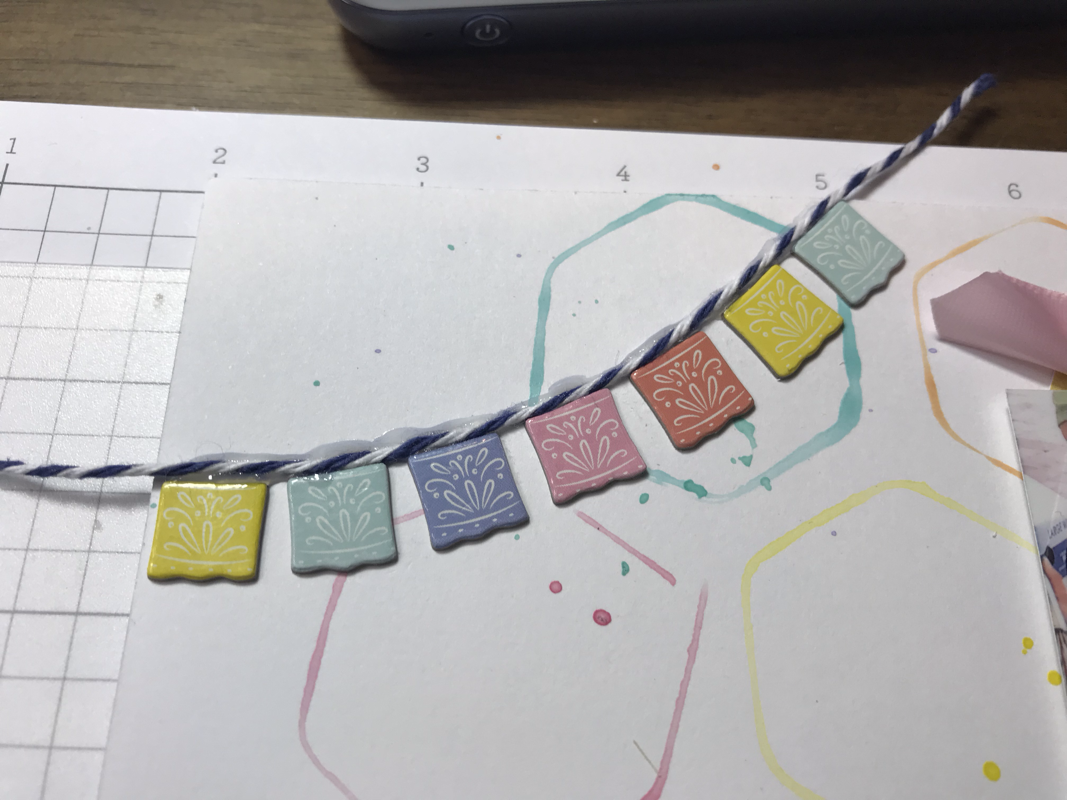
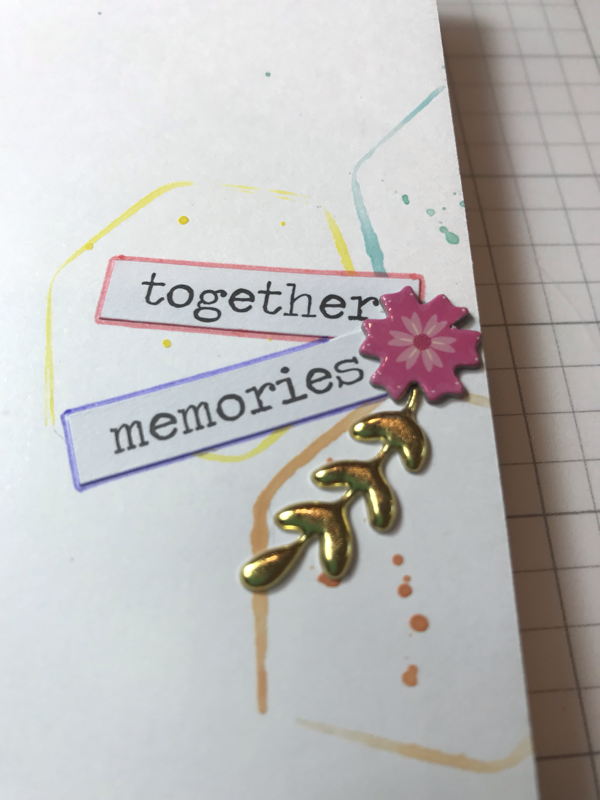
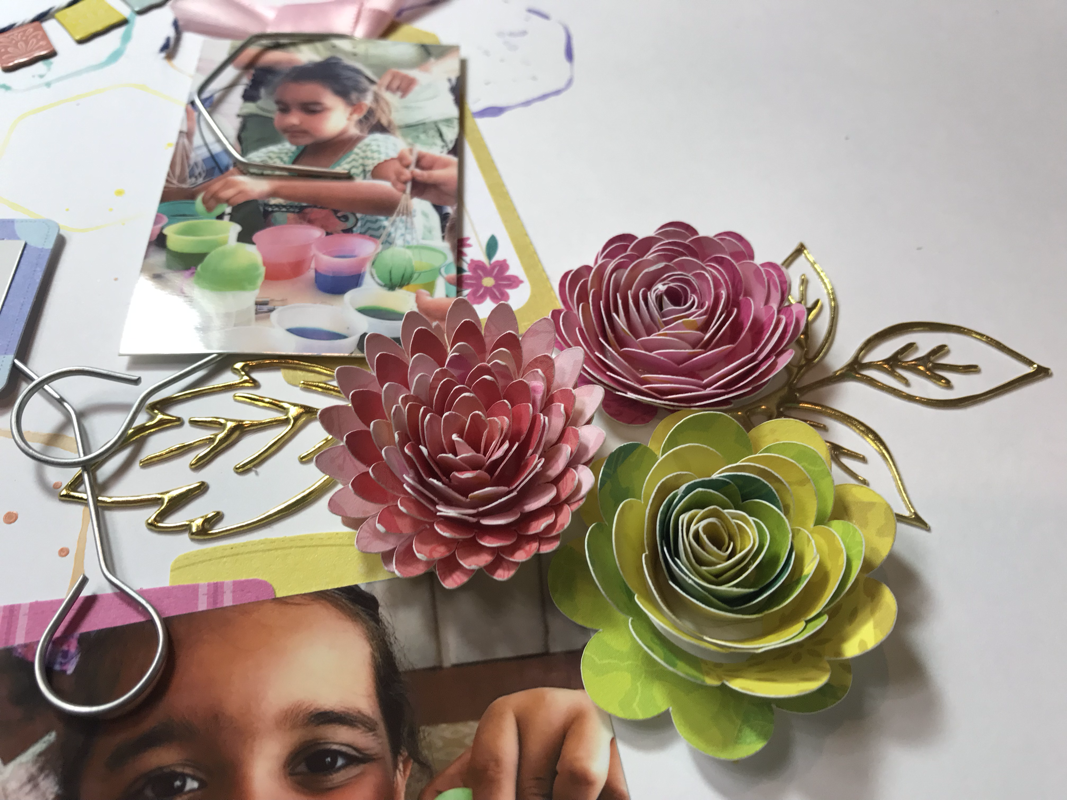
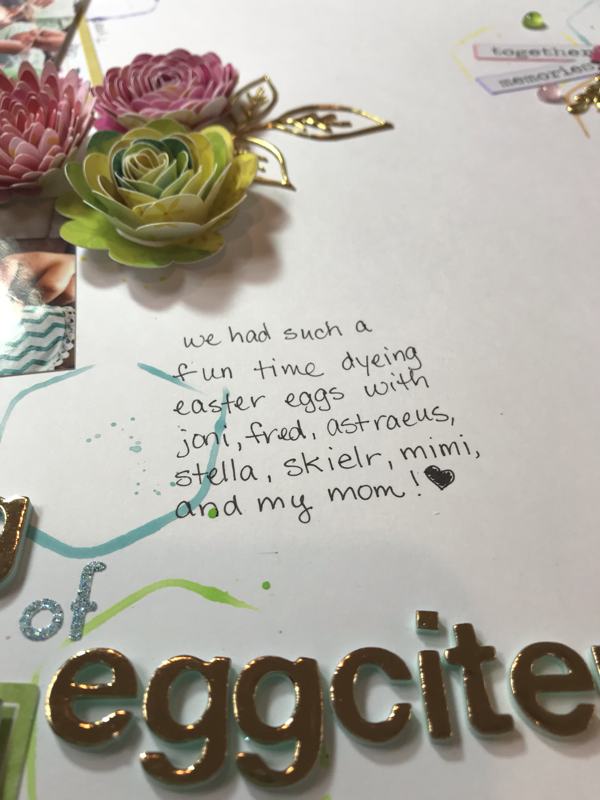
DYEING OF EGGCITEMENT On the Hip Kit Club Facebook group page there is a weekly challenge. This week it had quite a bit of pictures on the sketch so I decided to print out a bunch of egg dyeing pictures using my canon mini printer. For this page I used the Hip Kit Club April Kit which features the Paige Taylor Evans Horizon collection, I also used the Sparkly Effervescence embellishments pack from SpiegelMom Scraps. First I knew that I wanted to use some watercolor on this page and I thought it would be awesome to use the egg dipper and make a pattern. So I mixed up the color and water and I put it on a paper plate so that I could dip the dipper into it then I placed it on the paper. I continued this process with orange, pink, blue, green, and purple. After my pattern was set up I then decided to add some small splatters of paint to match the paint of the pattern. I used pieces in the Horizon ephemera pack to mat my photos and then I popped four of the photos off the page, leaving one I placed directly on the page. I then used the dippers to frame 3 of the photos.  I used one of the April cut files from The Hip Kit Club to cut these spiral flowers out of one of the Horizon papers. 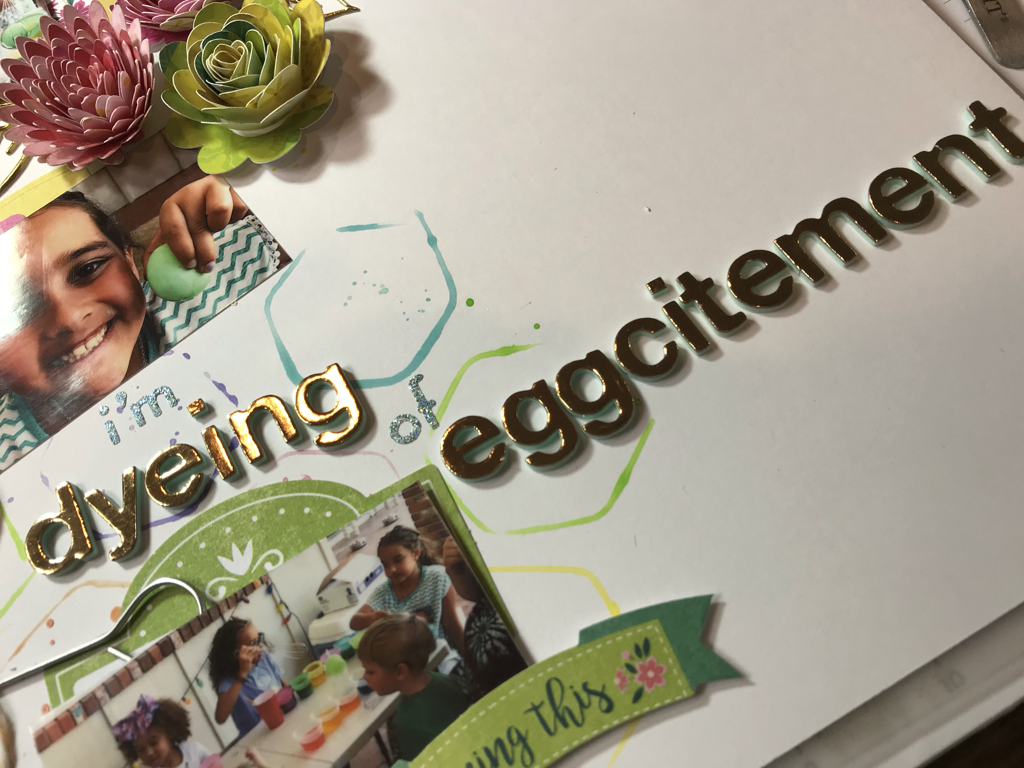 I had to add a punny title. 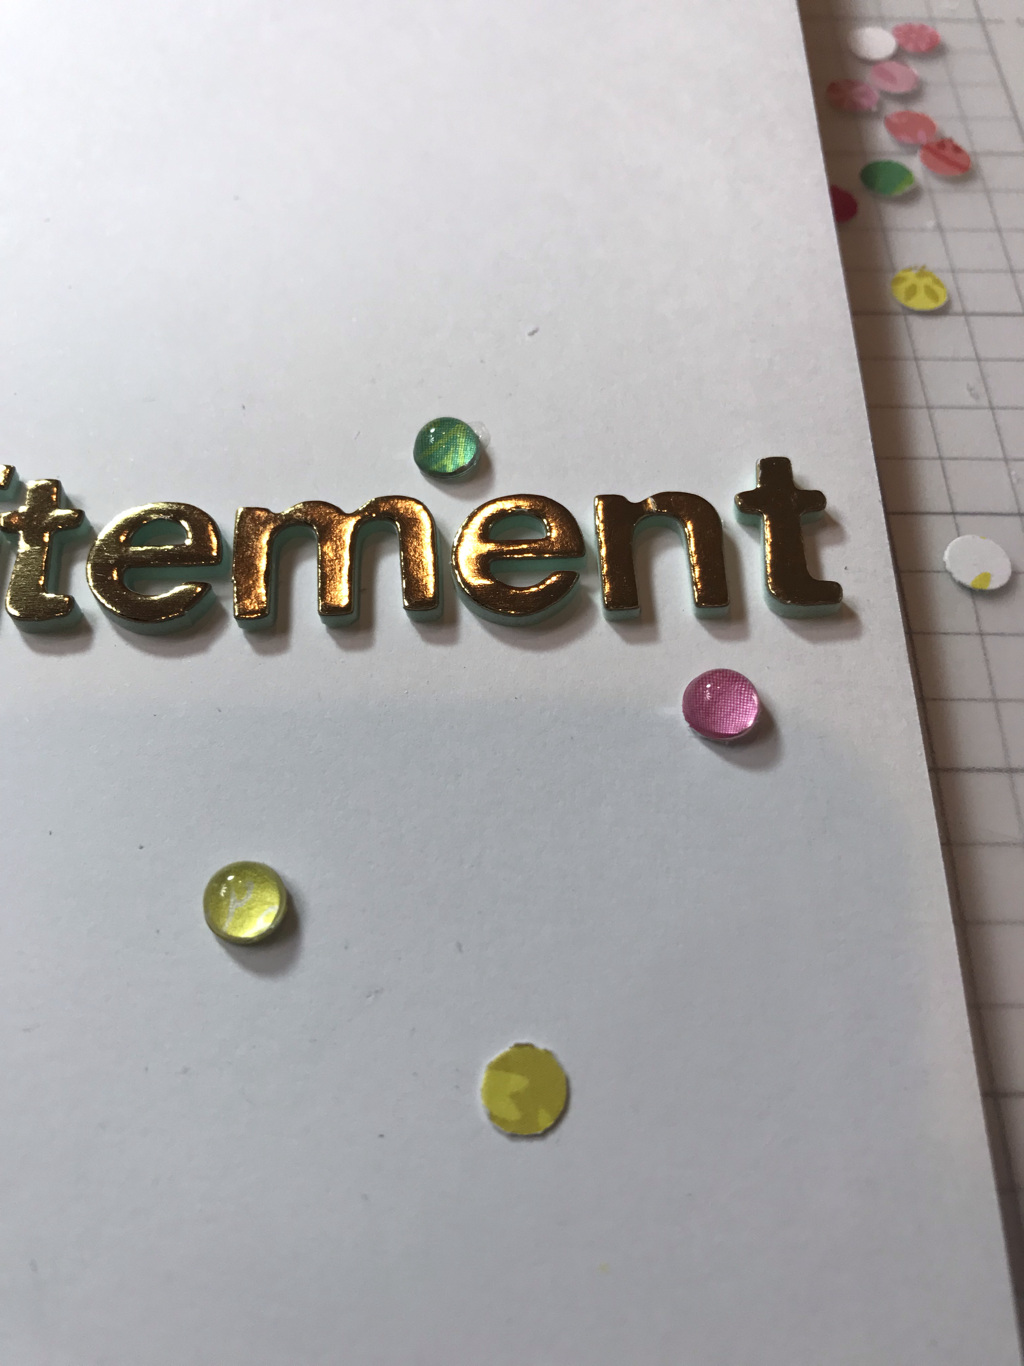 To make these I used a hole punch to make some dots from the same paper I cut the flowers from. Then I used some Liquid Glass from Close To My Heart to glue down some Sparkly Effervescence from SpiegelMom Scraps. To finish up I glued down the flowers with liquid glass, then added some more embellishments here and there, and finally put down some journaling. 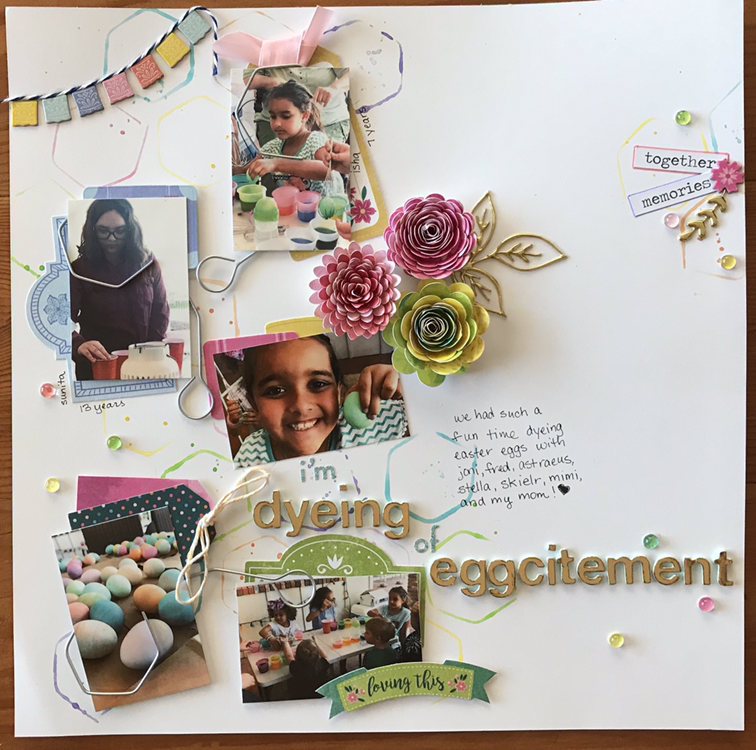 Here is the finished project! It was a lot, but I feel it came together perfectly! Thank you for reading!
0 Comments
Leave a Reply. |

Shaker ElementHello all! I am currently working on a mini album of a snow play trip we took in January. I wanted to put all kinds of different elements into it so I thought it would be a perfect time to add a shaker box. So first off I decided to use a snowflake cut file from The Cut Shoppe for this element and the first thing I did was cut some of the inside elements out to make the visible area bigger. Then I glued a piece of scrap page cover to the snowflake. I glued a bigger piece and once it was dry I then cut it down to just my shaker area. I then cut my foam dots in half to box it in.
So my snowflake is ready for my dodads! First I placed my snowflake on top of where I wanted it and took a mental note of where the shaker part would be. Then I placed a little pile of sequins and confetti where it will go.
I then pulled all those little backings off my foam dots and placed my snowflake where is supposed to go and viola, I had a beautiful little shaker snowflake! I hope you enjoyed this tutorial, please let me know in the comments if there is something you would like to learn for scrapbooking!
Archives
April 2023
Categories
All
|


 RSS Feed
