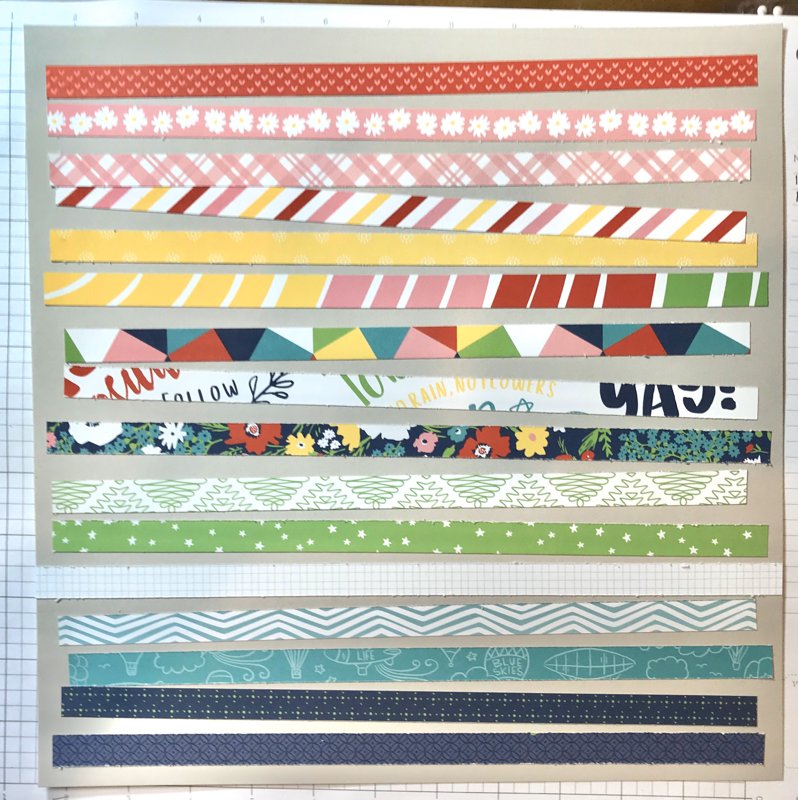
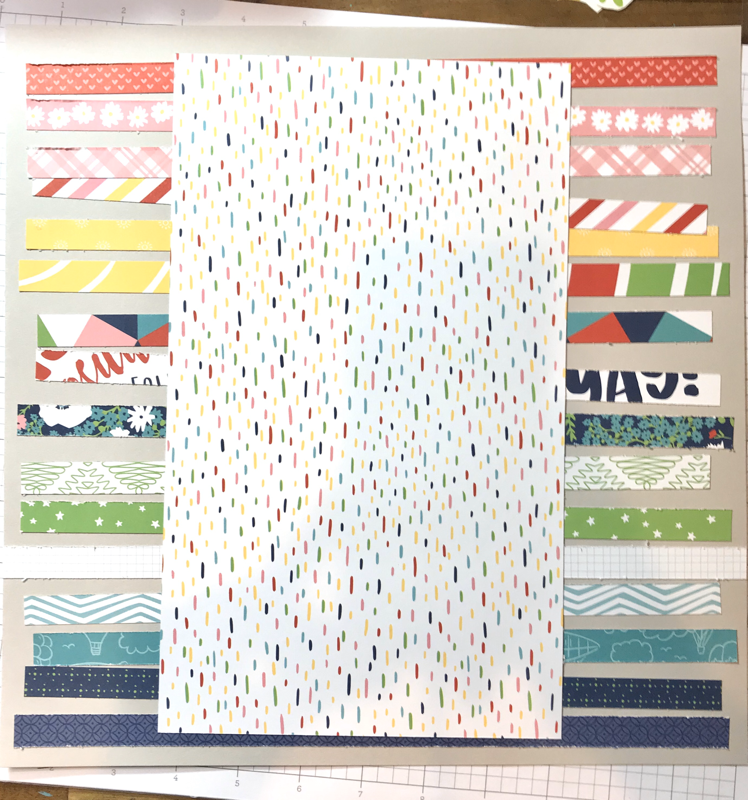
Let’s Go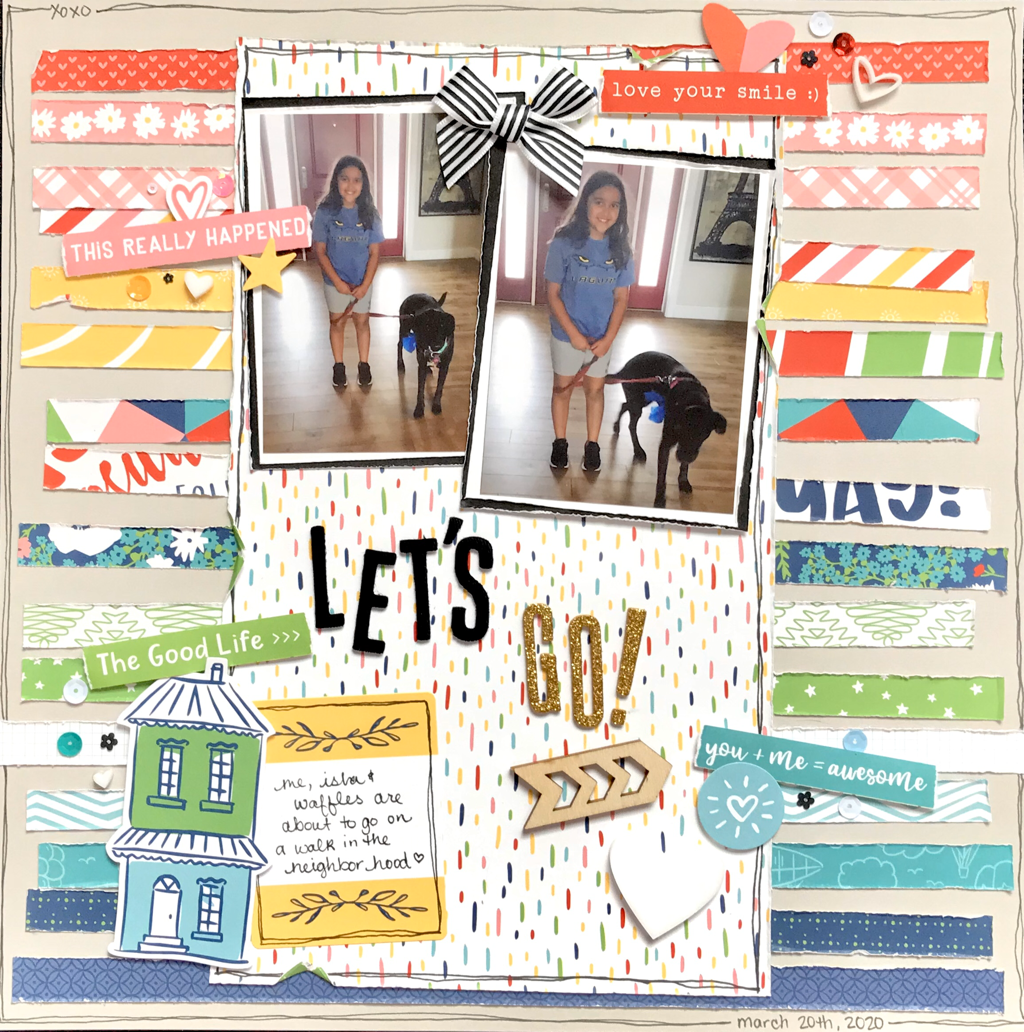 This is created with a new collection coming out next month for National Scrapbook Month called Blue Skies by Close To My Heart. I started with a sheet of grey cardstock and added stripes of the Blue Skies papers. Then I added the middle paper cut to 6 1/2 x 11 inches. I drew a border around the edges of the cardstock and the big patterned paper. I then added mats to my photos. Since my photos at 3x4 I made the white mat 3 3/16x 4 3/16, and the black mat is 3 3/8x4 3/8 inches. I placed them at the top of the big patterned paper and stuck a black and white bow on the top. 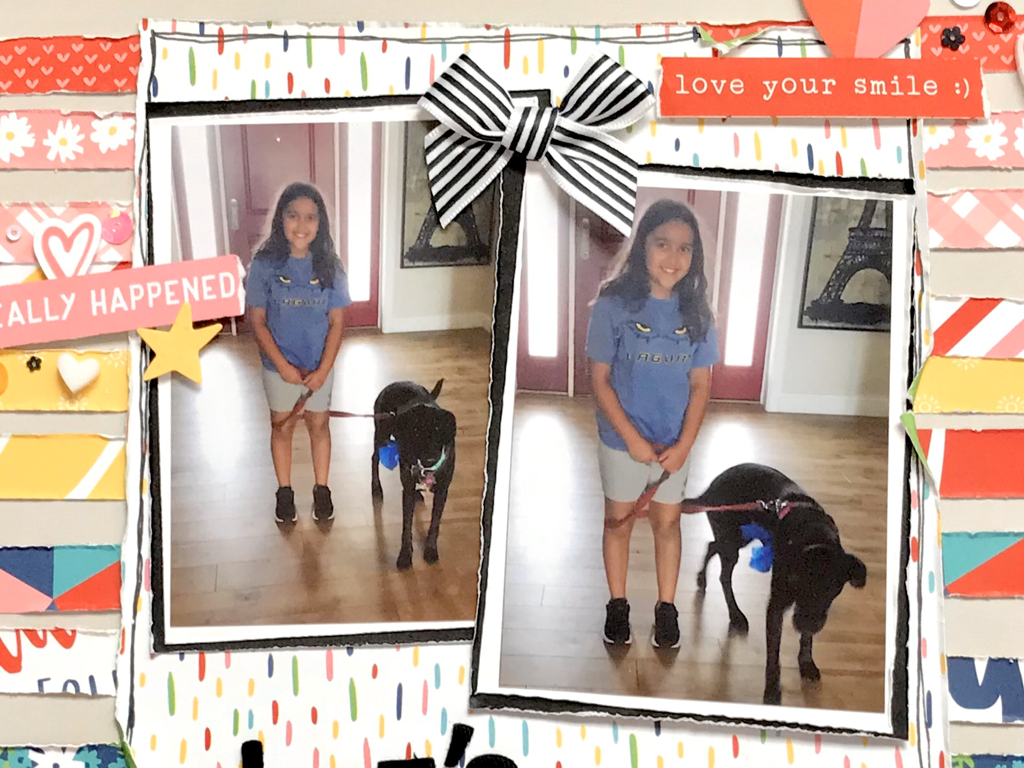 Next came my title, here I used some alpha Thickers from my stash. I used one of the strips with sayings on it around the page near the same colors then added sequins, acrylic hearts, a wooden arrow, and a journaling area to finish off the page. I’m loving the way this page turned out! The Blue Skies collection from Close To My Heart is not available for purchase until May 1st. If you would like to preorder please comment below or use the contact form. I have included links to the other products I used to help this page come together 😊
Acrylic Hearts Wooden Arrows Tape Runner Grey Cardstock Liquid Glass Pop Dots
0 Comments
Leave a Reply. |

Shaker ElementHello all! I am currently working on a mini album of a snow play trip we took in January. I wanted to put all kinds of different elements into it so I thought it would be a perfect time to add a shaker box. So first off I decided to use a snowflake cut file from The Cut Shoppe for this element and the first thing I did was cut some of the inside elements out to make the visible area bigger. Then I glued a piece of scrap page cover to the snowflake. I glued a bigger piece and once it was dry I then cut it down to just my shaker area. I then cut my foam dots in half to box it in.
So my snowflake is ready for my dodads! First I placed my snowflake on top of where I wanted it and took a mental note of where the shaker part would be. Then I placed a little pile of sequins and confetti where it will go.
I then pulled all those little backings off my foam dots and placed my snowflake where is supposed to go and viola, I had a beautiful little shaker snowflake! I hope you enjoyed this tutorial, please let me know in the comments if there is something you would like to learn for scrapbooking!
Archives
April 2023
Categories
All
|


 RSS Feed
