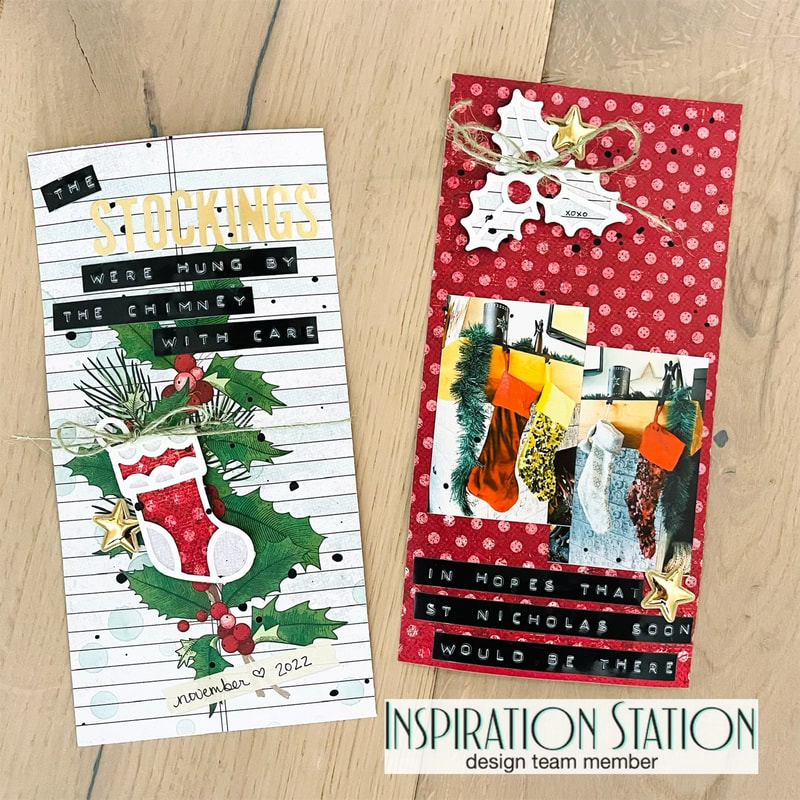
 Hello all! I'm definitely feeling the holiday spirt especially with the newest inspiration photo from Inspiration Station Challenge Blog:  So the stockings really spoke to me and I just decorated my home this last weekend including hanging my stockings, so I had to make a traveler's notebook layout to go in my everyday journal for this!  I choose to use my {Not} Just for Boys Kit Club "'Tis the Season" Page Kit for this layout, which included this Vicky Boutin Evergreen and Holly Making Spirits Bright paper. The front and the back go perfectly together! So I used this little part with some holly printing on it and the back is a super bright red polka dot. 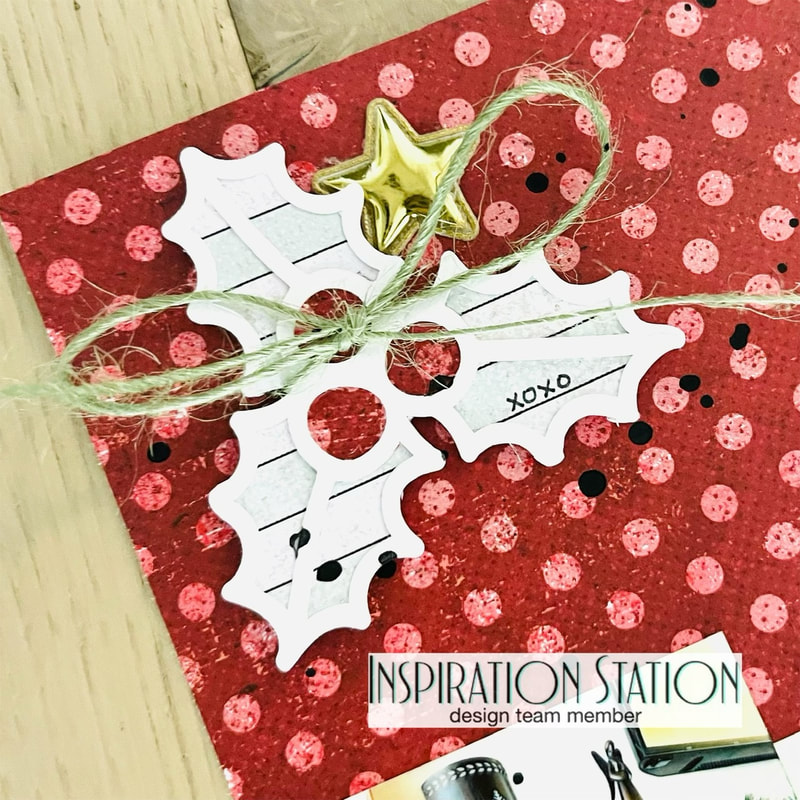 I used a Paige Evens Christmas Frame card stock cut, also from NJFB, and just cut out the holly and the stocking. I backed them with the same Vicki Boutin paper as well and added some twine to both too. 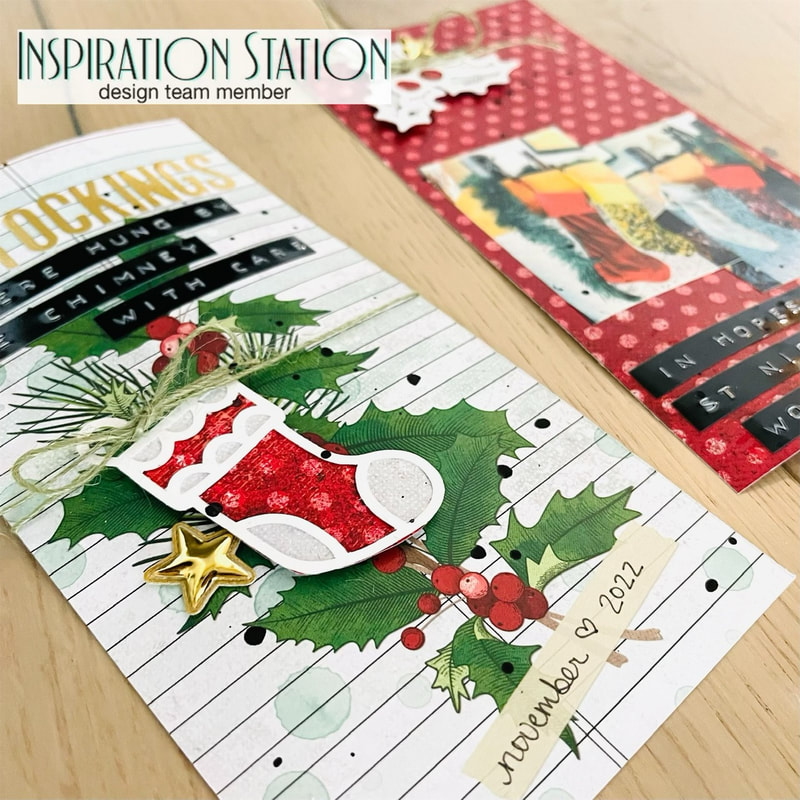 I arranged my stocking over the top of the holly on the left. I placed my holly on the right page at the top. I also put my pics on the right as well. I added my title which is super long with some gold alphas from my stash and my label maker. I finished with some journaling and black splatters.
Thanks for stopping by to read about my process. You can also play along with Inspiration Station and enter your own project based on the inspiration pic and enter it for a chance to win a prize. Until next time, Nicole
1 Comment
12/5/2022 05:10:00 am
I like these traveler notebook style memory pages, the papers and embellishments are lovely. Thanks for another wonderful team project for The Inspiration Station Challenge. Leave a Reply. |

Shaker ElementHello all! I am currently working on a mini album of a snow play trip we took in January. I wanted to put all kinds of different elements into it so I thought it would be a perfect time to add a shaker box. So first off I decided to use a snowflake cut file from The Cut Shoppe for this element and the first thing I did was cut some of the inside elements out to make the visible area bigger. Then I glued a piece of scrap page cover to the snowflake. I glued a bigger piece and once it was dry I then cut it down to just my shaker area. I then cut my foam dots in half to box it in.
So my snowflake is ready for my dodads! First I placed my snowflake on top of where I wanted it and took a mental note of where the shaker part would be. Then I placed a little pile of sequins and confetti where it will go.
I then pulled all those little backings off my foam dots and placed my snowflake where is supposed to go and viola, I had a beautiful little shaker snowflake! I hope you enjoyed this tutorial, please let me know in the comments if there is something you would like to learn for scrapbooking!
Archives
April 2023
Categories
All
|


 RSS Feed
