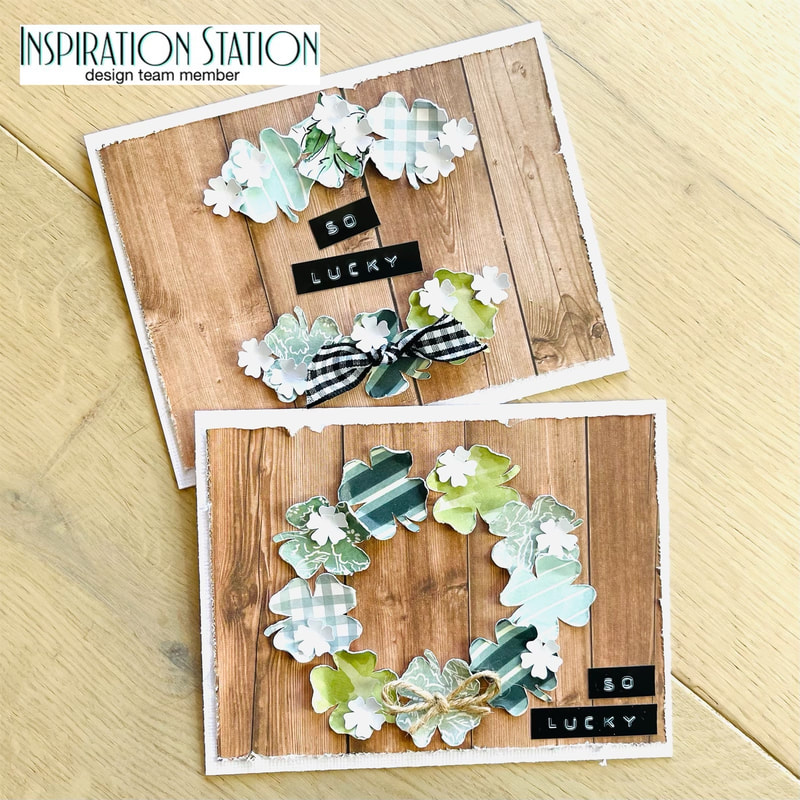
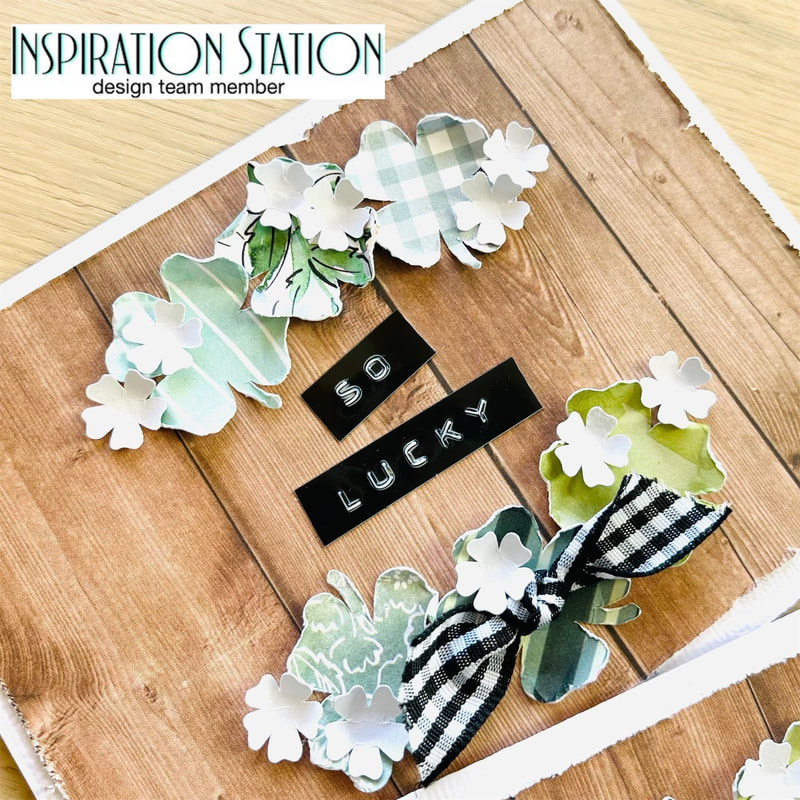
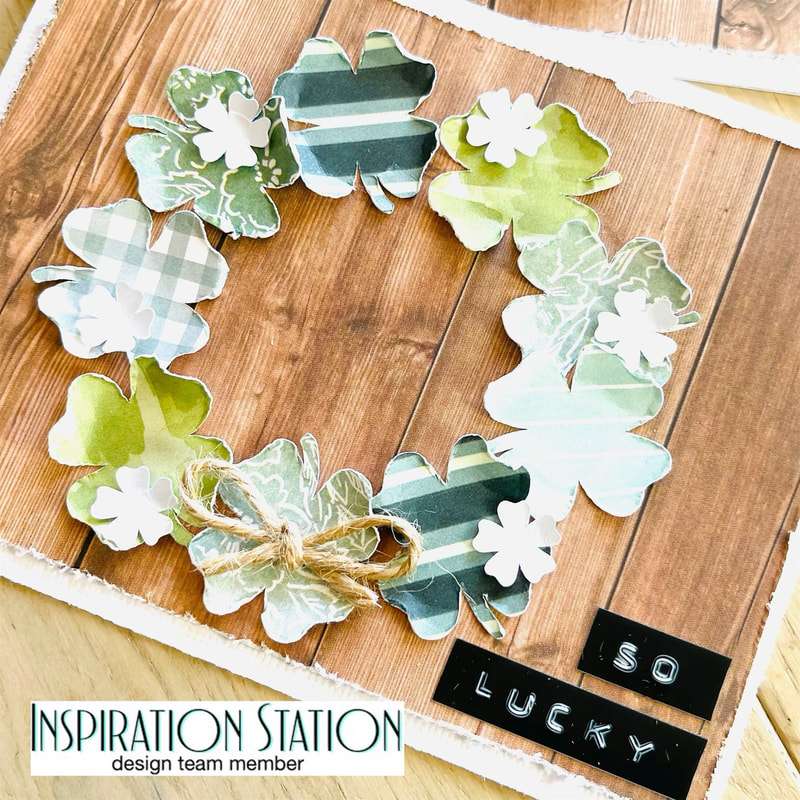
 This time for Inspiration Station I decided to make cards instead of my usual scrapbook layout. I made a promise to myself to send St. Patrick's Day cards out this year, and I intend to keep it. 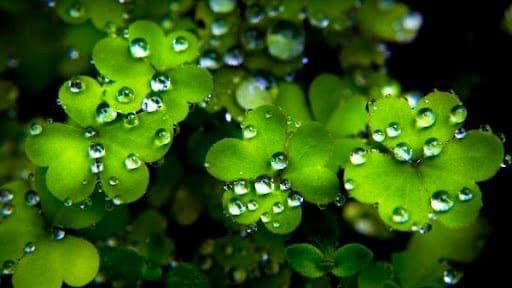 Above is the inspiration photo over on the Inspiration Station Challenge Blog. If you don't know the Inspiration Station, it is a blog where we post a photo from everyday sights or objects and we create a project using the photo as inspiration. You can enter your project on the Inspiration Station Blog for a chance to win a fun prize every 1st and 3rd Monday! I decided to use the green clovers as my inspiration and made a wreath card and a card with some clovers on the top and bottom with my sentiment in between. The papers are from various paper packs from Stampin' Up cut with a Cut To You Shamrock cut file. I then used a flower cut file from my stash to add some little flowers in as well. My sentiment is "SO LUCKY" and I made it with my label maker. I will put "to have you in my life" to finish the sentiment on the inside of the cards. I can't wait to mail them out!
Thanks for dropping by to read about my cards today and don't forget to create your own project from the inspiration photo and enter it over on Inspiration Station Challenge Blog. Nicole
2 Comments
3/7/2022 05:27:10 am
These are wonderful and I'm happy to hear you intend to send out cards this year! I've sent mine to family and friends and now looking towards Easter. Thanks for another wonderful team project for The Inspiration Station! Leave a Reply. |

Shaker ElementHello all! I am currently working on a mini album of a snow play trip we took in January. I wanted to put all kinds of different elements into it so I thought it would be a perfect time to add a shaker box. So first off I decided to use a snowflake cut file from The Cut Shoppe for this element and the first thing I did was cut some of the inside elements out to make the visible area bigger. Then I glued a piece of scrap page cover to the snowflake. I glued a bigger piece and once it was dry I then cut it down to just my shaker area. I then cut my foam dots in half to box it in.
So my snowflake is ready for my dodads! First I placed my snowflake on top of where I wanted it and took a mental note of where the shaker part would be. Then I placed a little pile of sequins and confetti where it will go.
I then pulled all those little backings off my foam dots and placed my snowflake where is supposed to go and viola, I had a beautiful little shaker snowflake! I hope you enjoyed this tutorial, please let me know in the comments if there is something you would like to learn for scrapbooking!
Archives
April 2023
Categories
All
|


 RSS Feed
