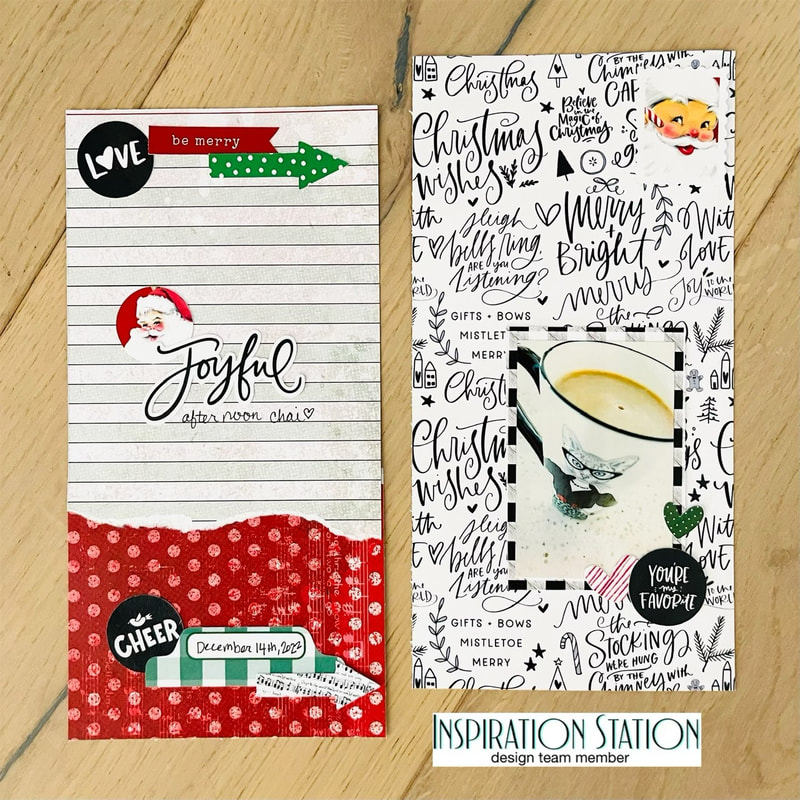
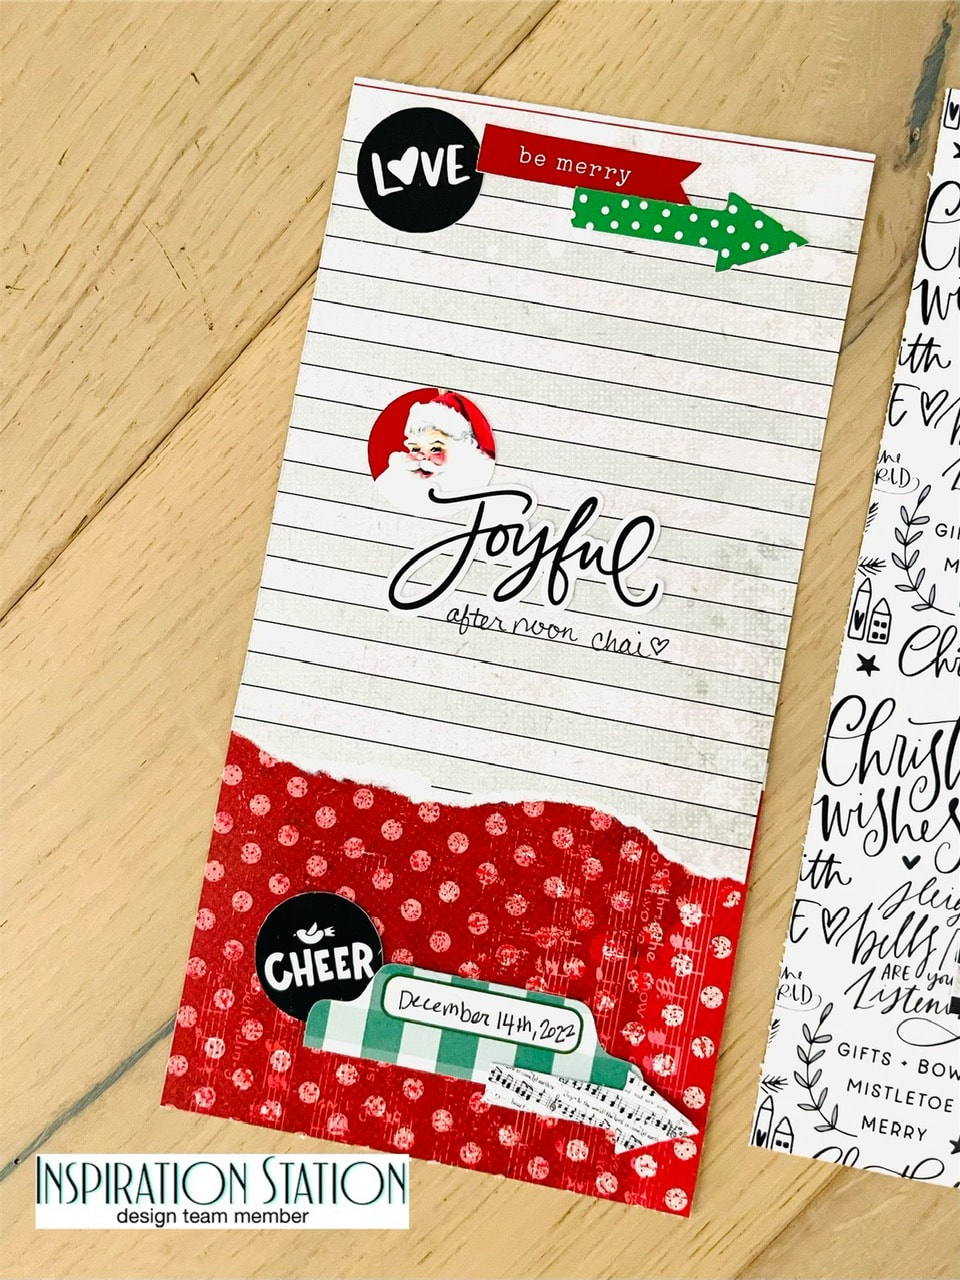
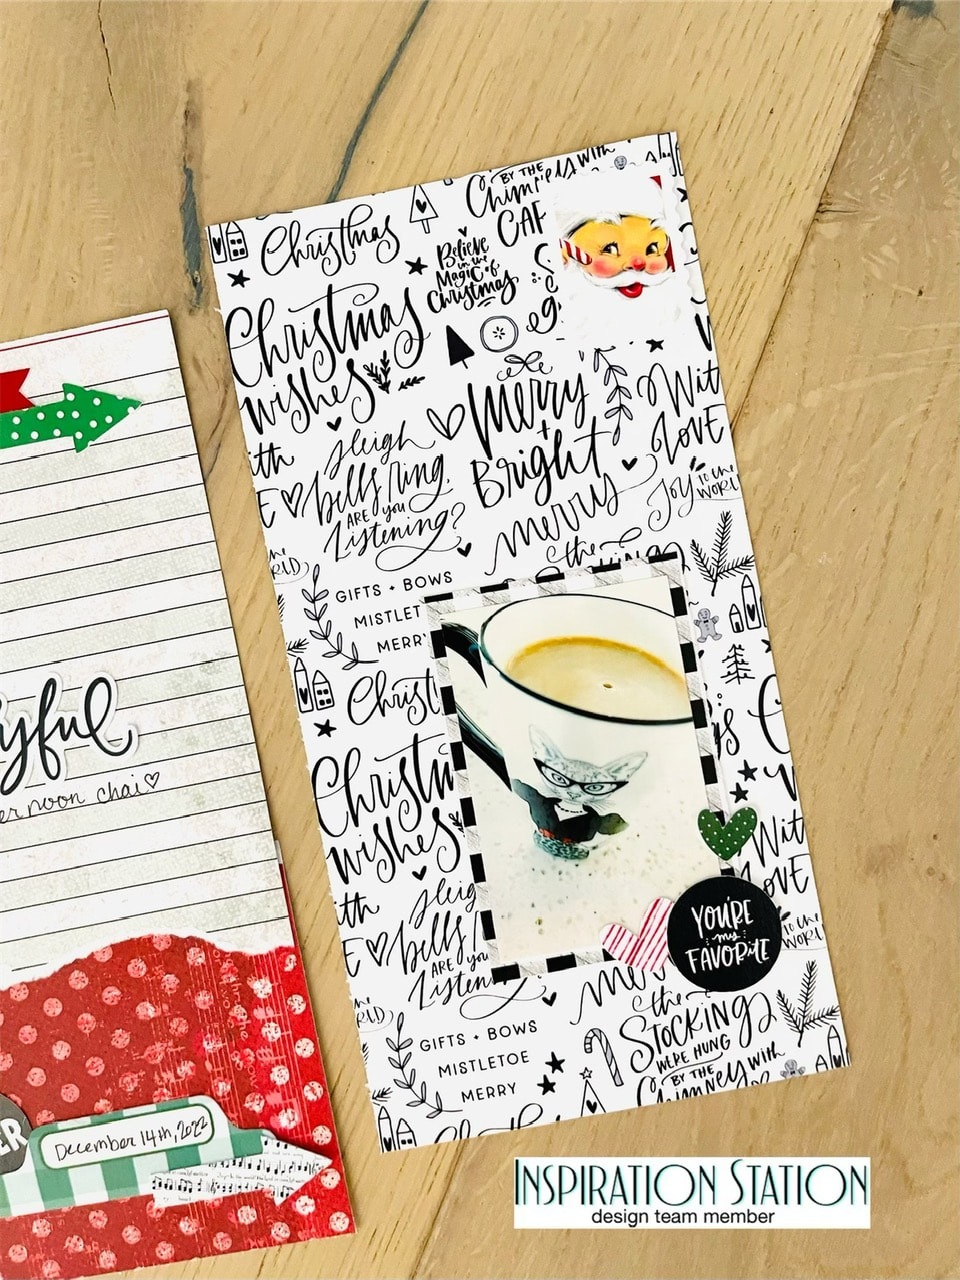
 Hey all! I'm back with my next project for Inspiration Station. Inspiration Station is a challenge blog where you make a project based on an everyday picture and then enter it for a chance to win a prize. Here is the inspiration pic this go around:  I was inspired by the mug of hot cocoa to take a pic of my afternoon chai. Then I used the "Tis the Season" Page Kit from {Not} Just for Boys Kit Club to make a Christmasy traveler's notebook layout to document in my everyday tn. I started the title page with a sheet Vicki Boutin paper which I just had some scraps of, but I wanted both green and red in my layout. The pic part of my layout was made with a sheet of paper by Pretty Little Studio. Then I embellished with diecuts from Pretty Little Studio! This layout was super simple to put together and I have a nice, warm, delicious memory recorded!
Thanks so much for coming on here to read about my process. I encourage you to check out Inspiration Station if you would like a challenge and to maybe win a prize with your project based on the pic. Until next time, Nicole
2 Comments
12/19/2022 04:51:56 am
Another set of wonderful projects for The Inspiration Station. I love Chai tea but haven't had it in a long time, you've inspired me for make myself a Cuppa!
evette
12/20/2022 09:41:16 pm
Awesome and inspiring project (I really want to start a journal)! love your cup too! Leave a Reply. |

Shaker ElementHello all! I am currently working on a mini album of a snow play trip we took in January. I wanted to put all kinds of different elements into it so I thought it would be a perfect time to add a shaker box. So first off I decided to use a snowflake cut file from The Cut Shoppe for this element and the first thing I did was cut some of the inside elements out to make the visible area bigger. Then I glued a piece of scrap page cover to the snowflake. I glued a bigger piece and once it was dry I then cut it down to just my shaker area. I then cut my foam dots in half to box it in.
So my snowflake is ready for my dodads! First I placed my snowflake on top of where I wanted it and took a mental note of where the shaker part would be. Then I placed a little pile of sequins and confetti where it will go.
I then pulled all those little backings off my foam dots and placed my snowflake where is supposed to go and viola, I had a beautiful little shaker snowflake! I hope you enjoyed this tutorial, please let me know in the comments if there is something you would like to learn for scrapbooking!
Archives
April 2023
Categories
All
|


 RSS Feed
