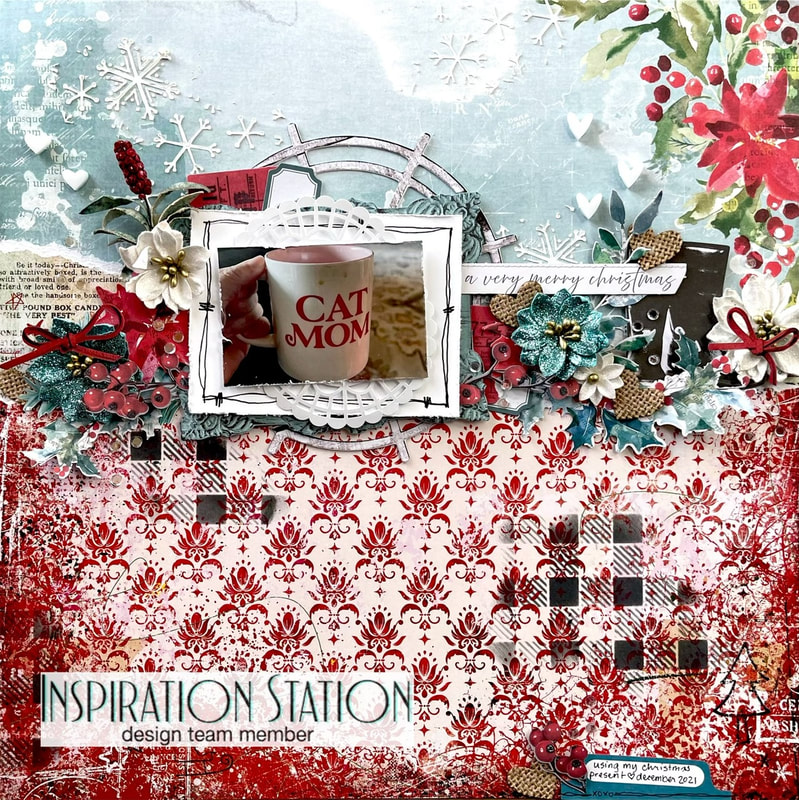
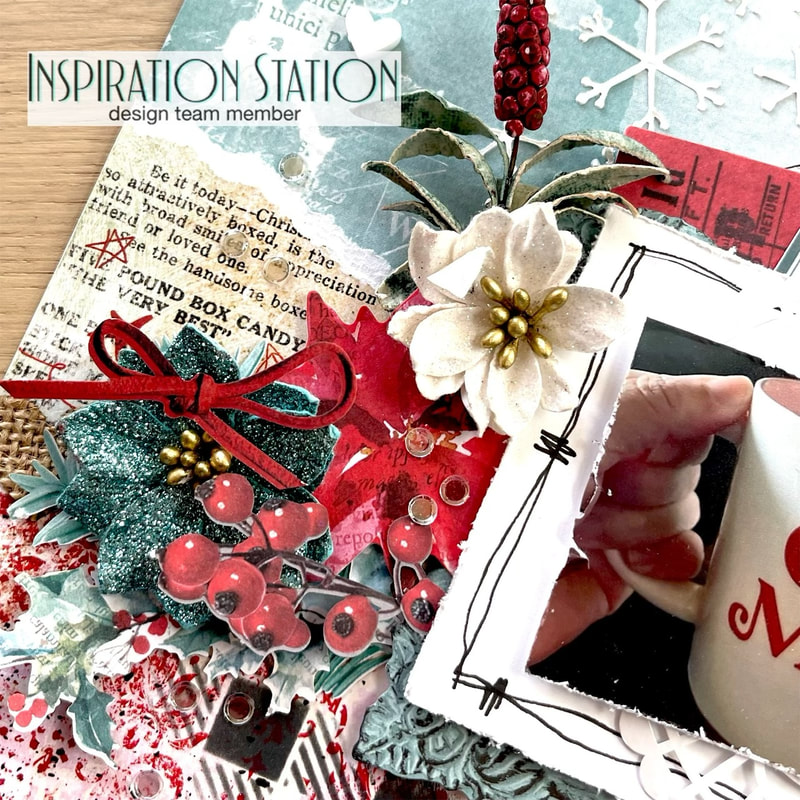
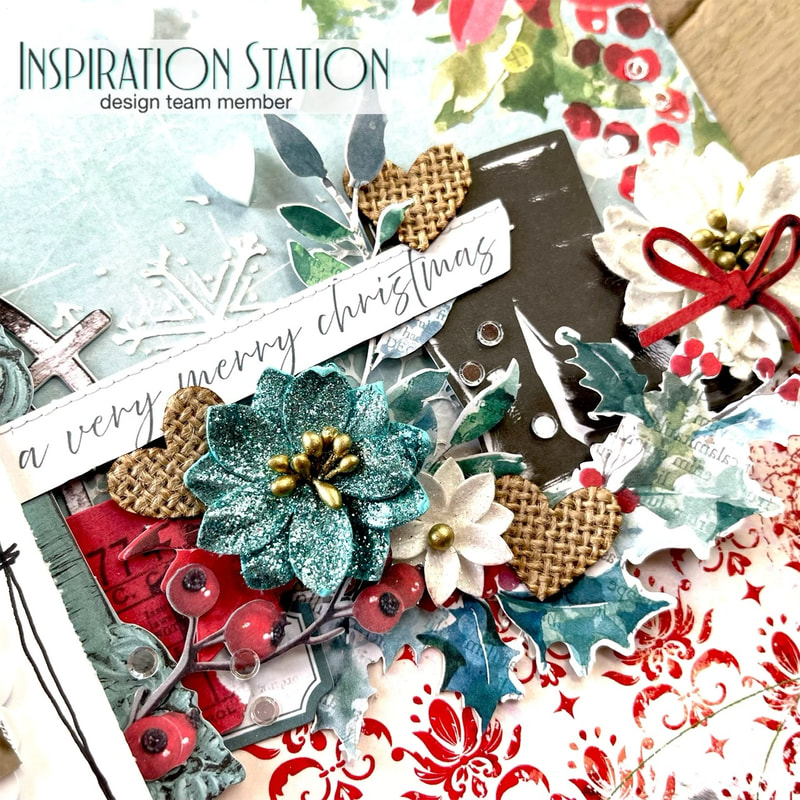
 Hey fellow paper lovers, Nicole back with this 12x12 scrapbook layout based on the inspiration photo posted over in Inspiration Station Blog. Here is the inspiration photo:  I started this page by paper piecing and I'm using pages from my Limited Edition Kit from My Creative Scrapbook. I took a steelish blue colored page for the top and a red patterened paper for the bottom. I used some texture paste through a snowflake stencil that I got at {Not} Just for Boys Kit Club on the blue to bring in that element from the inspo photo, and used some black ink through a buffalo plaid stencil on to the red paper to bring in the blanket element. I used some elements from the 49 And Market laser cuts, ephemera, and flowers from my LE kit to add some pretty elements to the left and right of my photo, which is my brand new mug I got for Christmas that is filled with delicious tea! 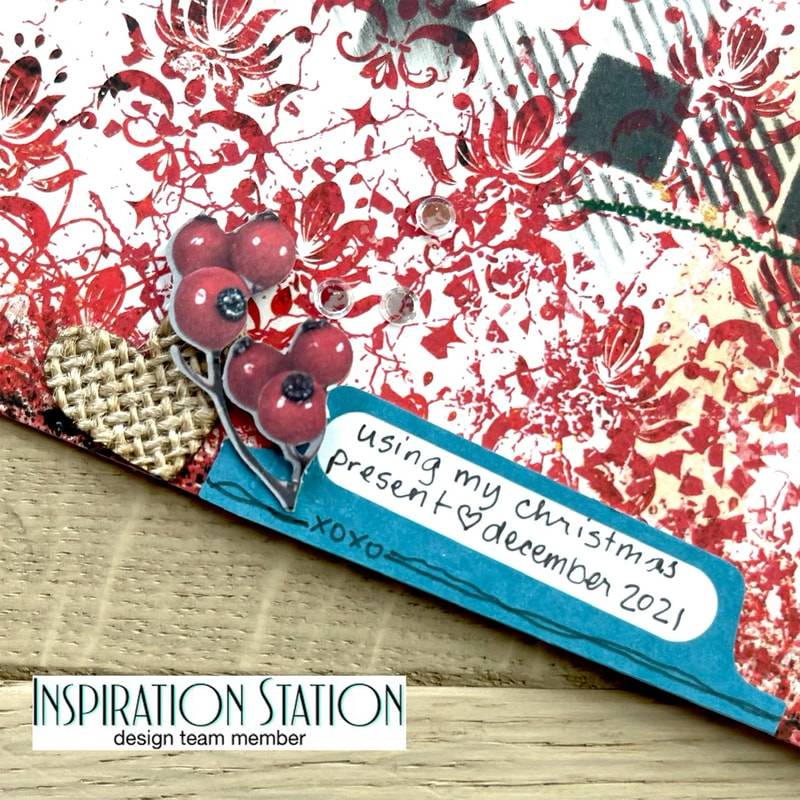 I finished my page with some journaling at the bottom, some burlap hearts that I got from Redefined Kreative, and some little sparkly bits I got from my local craft store.
I have a video of this process over on YouTube, you can find it here: Cat Mom YouTube Video Thanks so much for stopping by to read about my layout. Remember to check out Inspiration Station Blog for a cool challenge every 1st and 3rd Monday of the month, you can even enter your creation for a chance to win a prize! Until next time, Nicole
2 Comments
1/17/2022 05:52:16 am
Wow Nicole! I love this layout and enjoyed the process video. Thanks for another wonderful inspiration piece for The Inspiration Station Challenge. Donna 1/17/2022 03:50:56 pm
Love the mug great christmas present for a cat lover. Your page is a feast for the eyes so much to see and so much wonderfully yummy texture, it's wonderful and very inspiring. xx Leave a Reply. |

Shaker ElementHello all! I am currently working on a mini album of a snow play trip we took in January. I wanted to put all kinds of different elements into it so I thought it would be a perfect time to add a shaker box. So first off I decided to use a snowflake cut file from The Cut Shoppe for this element and the first thing I did was cut some of the inside elements out to make the visible area bigger. Then I glued a piece of scrap page cover to the snowflake. I glued a bigger piece and once it was dry I then cut it down to just my shaker area. I then cut my foam dots in half to box it in.
So my snowflake is ready for my dodads! First I placed my snowflake on top of where I wanted it and took a mental note of where the shaker part would be. Then I placed a little pile of sequins and confetti where it will go.
I then pulled all those little backings off my foam dots and placed my snowflake where is supposed to go and viola, I had a beautiful little shaker snowflake! I hope you enjoyed this tutorial, please let me know in the comments if there is something you would like to learn for scrapbooking!
Archives
April 2023
Categories
All
|


 RSS Feed
